How to Hang Framed Posters Without Damaging Walls
Let’s hang some posters!
Hanging framed posters without causing damage to walls is a common concern, especially for renters or those who frequently change their décor.
As someone who changes their wall art around constantly, I’m well versed in the too-many-holes-in-the-wall problem. You’d probably like to prevent that!
So, let’s go over how to hang up your posters without damaging your walls. In addition, if you have concrete or brick walls, you definitely need to use a non-destructive method to get your posters up on the wall.
There are several non-permanent methods for creating an attractive display of framed posters.
This guide will explore tools and techniques for damage-free poster hanging. And keep in mind that these techniques work just as well for framed prints and other artwork as they do for posters.
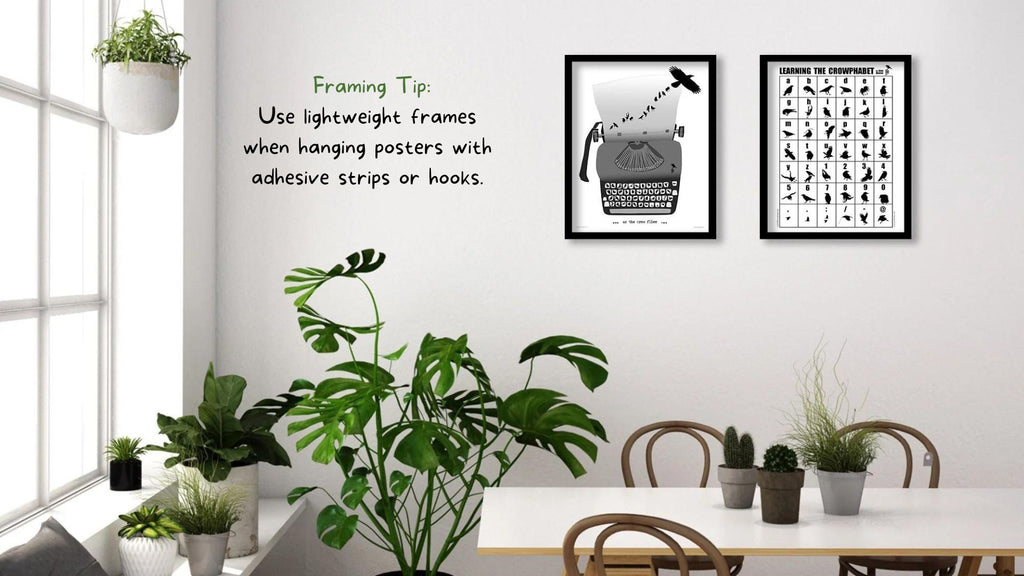
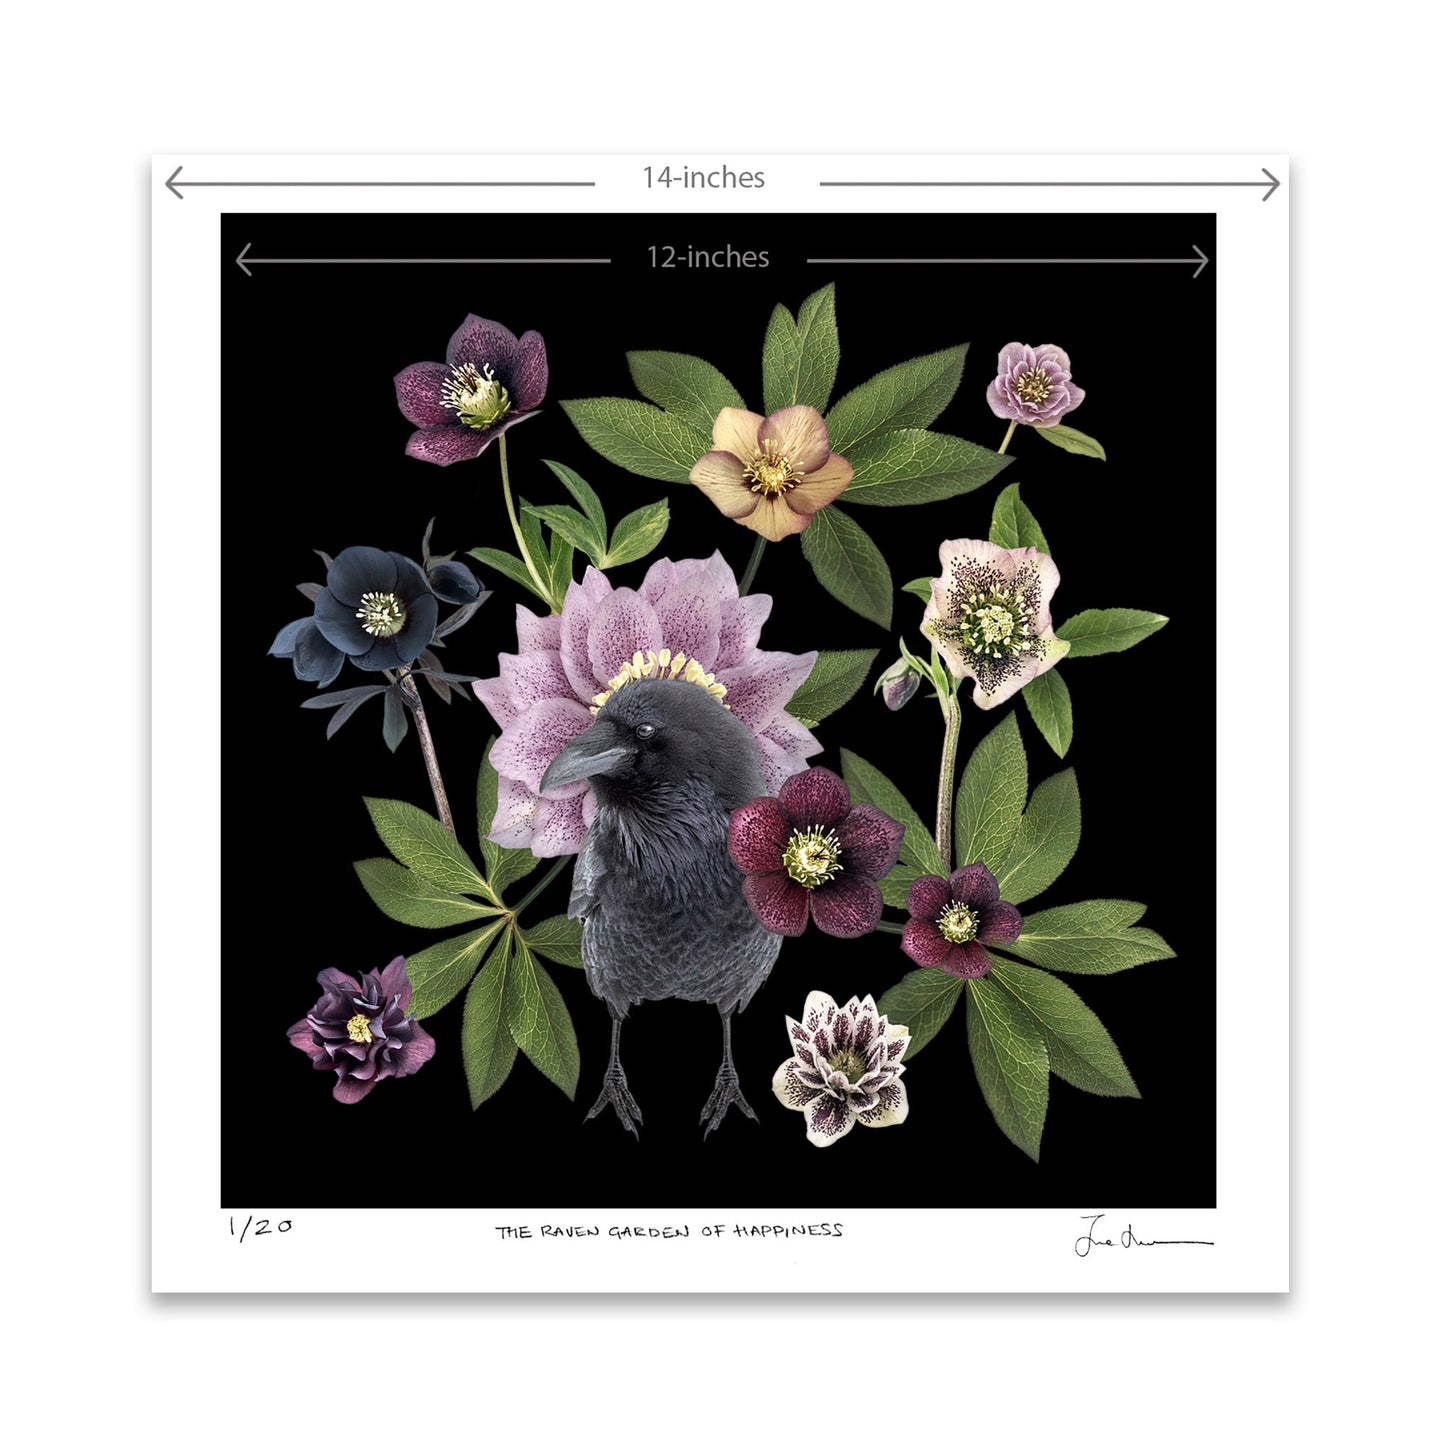
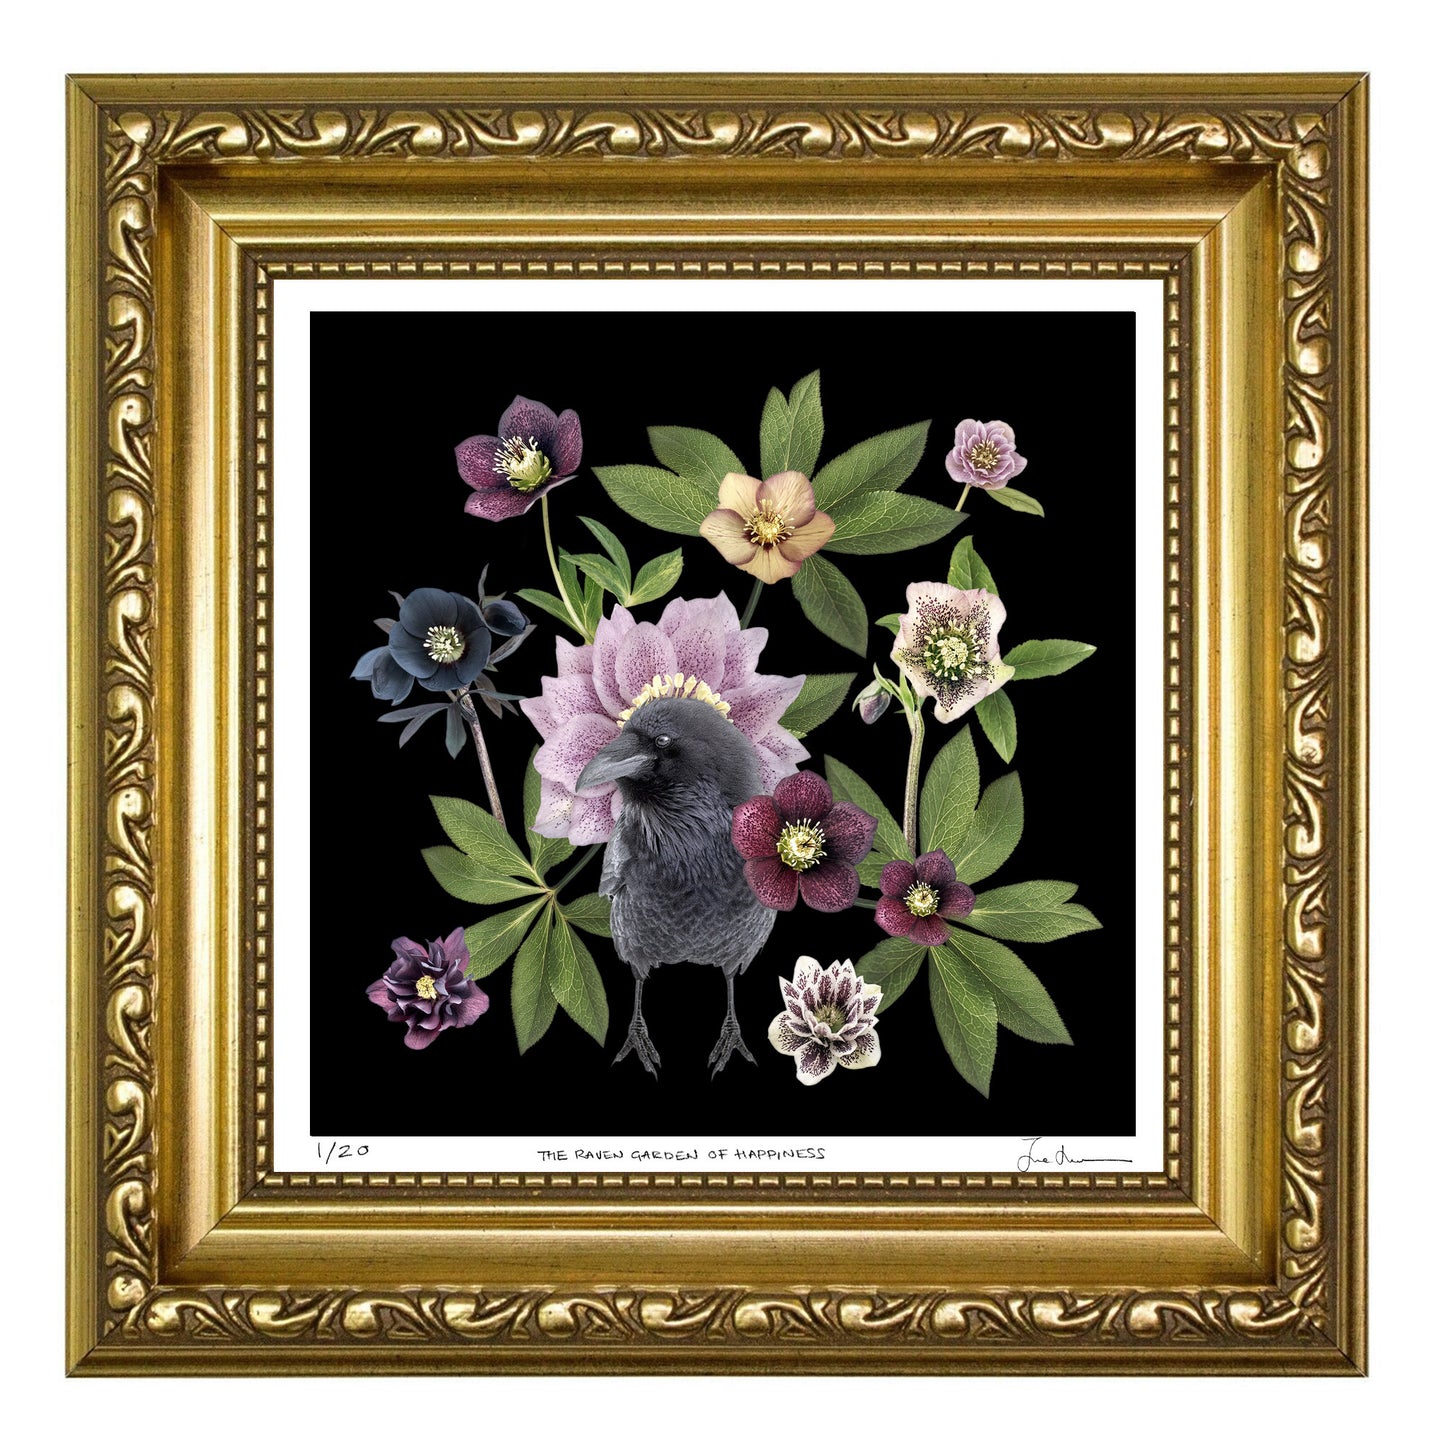
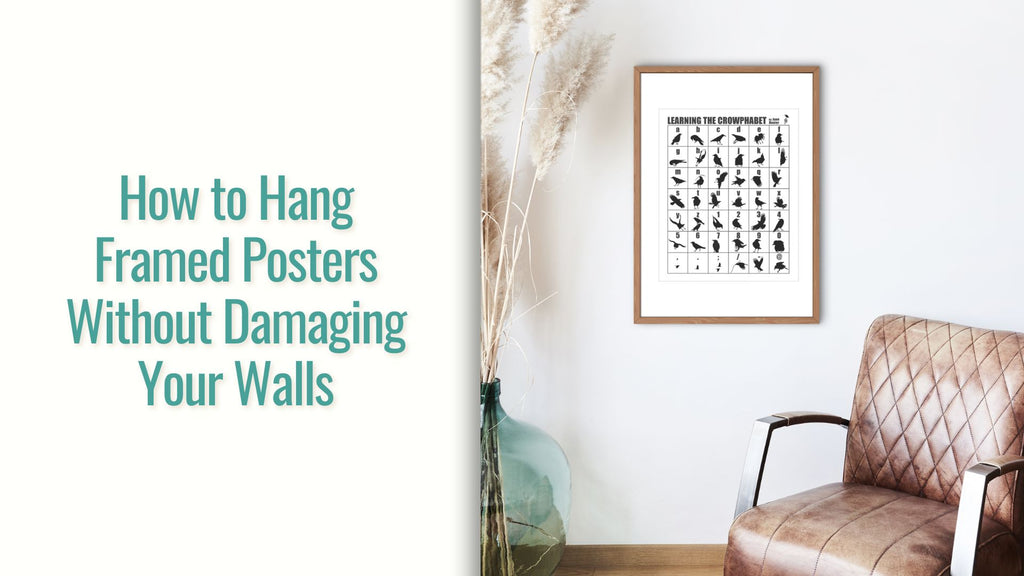 BLACK & WHITE CROW POSTERS by June Hunter
Below, I'll detail a few different approaches for hanging framed posters on various types of walls without drilling or making holes. Each method has its pros and cons, so consider the weight of your frames and the conditions of your walls before deciding which to use.
Tools for Damage-Free Poster Hanging
The tools you need depend on the method you choose.
You will need some of the following:
- Rubbing alcohol and a cloth for cleaning the surfaces before hanging
- Pencil to mark where to hang the frame
- Kraft paper and tape for creating your mockup first
- Hanging method: magnetic strips/tape, adhesive strips or hooks, double-sided heavy duty mounting tape, tension rods
- Level
1. Adhesive Hooks or Ahesive Hanging Strips
Suitable for: Light to medium-weight frames on smooth walls such as drywall, painted brick, or concrete.Step 1 - Choose the Right Adhesive Product
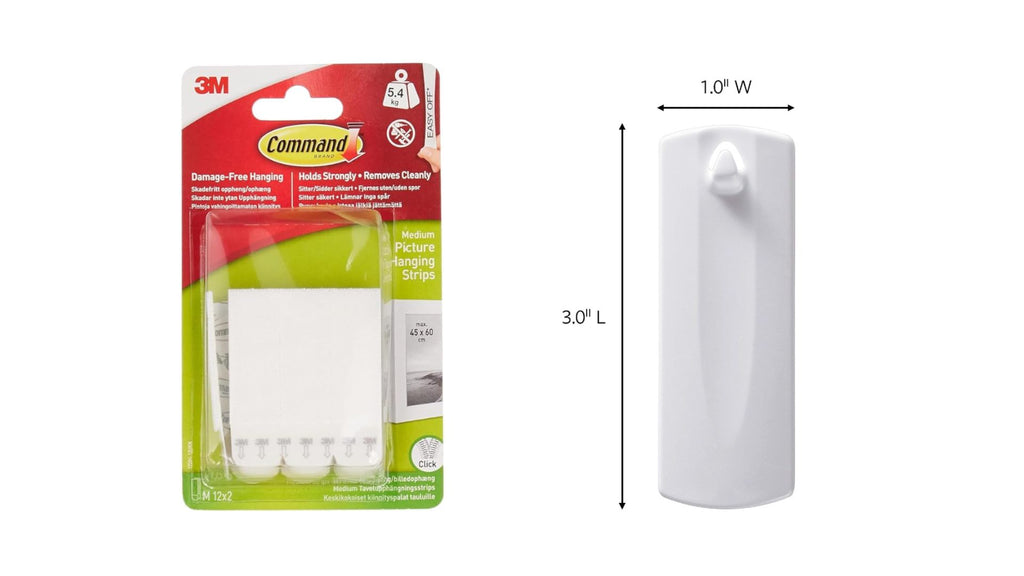
Look for adhesive hooks or adhesive hanging strips specifically designed for hanging pictures.
Brands like Command offer a variety of options that can hold different weights. The medium strips can hold up to 9 lbs when you combine three steps.
Command Extra Heavy Strips - Hold Up to 20 Lbs
Command Sawtooth Picture Hooks - Hold Up to 4 Lbs
I recommend simply visiting your local home hardware and getting a supply of Command strips and hooks for your various picture hanging projects. They last “forever” so it’s not a bad idea to just have a few options for different weights hanging around the house.
Step 2 - Prepare the Wall and Frame Surface
Clean the wall where you'll hang the frame with isopropyl alcohol and let it dry.
Likewise clean the back of the frame where you’ll be placing the adhesive strips. (Skip this step if you’re using ahesive hooks.) This step ensures the adhesive bonds well. I am always lax about this step. But it does make the adhesion work better, so if you’re hanging a heavy frame don’t skip this.
Step 3 - Plan Where to Hang the Poster
To make sure you’re not messing around with adhesive strips and hooks and making a mess, plan exactly where you want the framed posters to go.
Take a roll of kraft paper and cut it out to the exact size of the poster frames. Then hang the kraft paper on the wall with tape, moving the pieces around until you get the exact configuration you want.
Next, identify where the hooks or adhesive strips will need to go on the wall in order to hang the picture perfectly.
Mark up the wall with a pencil or pieces of tape so you know exactly where to place your strips or hooks.
Step 4 - Attach the Strips or Adhesive Hooks
Follow the product's instructions to attach the adhesive strip to the back of your frame and to the wall.
For heavier frames, use multiple strips for added support. Usually the recommended number of strips is four per heavy frame—two on each side of the frame.
For hooks, you’ll only need to attach to the wall.
Step 5 - Wait Before Hanging
Wait for the recommended time (usually an hour) before hanging the frame to ensure the adhesive has bonded properly.
Step 6 - For Adhesive Strips, Press Firmly
If you’re using adhesive strips, make sure you press the frame against the adhesive strips on the wall firmly.
Do this for 30 seconds to a minute, ensuring it adheres securely. Follow the instructions on the strips package carefully to make sure you get the best bond.
2. Double Sided Self-Adhesive Magnetic Tape or Neodymium Magnetic Strips
Suitable for: Light to medium-weight frames on smooth walls. This is best if you plan on swapping out your art frequently. If you’re going to keep your art in the same place for a long time then adhesive strips are better as they're much more foolproof.Step 1 - Choose the Right Magnetic Product
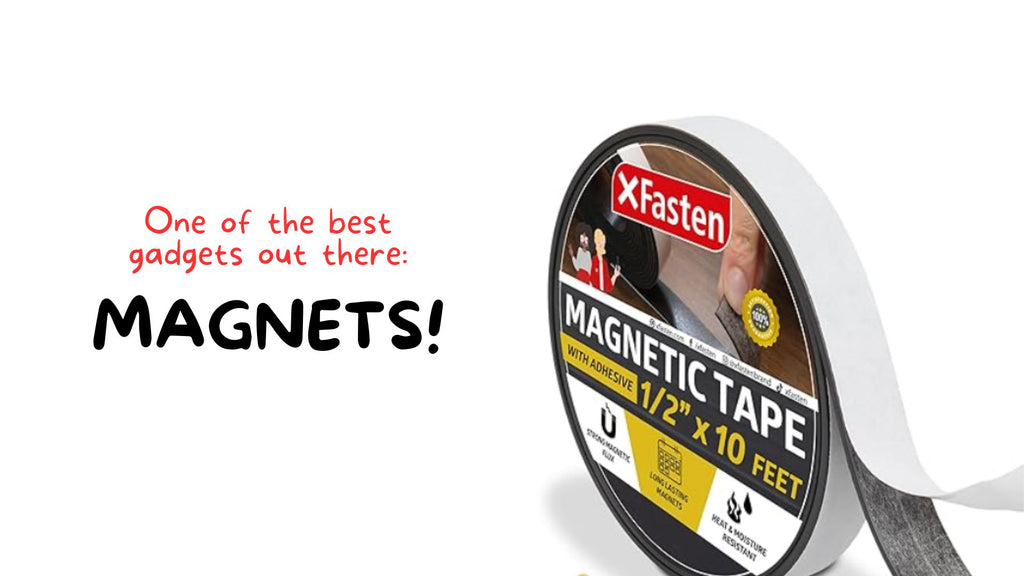
You can use long skinny neodymium magnets to connect your poster frames to the wall. You’ll use magnets on the wall and magnets on the poster frame. If you’re hanging very light frames, you may wish to use double sided self-adhesive magnetic tape. For slightly heavier frames use neodymium magnets.
Neodymium Magnets with Double Sided Adhesive
Step 2 - Clean the Surface of the Frames and Walls
Use isopropyl rubbing alcohol to clean the wall and the back of the poster frame before placing the adhesive magnets.
Step 3 - Stick Magnets to the Back of the Poster Frame
Run an even line of magnets along the top of the poster frame and press firmly onto the surface.
Step 4 - Decide on Poster Frame Placement
To make sure you’re not messing around with magnets and making a mess, plan exactly where you want the framed posters to go.
Take a roll of kraft paper and cut it out to the exact size of the poster frames. Then hang the kraft paper on the wall with tape, moving the pieces around until you get the exact configuration you want. Next, use a level to make sure that the top of the craft paper is perfectly straight.
Mark up the wall with a pencil about ¼ of an inch below the top edge of where the frame will sit, making sure it is perfectly level. You will carefully place your magnets below this line.
Step 5 - Place Magnets or Magnetic Tape on the Wall
Following the line that you just drew on the wall, place your magnetic strips evenly.
3. Velcro Strips
Suitable for: Light to medium-weight frames on most wall types.Step 1 - Buy Industrial Strength Velcro
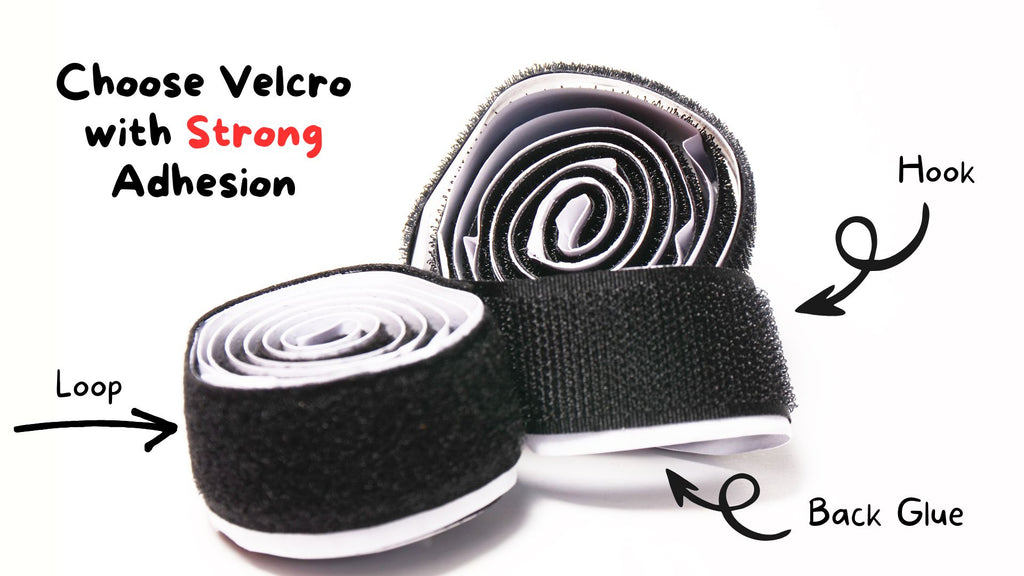
Look for Velcro strips that are designed for heavy-duty applications. Ensure they have an adhesive back.
Step 2 - Create a Mockup
Using kraft paper and tape create a mockup of the poster arrangement on your wall first to ensure the perfect placement.
Step 3 - Prepare the Wall and Frame
Clean both the wall and the frame with alcohol and let them dry.
Step 4 - Attach Velcro
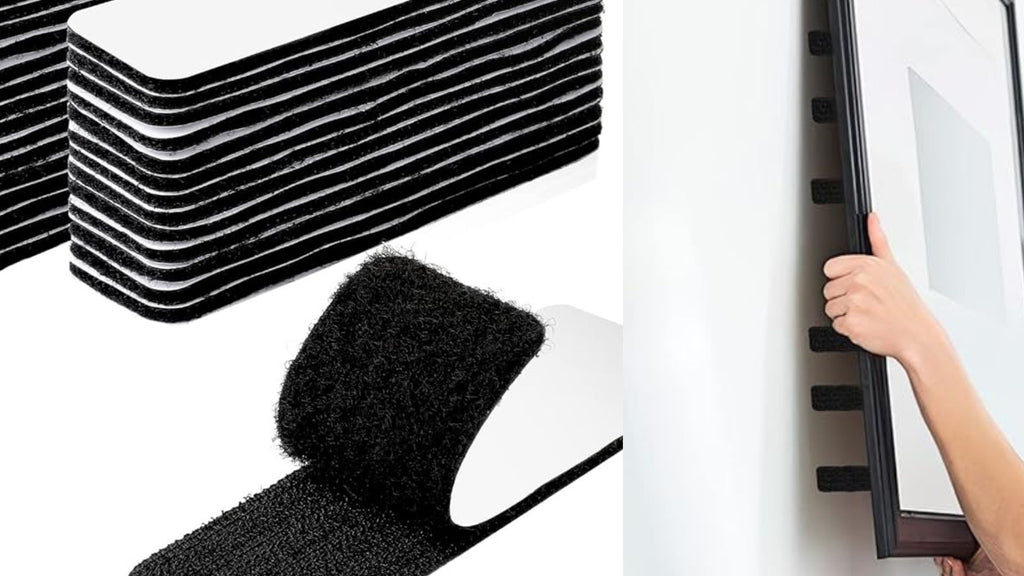
Attach one side of the Velcro to the frame and the other to the wall. Press firmly to ensure a strong bond.
Step 5 - Align and Press
Align the frame to your desired spot on the wall and press firmly to secure the Velcro together.
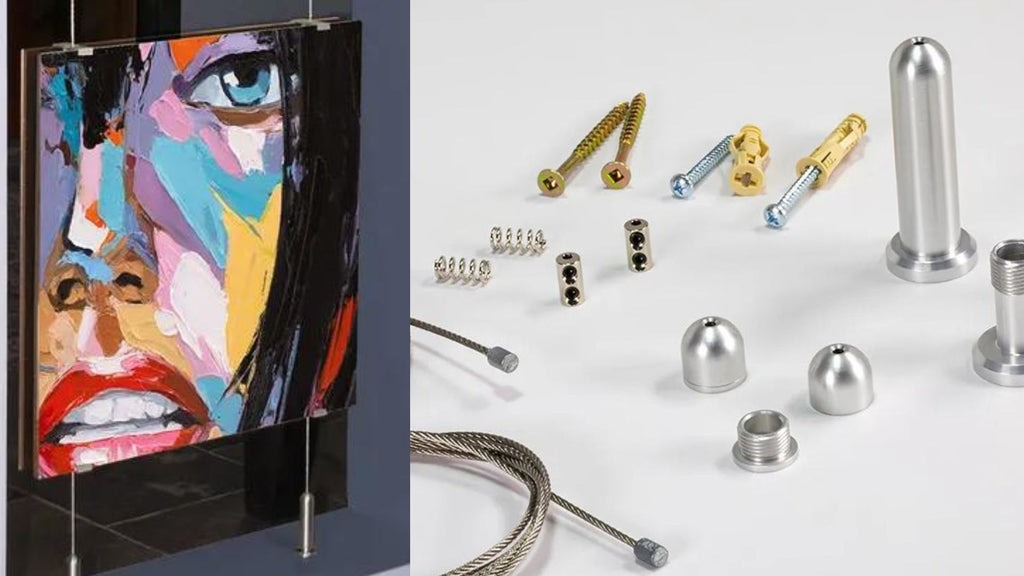
4. Tension Rods for Brick or Concrete Walls
Suitable for: Lightweight frames, ideal for renters in spaces with exposed brick or concrete.Step 1 - Measure the Space
Measure the height between the floor and ceiling or between two walls if you're working within a recess.
Step 2 - Buy the Right Product
If you’re doing a floor to ceiling tension rod, you’ll l likely want to buy a professional system. There’s a good product created by Ash Hanging that will allow you to hang your posters and other large artwork using a vertical system.
If you’re hanging art on a small wall where a tension rod can easily be placed from edge to edge, then find an aesthetically pleasing tension rod that will work in the space.
Step 3 - Install Tension Rods
Place tension rods vertically or horizontally, depending on where you want to hang your frames.
Step 4 - Hang Frames with Wire
Attach a small loop of wire or string to the back of your frame, then hang the frame over the rod. This method might require frames that already have hanging hardware attached. If you’re doing a vertical system, you’ll need to get the hanging hardware that works with the system.

5. Double-Sided Mounting Tape or Velcro
Suitable for: Lightweight frames with a depth of less than .75 inches. Use on smooth surfaces.
Step 1 - Buy Double Sided Tape or Adehesive Velcro
Make sure you buy high quality tape or velcro so that you get the best possible results.
Gorilla Tough Double-Sided Mounting Tape
Step 2 - Prep the Surface
As with all the other methods, use rubbing alcohol to prep both the frame and the wall to ensure the best stick.
Step 3 - Create a Mockup
Use kraft paper and tape to create a mockup of the arrangement before you start sticking things to the wall with heavier duty tape. Use a level and pencil to mark the spot where the tape will go.
Step 4 - Stick Velcro or Double Sided Tape to Frame
Make sure you place the tape in a perfectly straight line along the top of the frame. If it’s a heavier frame, you’ll want to put tape around at least three sides of the frame.
Step 5 - For Velcro - Place the Velcro on the Wall
Make sure that the velcro is level and lines up with the markings you made in the mockup stage.
Step 6 - Hang Your Frame
Press the frame firmly into the wall and hold for 30 seconds or as directed by the product instructions.
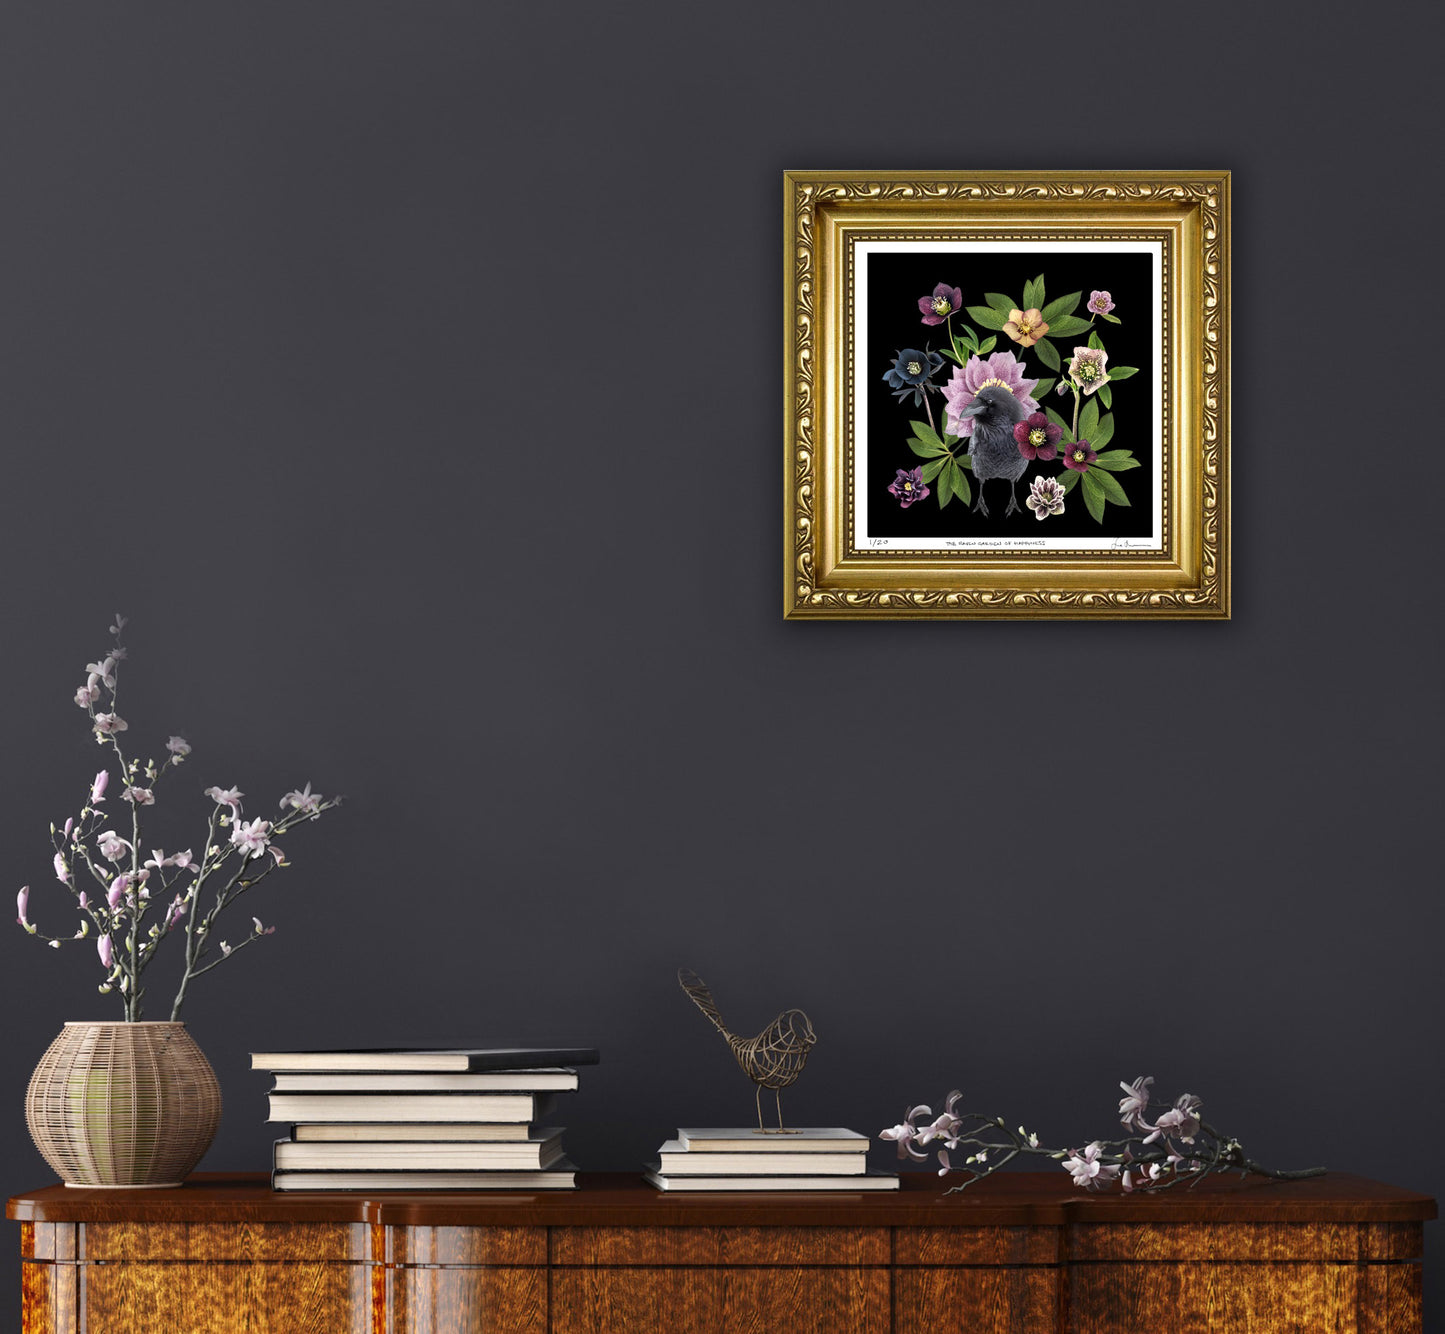
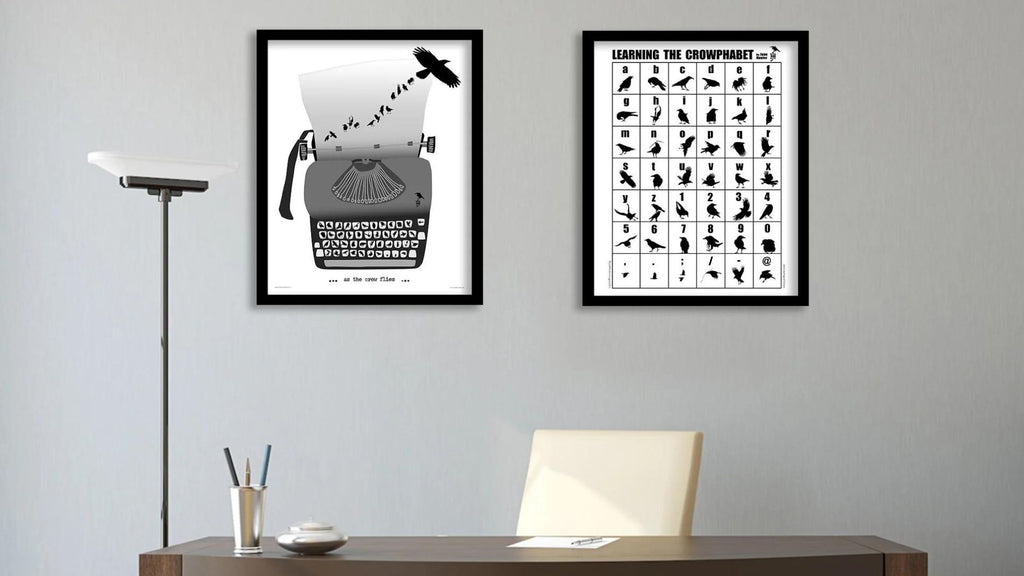 BLACK & WHITE CROW POSTERS by June Hunter
6. Stand Your Frames
Suitable for: Any wall type if you're unable to attach anything to the wall. This works best if you’re OK with a more casual look.
Step 1 - Buy Double Sided Tape
You’ll use this tape on the bottom of the frame and potentially the top/back of the frame after placing the art.
Gorilla Tough Double-Sided Mounting Tape
Step 2 - Place your Art
Place your framed poster on a credenza, mantel, or dresser leaning it against the wall on a very slight angle.
Step 3 - Fix It in Place
Use double sided tape on the bottom and back of the frame to fix it in place so it doesn’t shift around if you bump into the furniture. This is optional but a good idea if you have kids around.
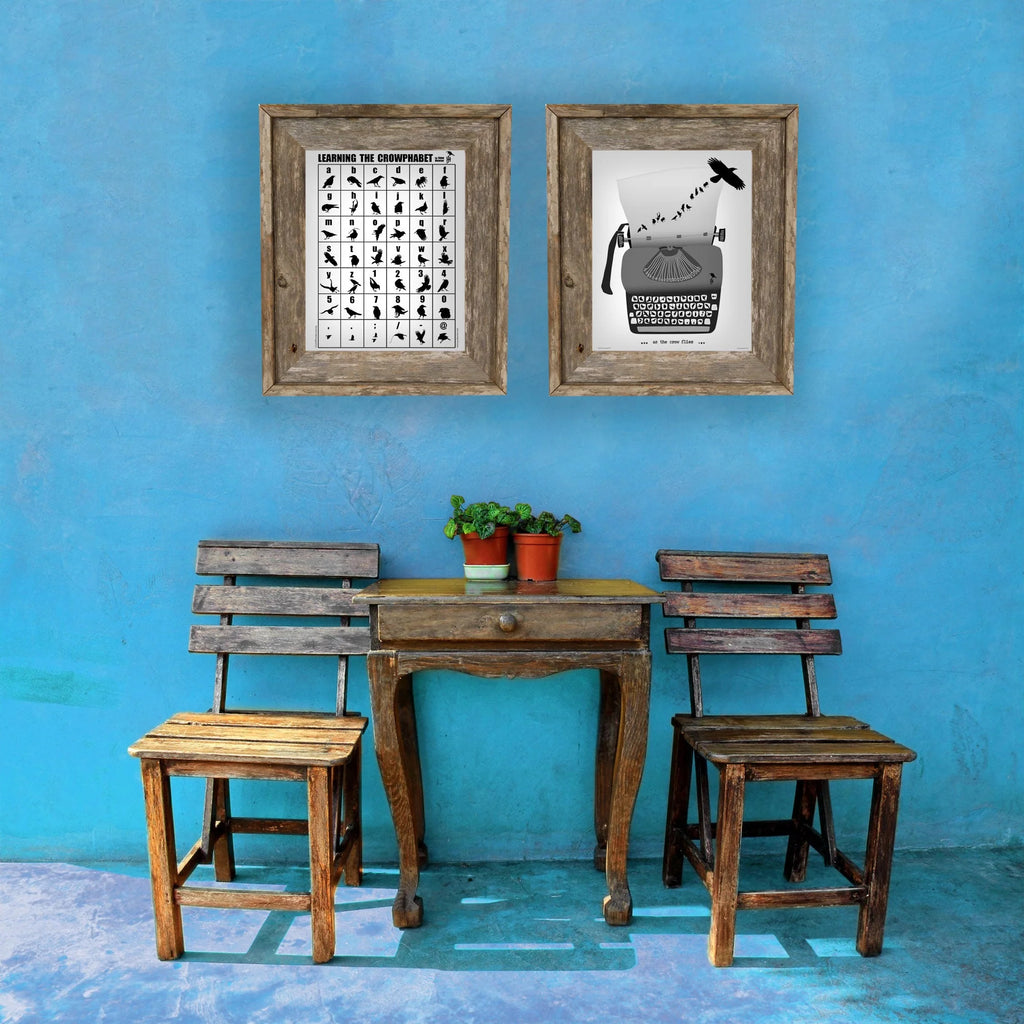
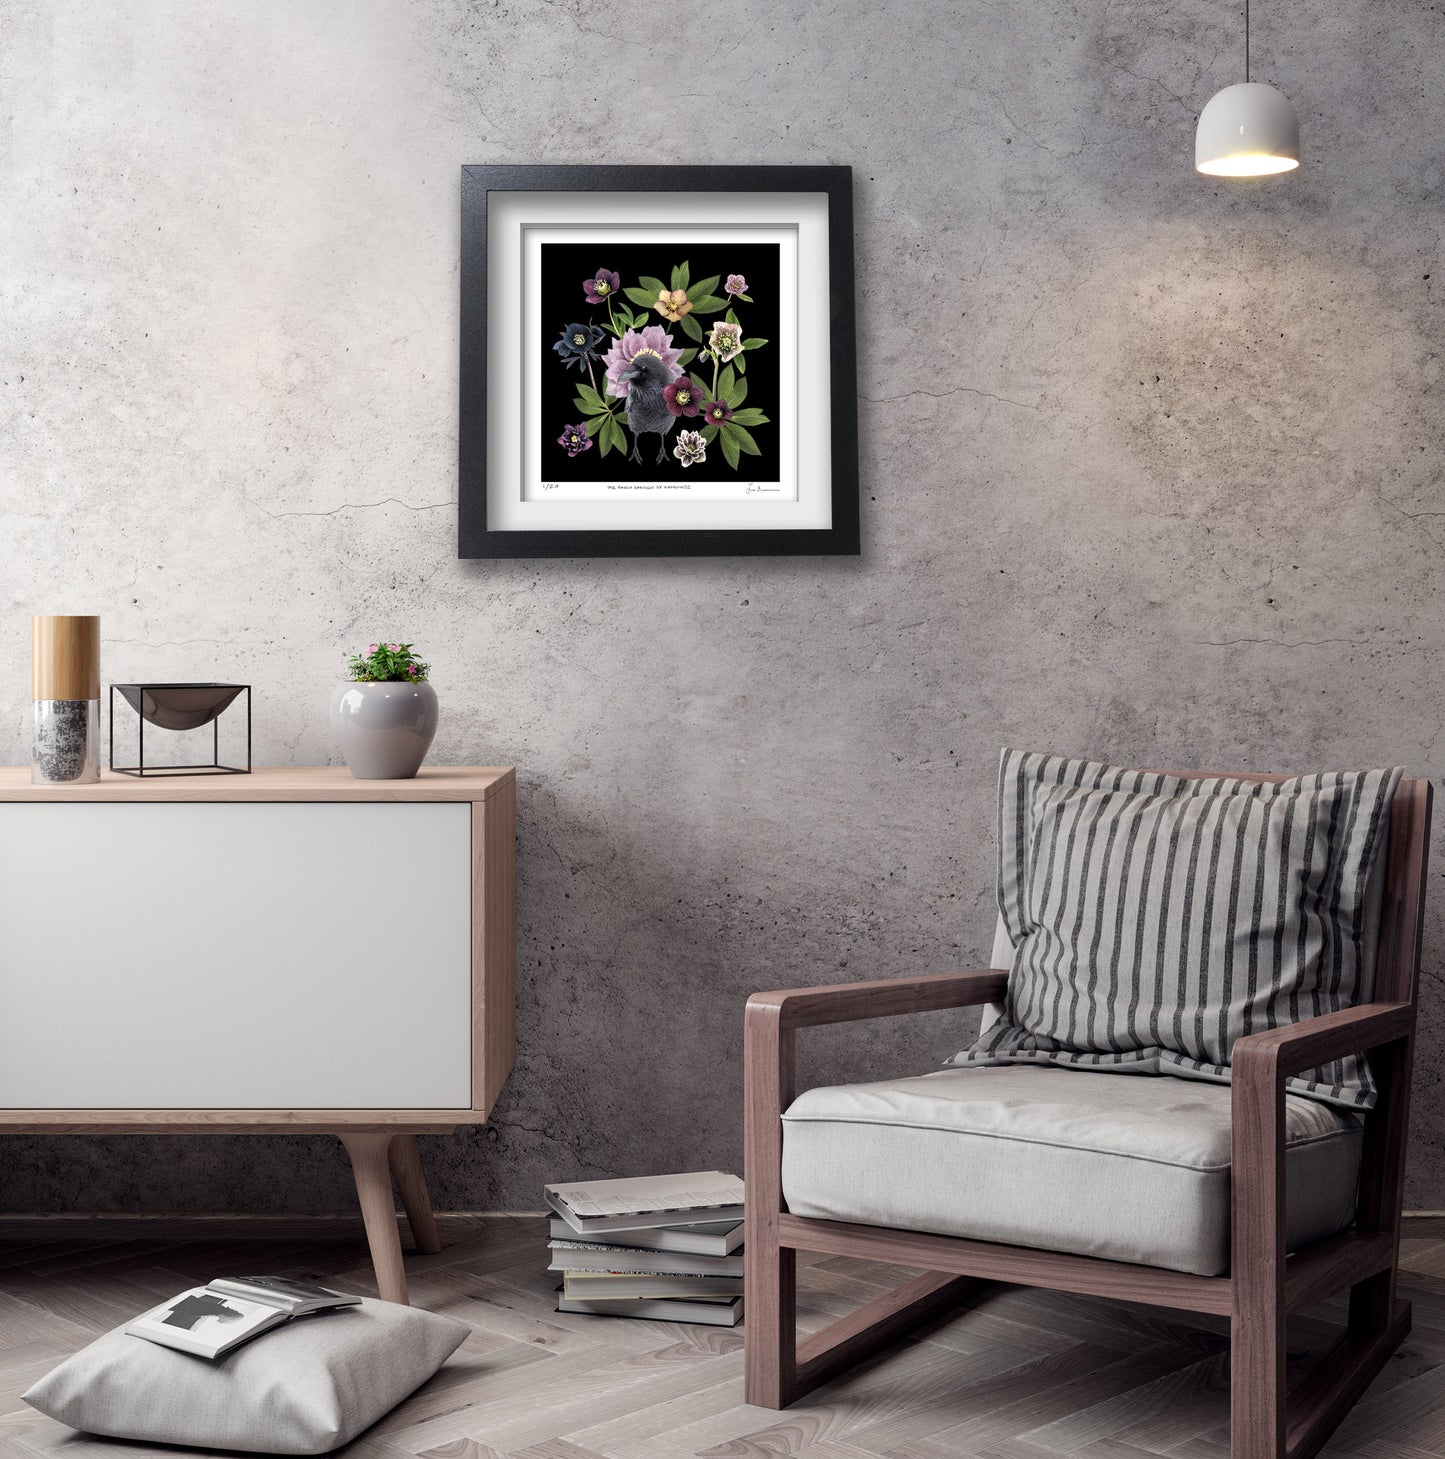
BLACK & WHITE CROW POSTERS by June Hunter
Tips
- Always consider the weight of the frame and the strength of the hanging method.
- Test the stability of the hanging method with a similar weight before hanging your actual framed posters.
-
For heavier frames, consider using a combination of methods for added security.
These methods offer a range of options depending on your needs and the types of walls in your space. Always follow the product instructions closely for the best results, and consider the aesthetic and practical aspects of each method to choose the best one for your framed posters.
Choosing the Right Product for Poster Frame Weight
Check the weight limit specified on the product packaging. For heavier frames, consider using multiple adhesive strips or hooks to evenly distribute the weight.
Adhesive Strips for Heavy Frames
Quality adhesive strips can hold up heavy frames securely. Look for those specifically designed for heavier loads, and ensure your wall and frame are clean before applying them.
Longevity of Damage-Free Methods
Most damage-free hanging methods are quite durable. However, the longevity can vary based on factors like humidity, wall texture, and the weight of the framed poster. Regularly check the adhesion to ensure it remains secure.
Hanging on Textured or Delicate Walls
For textured or delicate walls, avoid heavy frames.
Use lighter frames and pair them with multiple mounting points to distribute the weight.
Poster putty can be effective on textured walls, as it molds to irregularities; however, it’s likely not heavy duty enough for framed images. It can instead be used for posters that have a nice weight to them and perhaps don’t need to be framed to look attractive. Buy a top quality putty so it doesn’t leave marks on your walls.
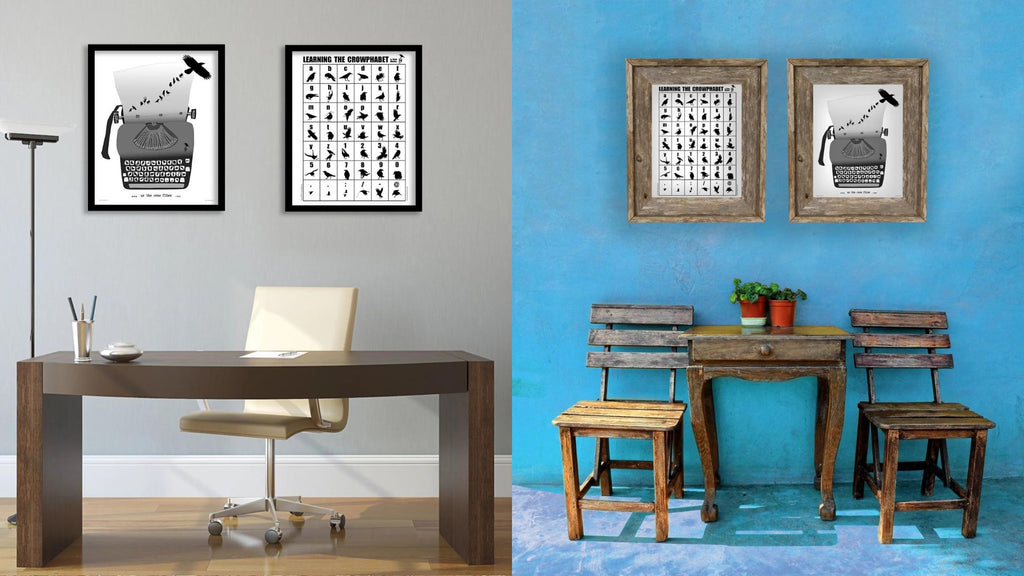 BLACK & WHITE CROW POSTERS by June Hunter
Hanging Posters on Tile or Glass
On surfaces like tile or glass, suction cups or removable adhesive hooks designed for slick surfaces can be effective. Ensure the surface is clean and dry before applying.
Summary of Key Points:
You can hang posters in the following ways:
- Adhesive Strips: Ideal for most wall types, they come in various sizes and weight capacities.
- Adhesive Hooks: These hooks stick to the wall and can be removed cleanly.
- Magnetic Tape or Strips: Create a magnetic wall area or use magnetic tape on the back of the poster.
- Tension Rods: If you have a recessed window or nook, a tension rod can be used to hang lightweight framed posters. You can also use a professional floor to ceiling vertical tension rod system.
- Mounting Tape: You can use double-sided mounting tape to hang your framed art. Just make sure the frames are light.
- Velcro Strips: These can be a secure option, especially for frequently changed displays.
-
Poster Putty: Best for lightweight posters and works well on textured surfaces. This is better for unframed posters.
Regular checks and careful application ensure a secure and beautiful display that can be changed or removed without leaving any damage. This way, you can enjoy your art in any space, regardless of the restrictions.
Check Out June Hunter's Prints
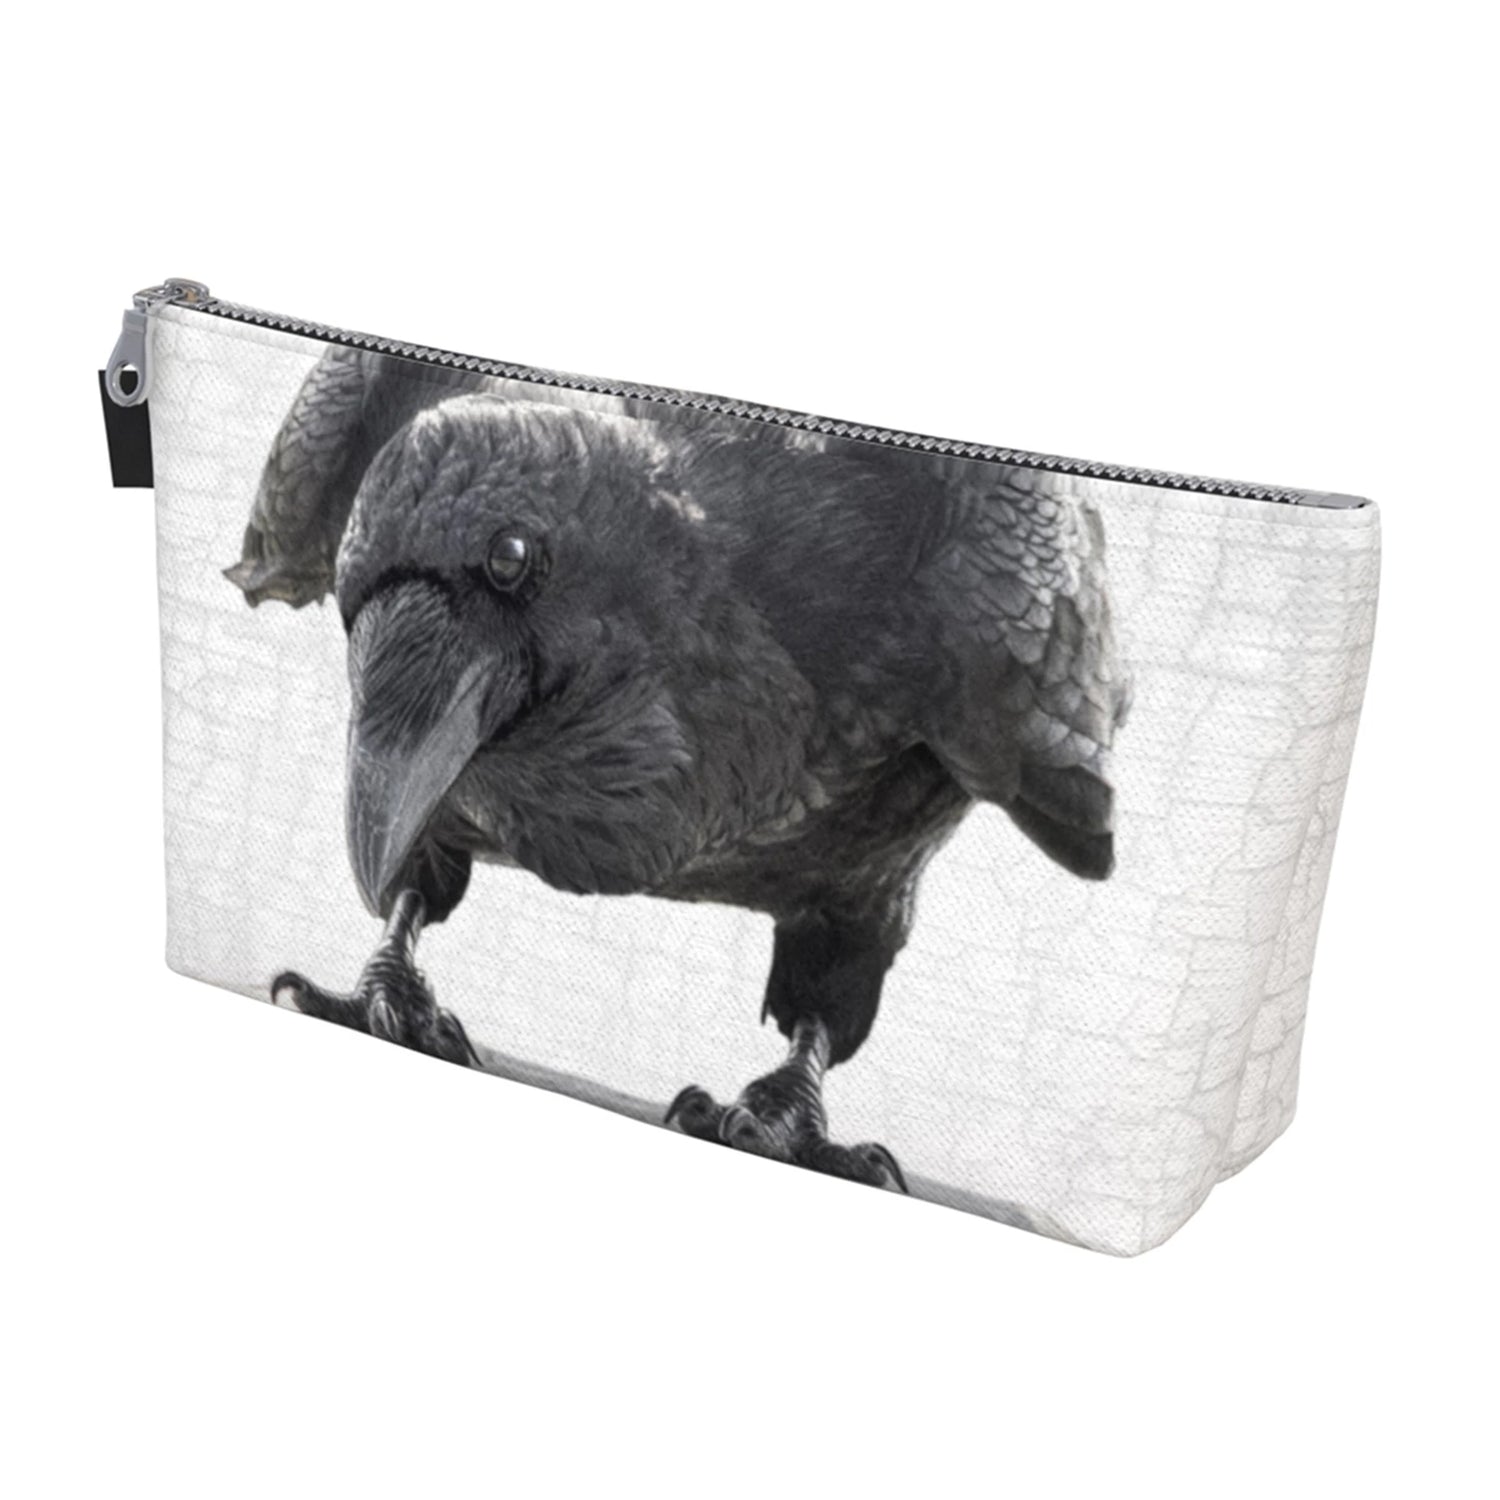
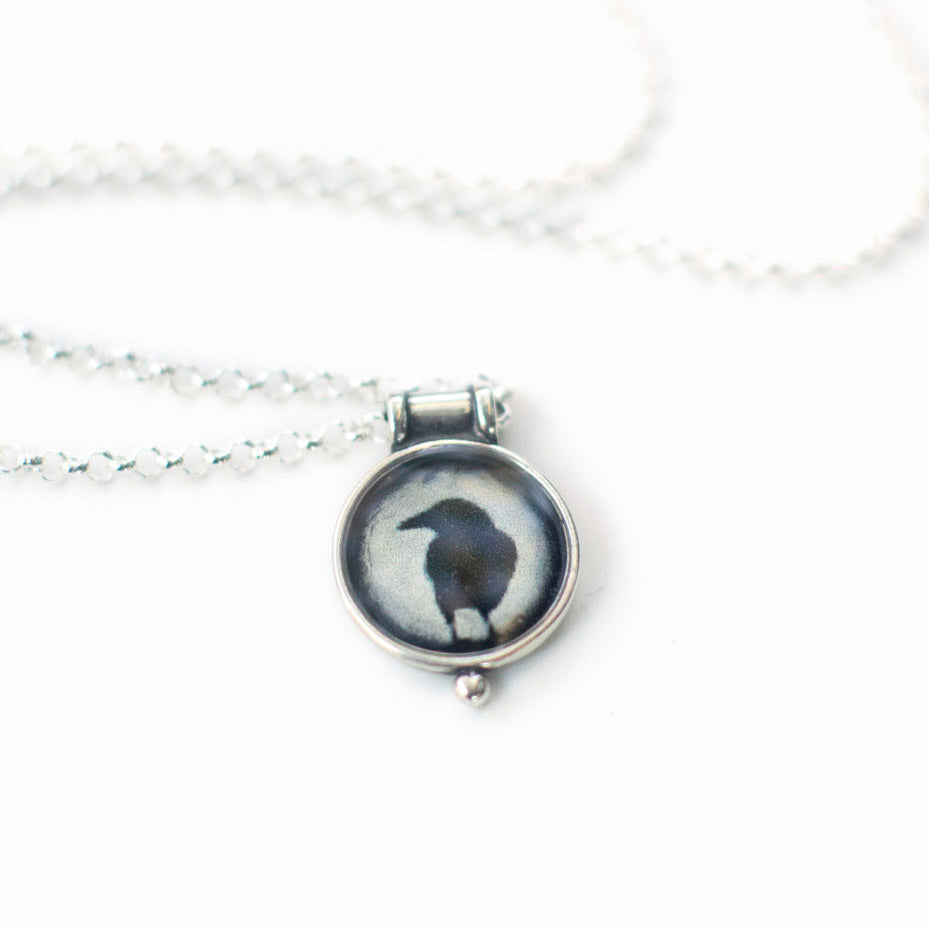
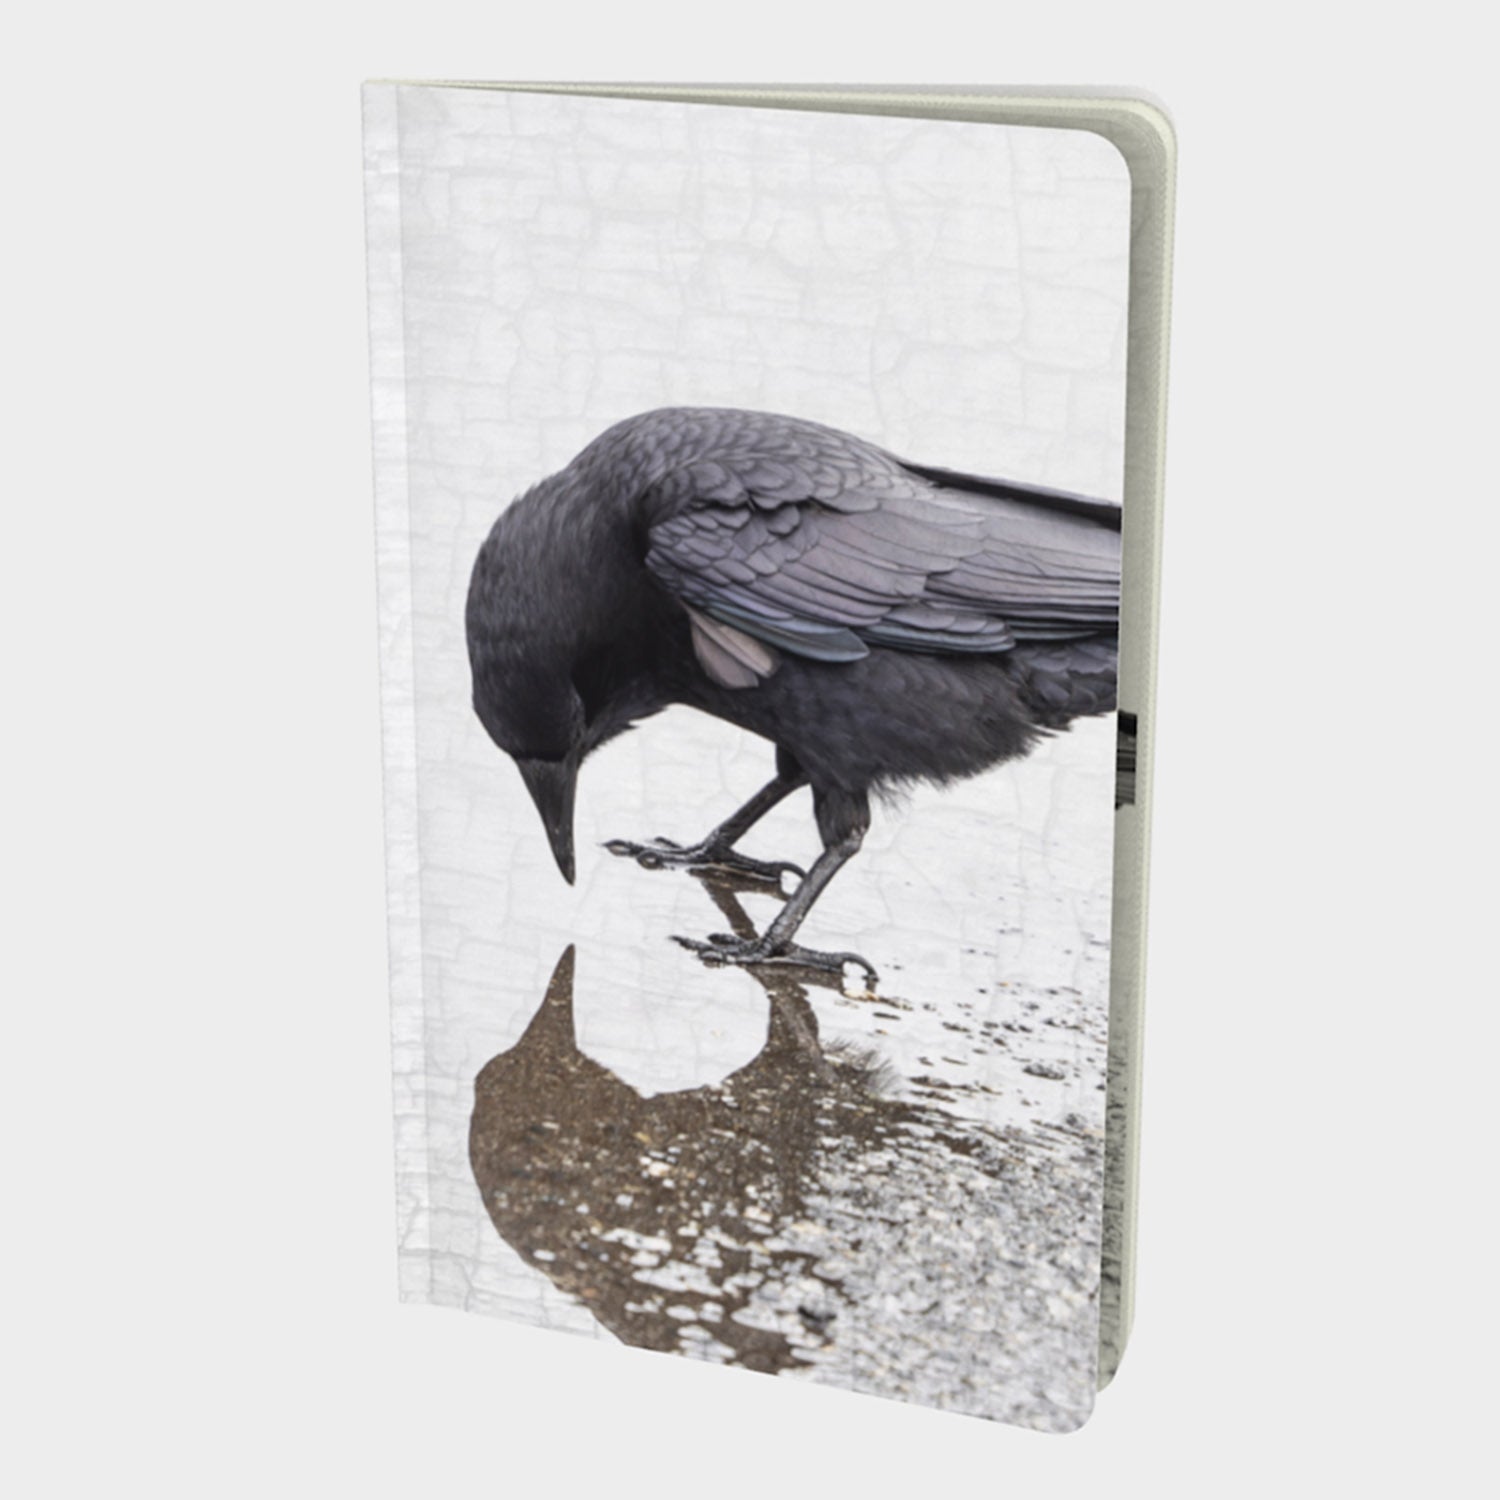
Check out June Hunter’s collection of crow, raven, garden bird and blue botanical prints which will add a vibrant touch of nature to your home.

Read More:
How to Frame a Print: Simple But Beautiful DIY Art Framing
Explore June Hunter's Gift Shop
This article was written by Colette Nichol and reviewed by photographer and nature enthusiast June Hunter. Our aim with these short articles is to bring interesting bird facts and nature-inspired home décor info to more online readers while also highlighting June Hunter's photography and designs. To read June Hunter's popular blog the Urban Nature Enthusiast, where she shares stories about crows and ravens, please click HERE.

