How to Frame a Print: Simple But Beautiful DIY Art Framing
How to Frame a Print to Enhance the Art & Your Space
So you have a some prints or photographs and you want them gracing your walls!
Now you're wondering how to frame a print so it looks beautiful and fits with your décor without breaking the bank.
What do you do?
First, it's important to consider your options and decide which framing route you want to take because there's more than one way to frame a print. You may choose the DIY framing route, which I'll walk you through in a minute.
Or you might choose to use one of the reasonably priced online custom framing options.
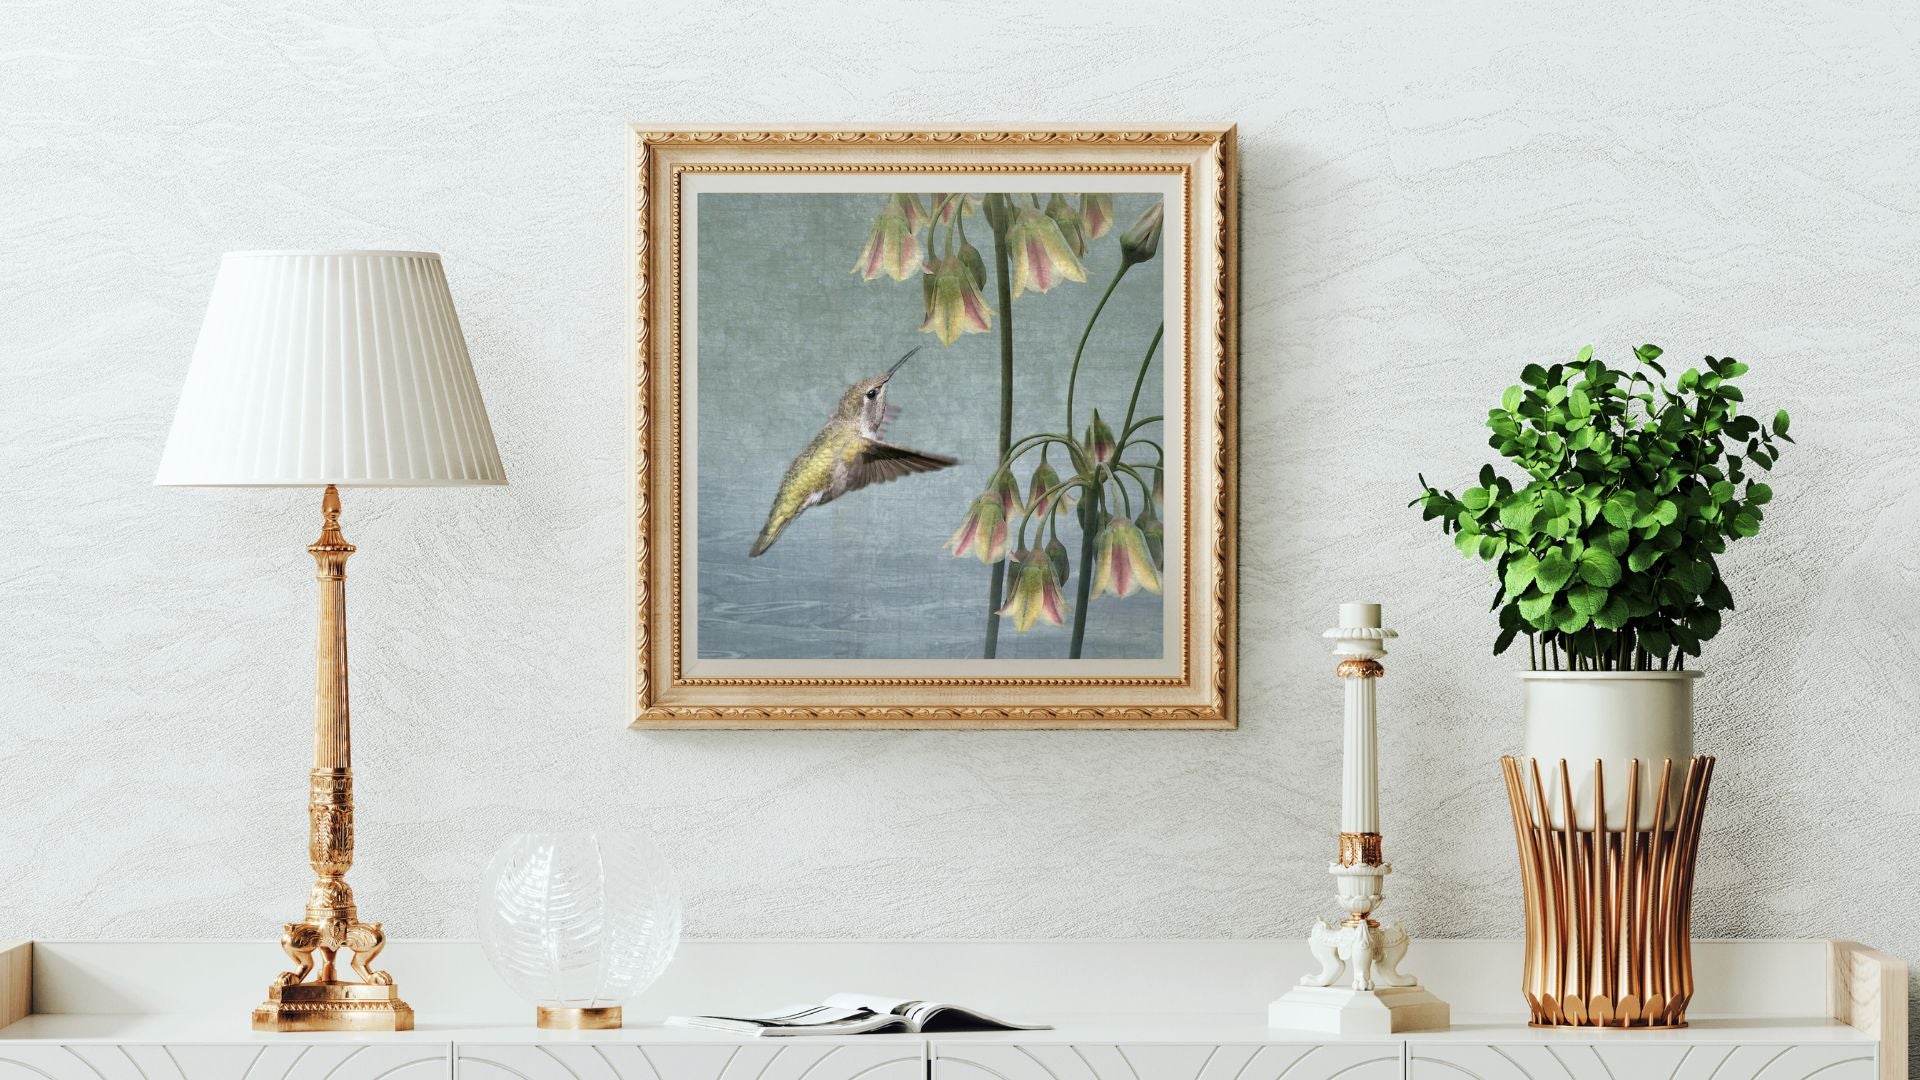
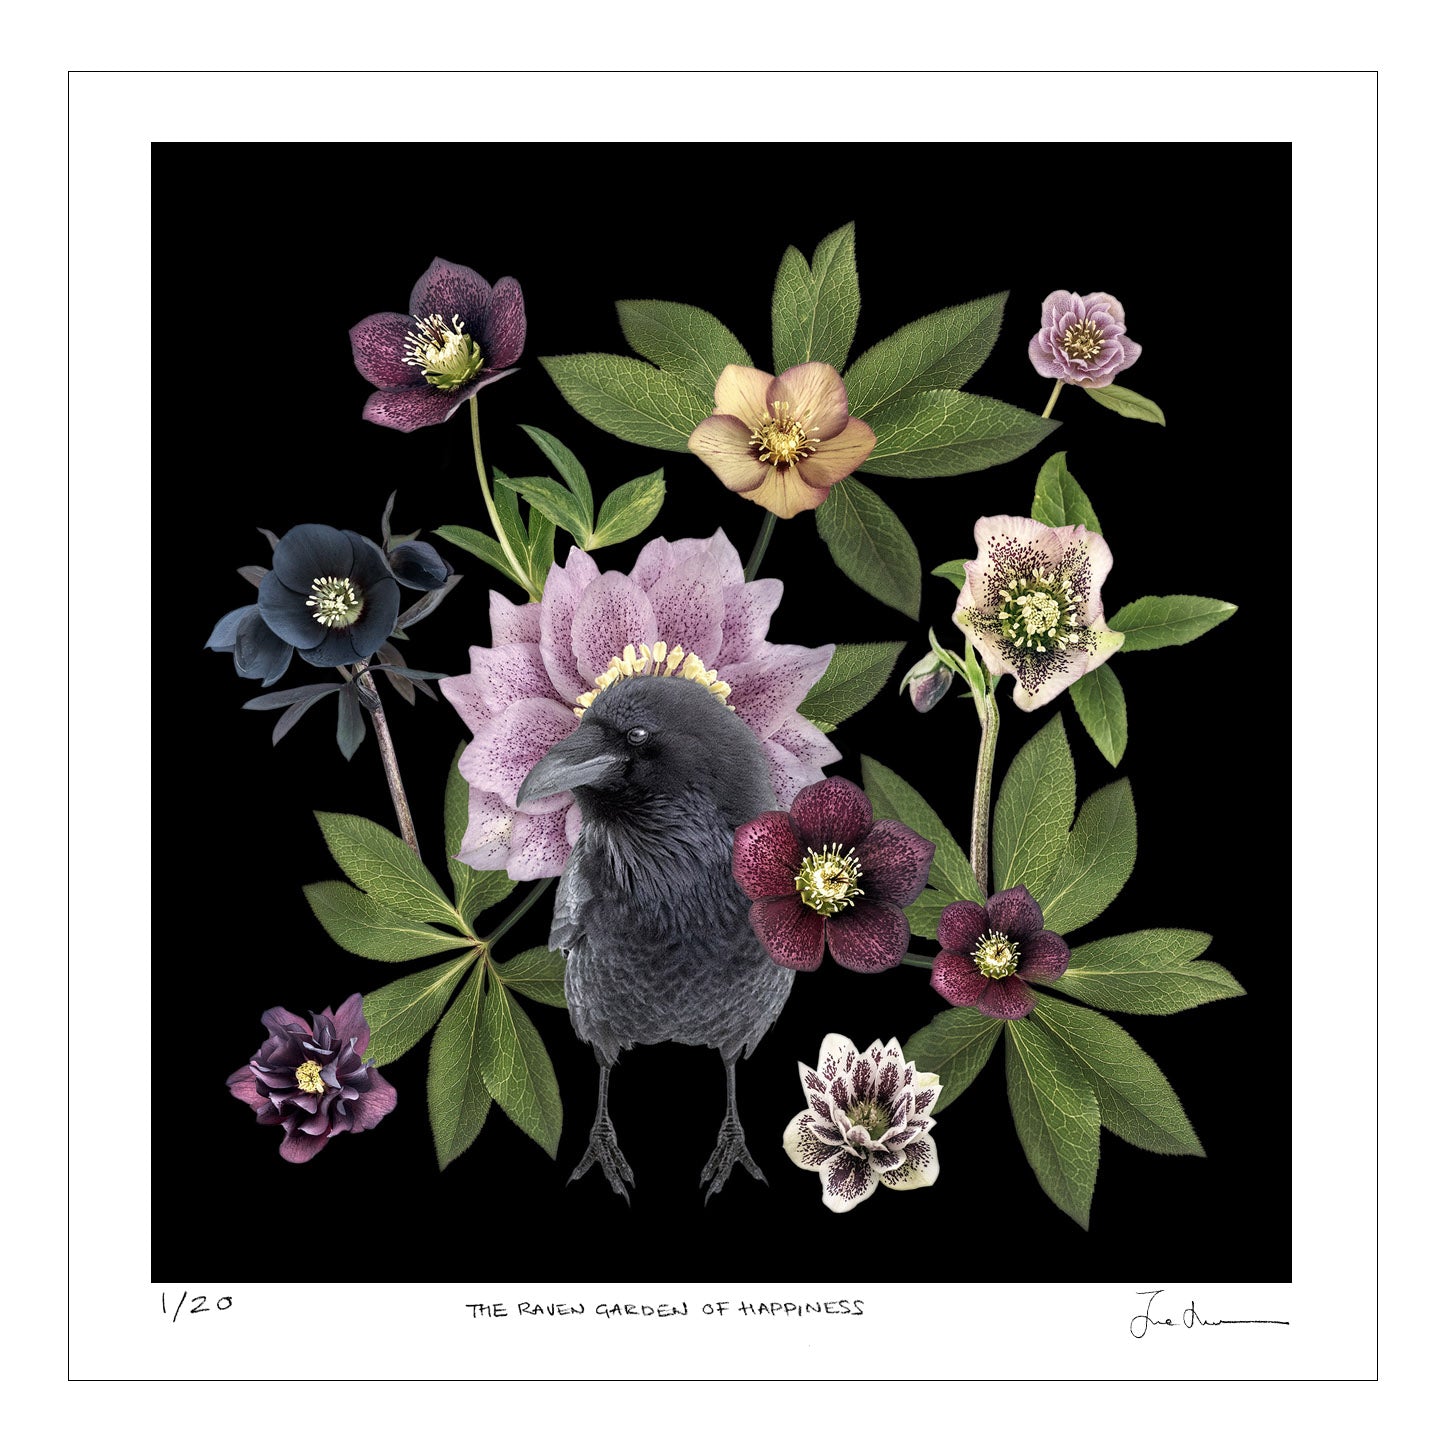
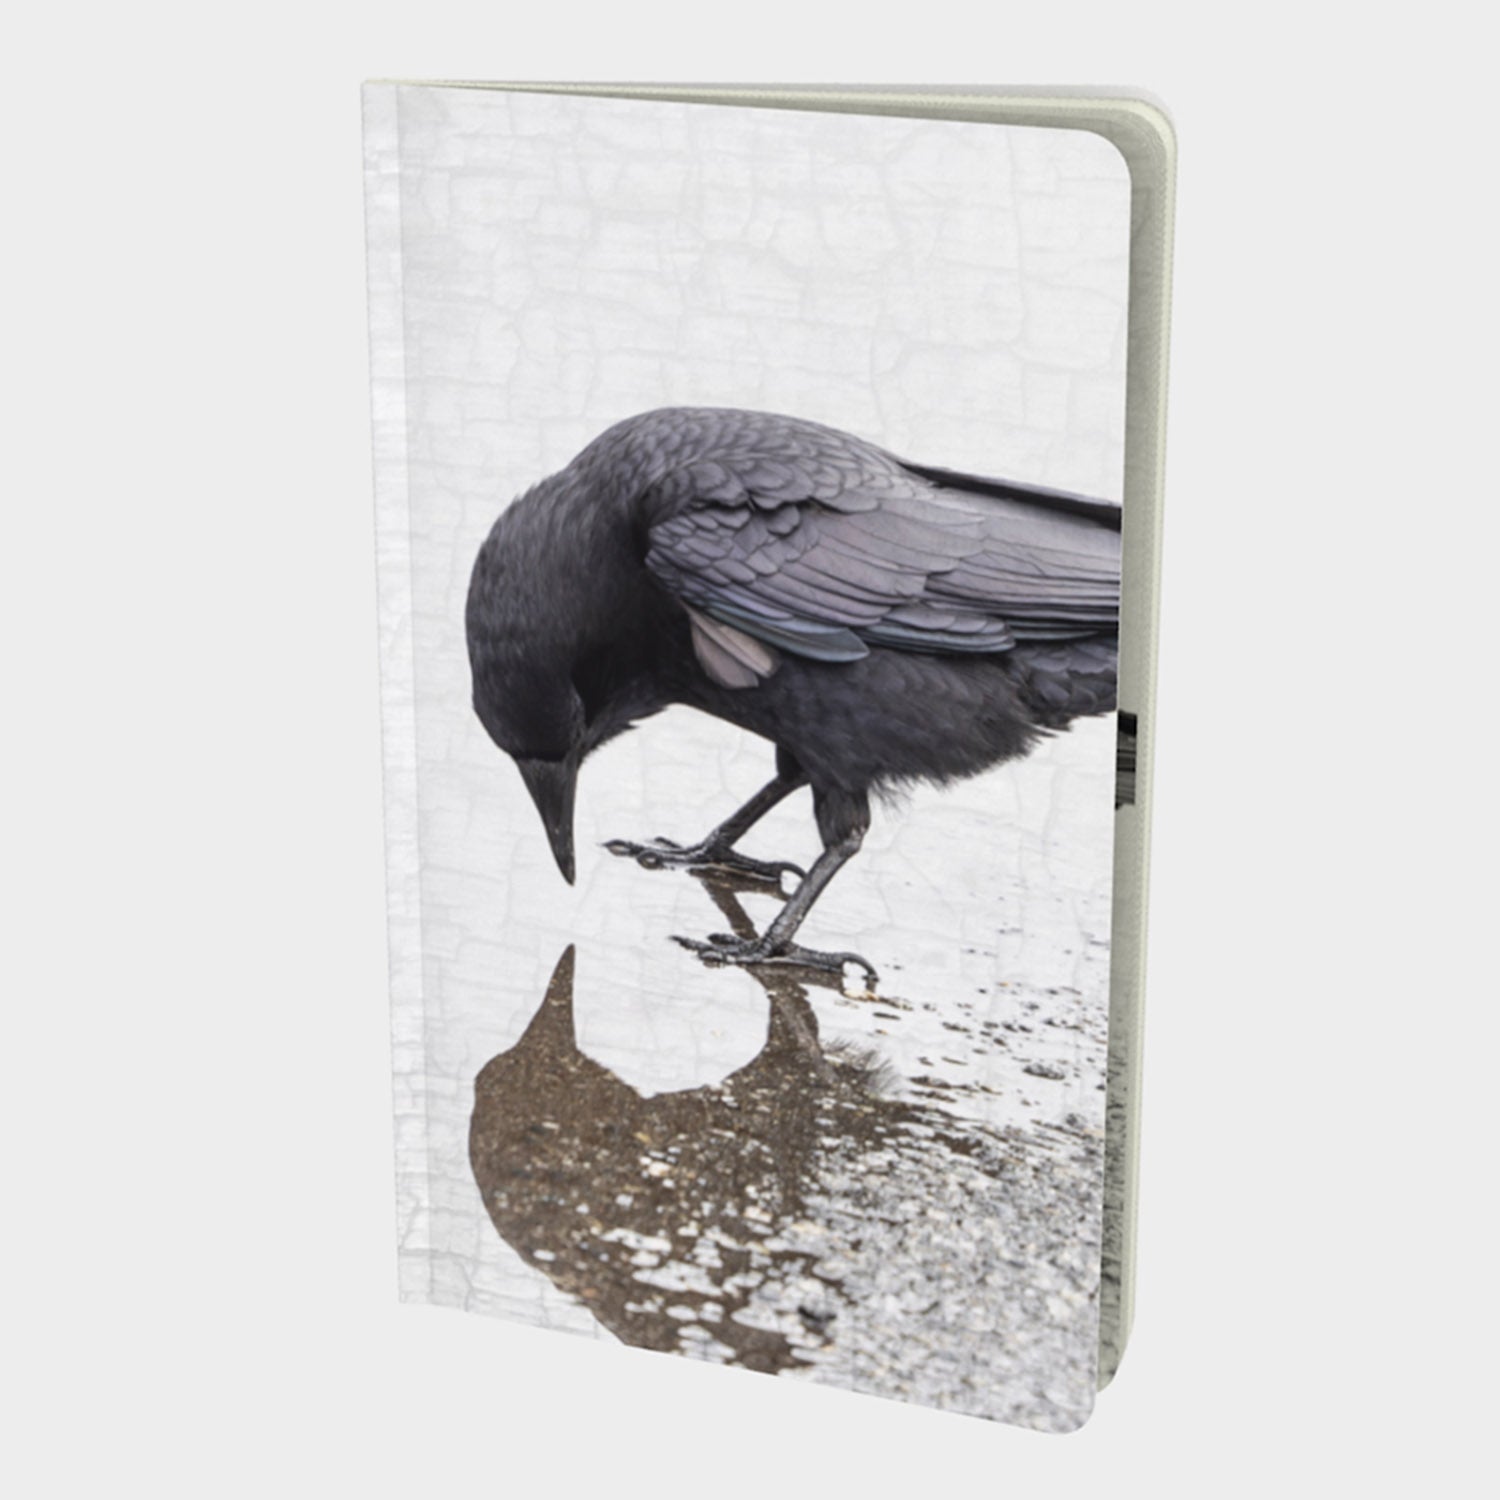
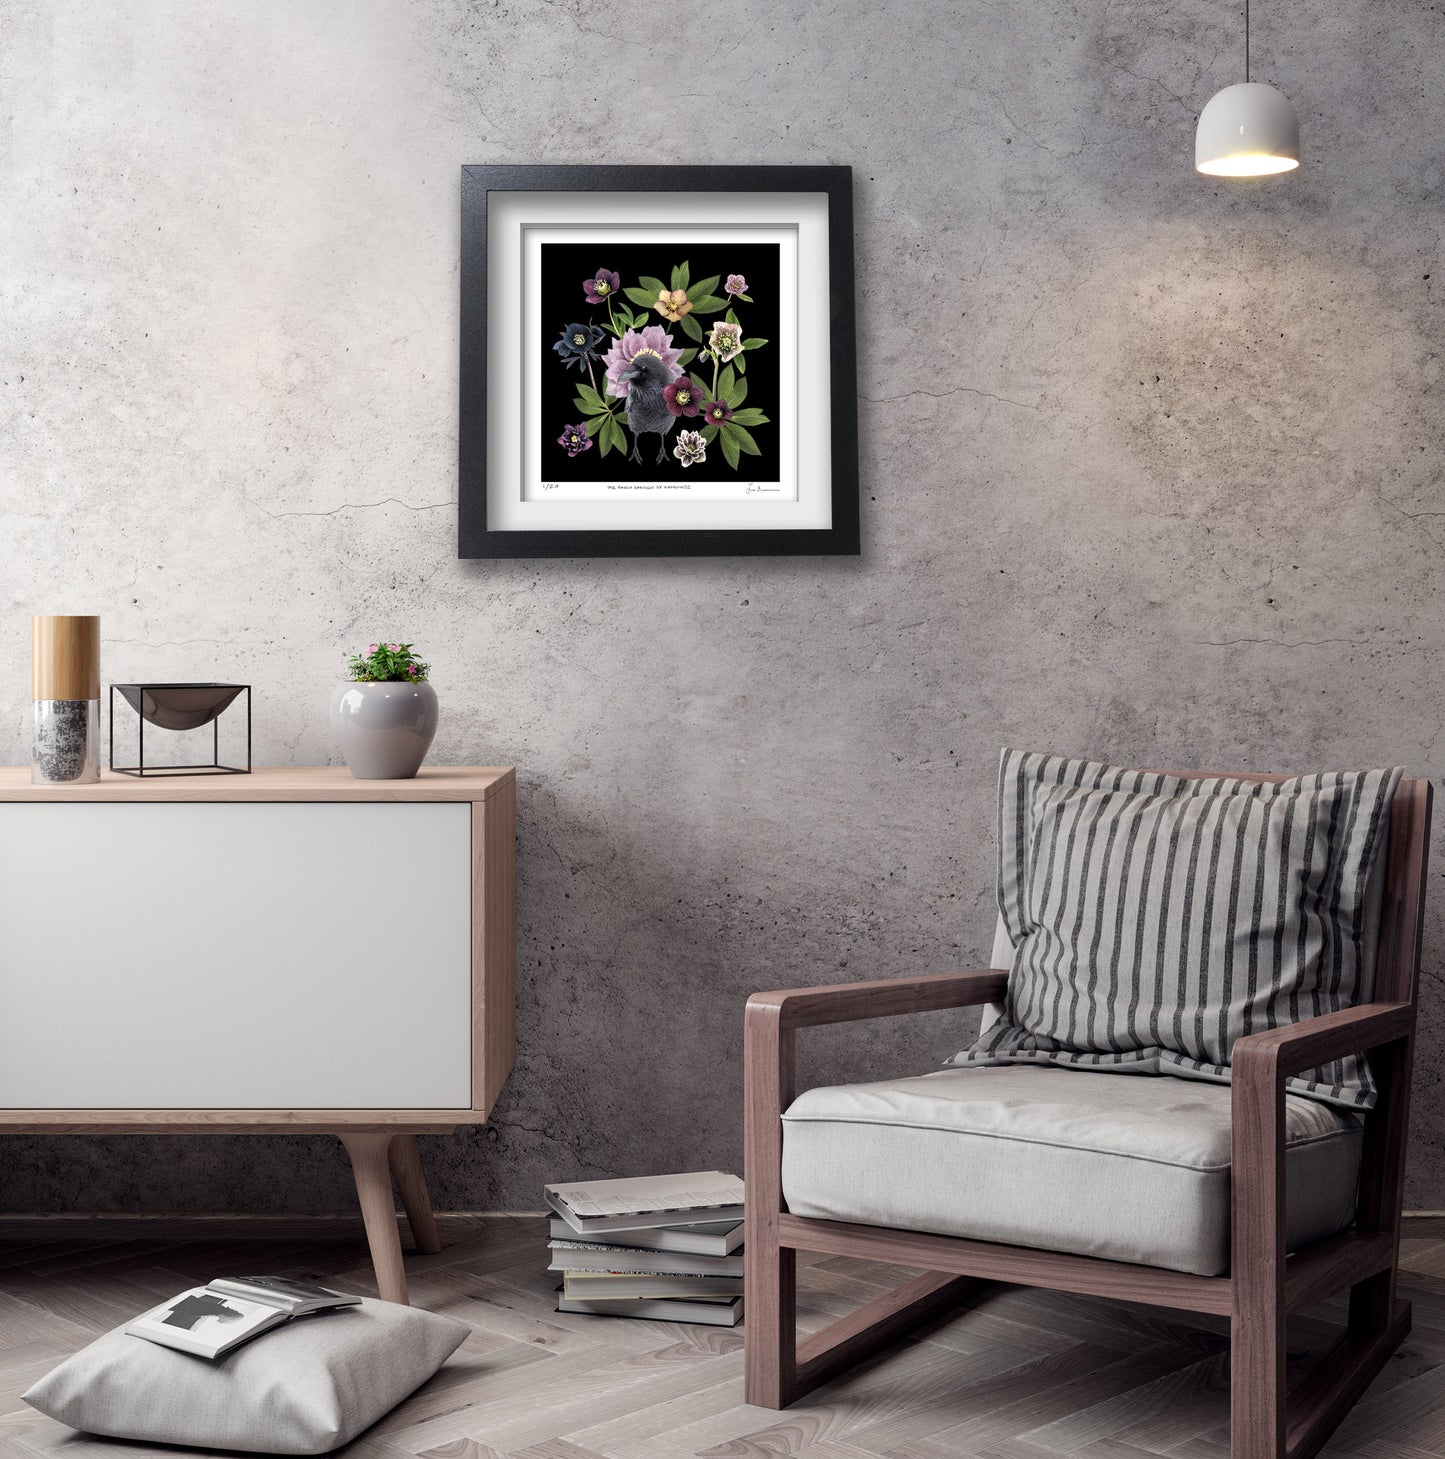
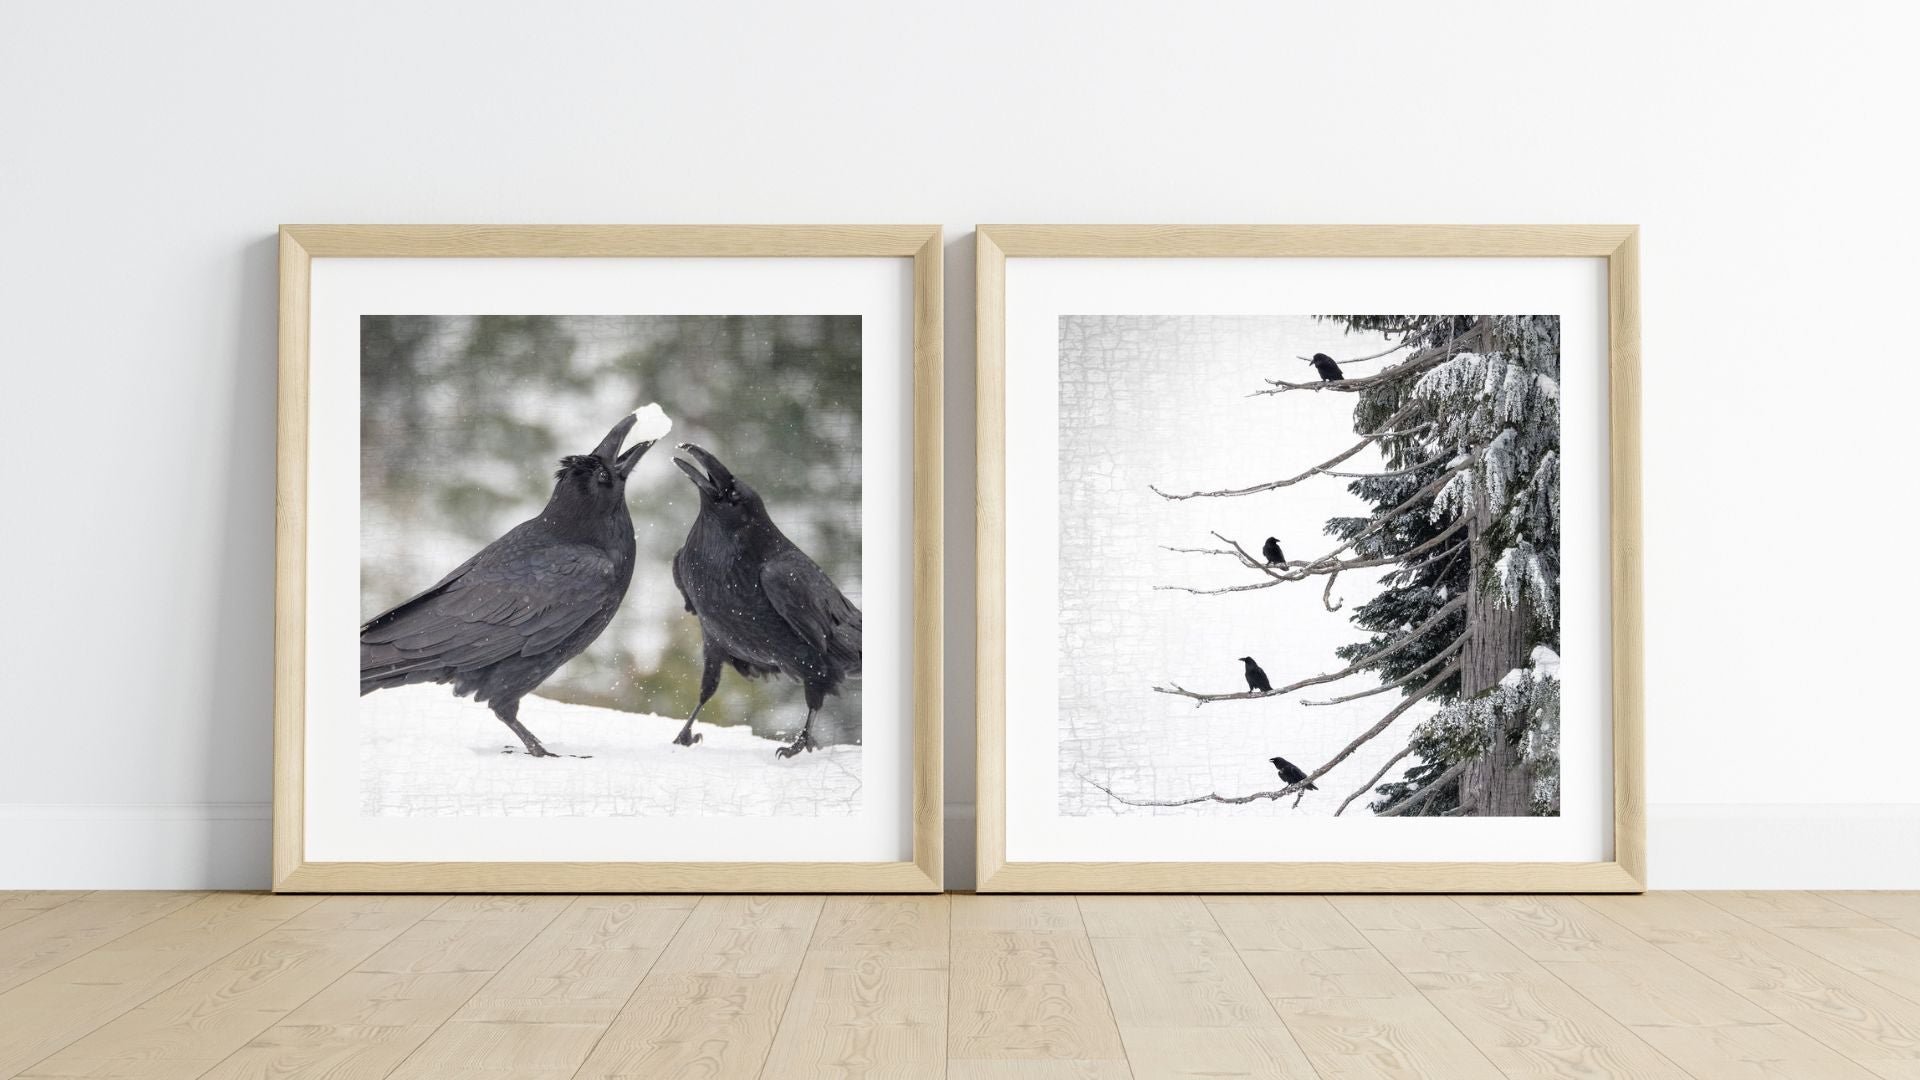
Hummingbird Prints: Fine Art Photography by June Hunter
Cost Effective Framing
The most cost-effective method of framing will depend on whether you're planning on framing multiple prints or just one.
If you're creating a gallery wall, then going the DIY route is usually the most budget-friendly. And if you're like me and have a tendency to swap around the art on your walls a lot, then the DIY route is likely best.
But if you're more of a one-and-done kind of person who is committed to a piece of art for the long haul, then getting some version of custom framing may be best. Paying once for perfection is never a bad choice, especially if you've purchased a valuable limited edition print.
OK, so let's get into it!
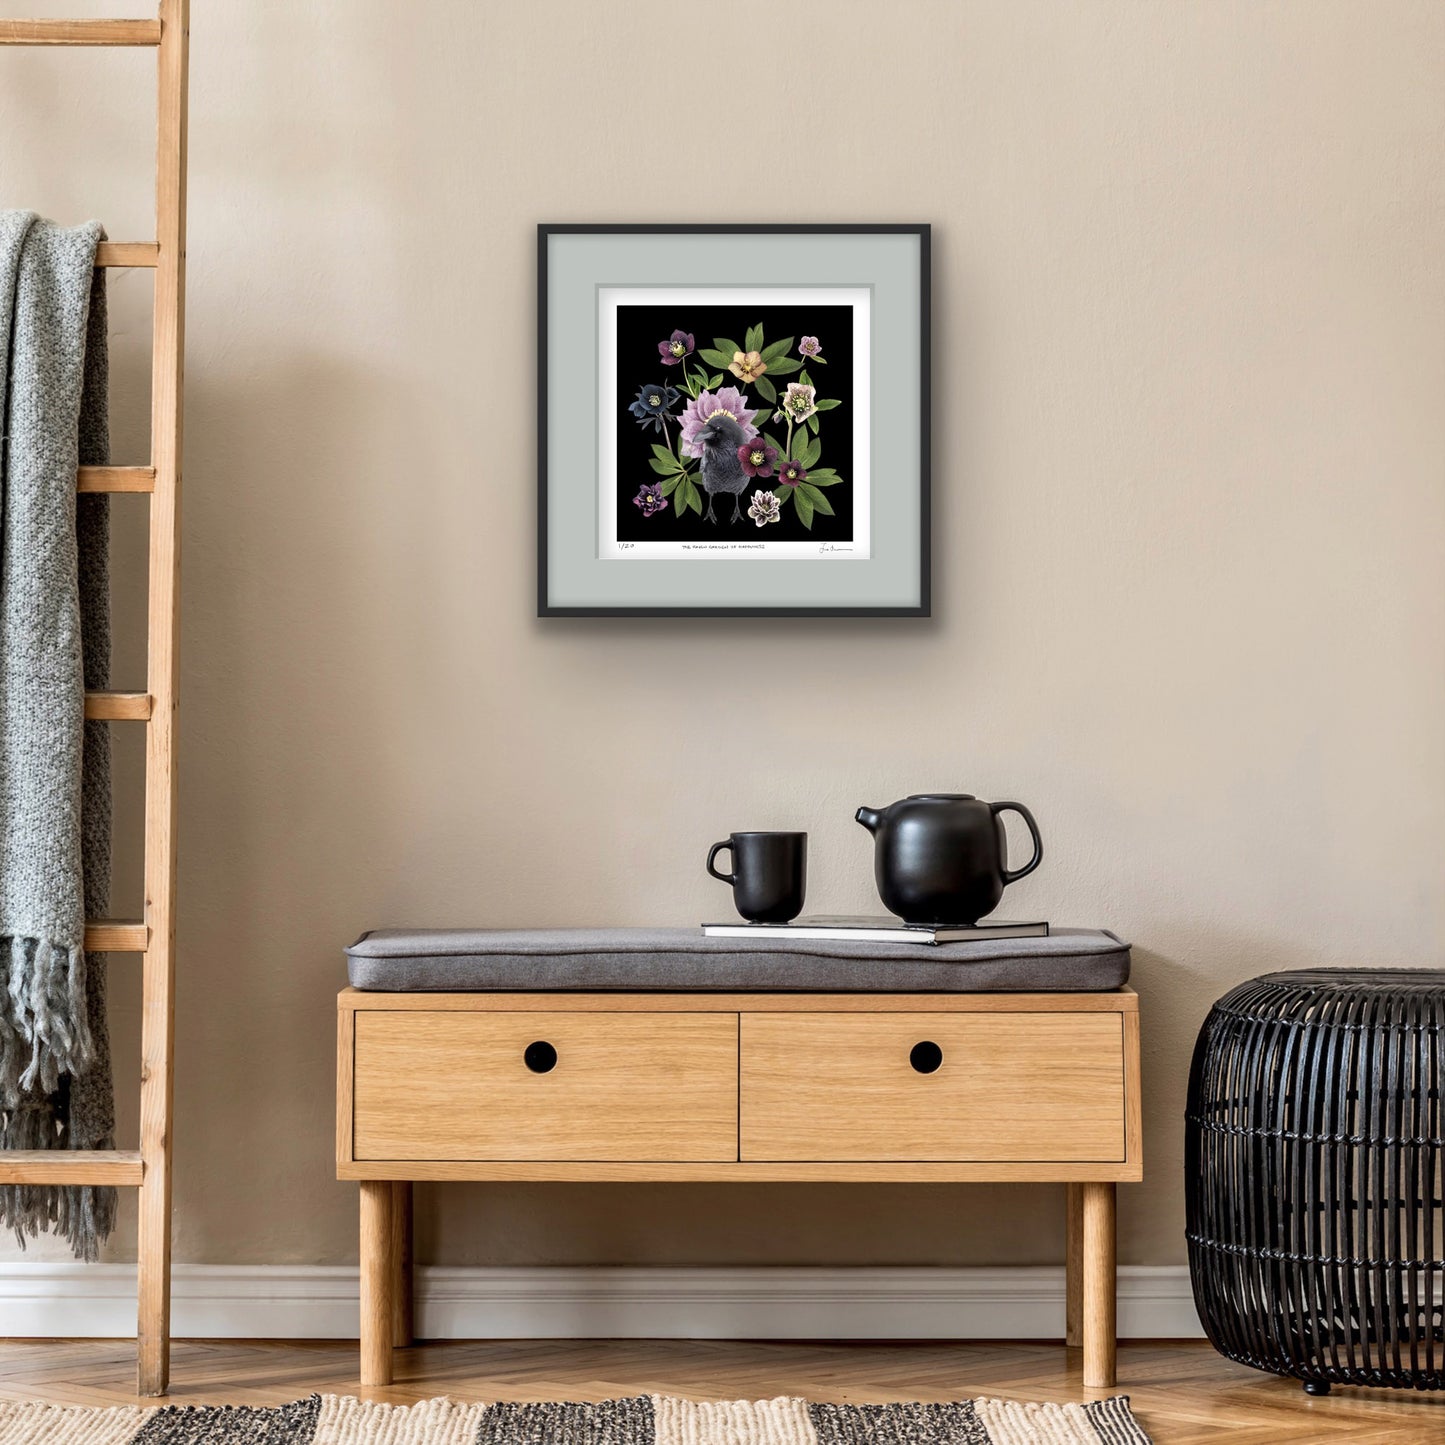
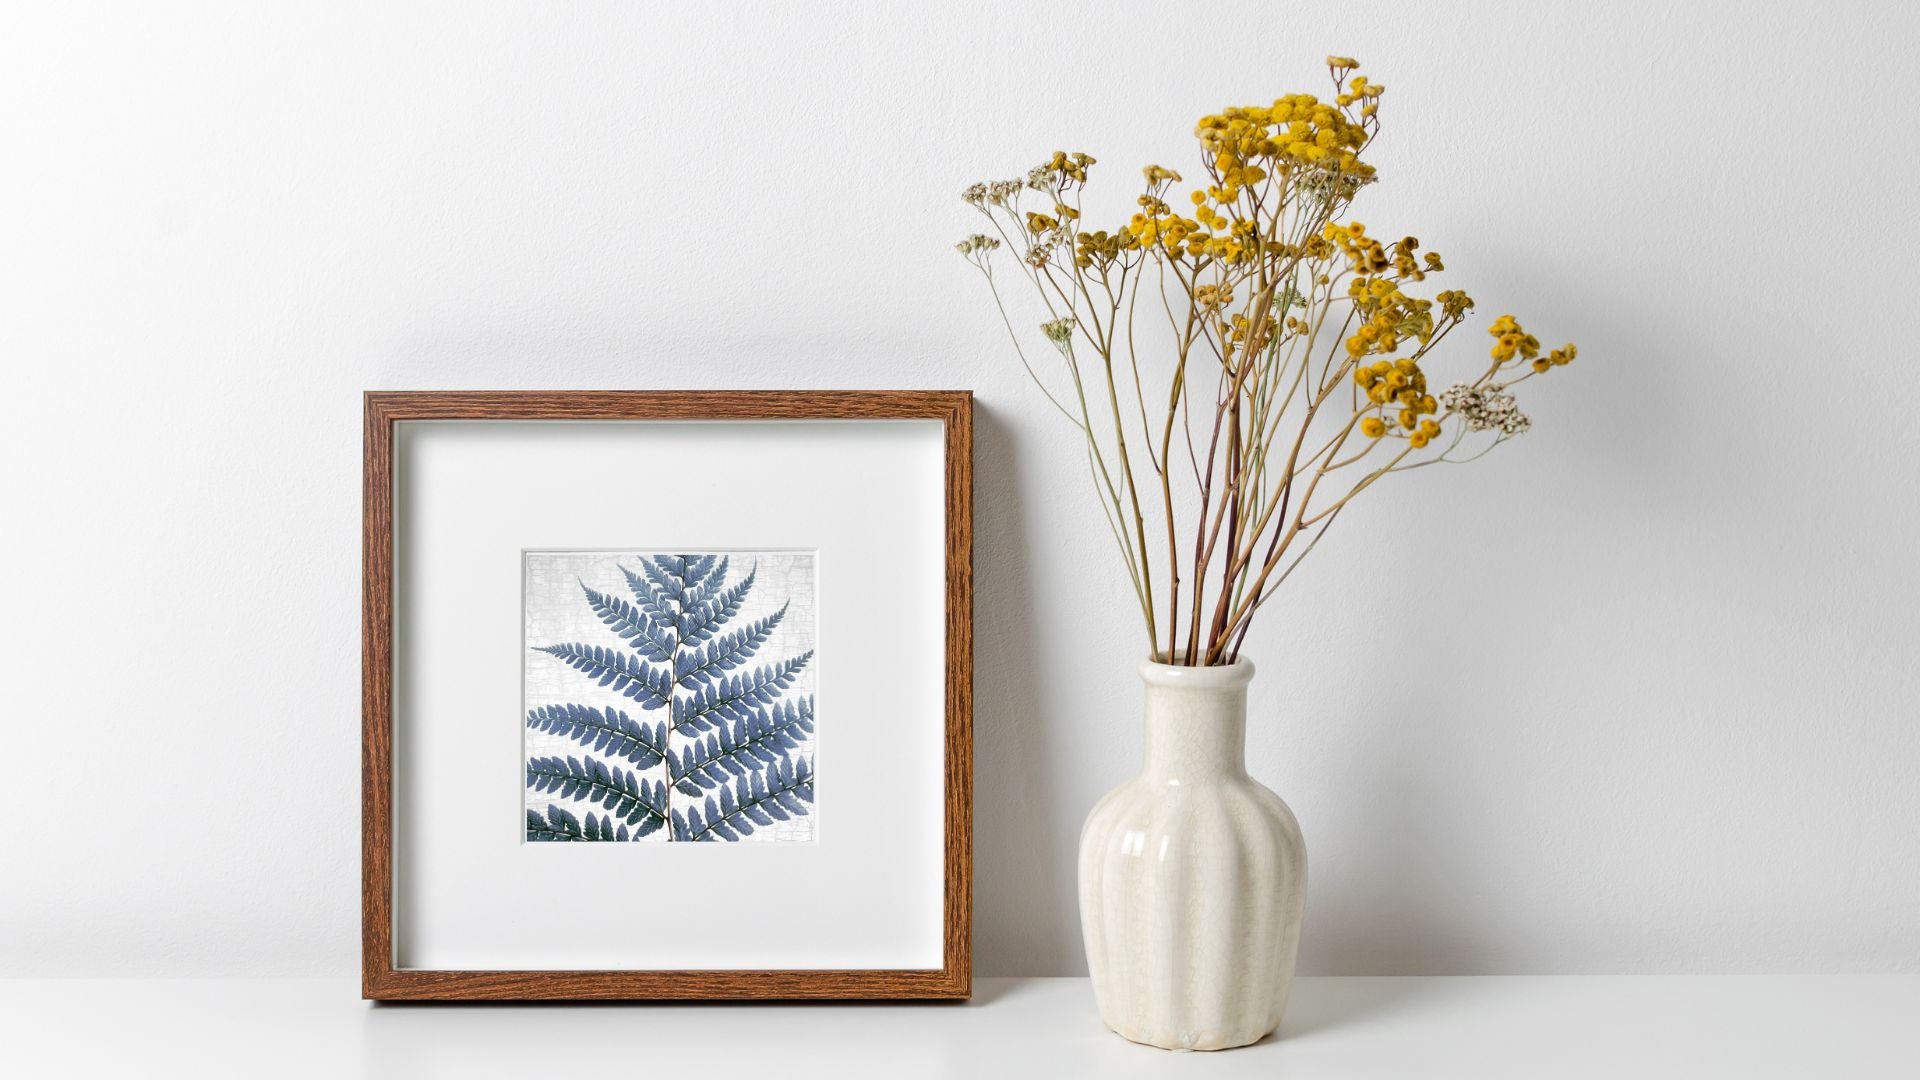 Blue Botanical Prints: Fine Art Nature Photography by June Hunter
What Is the "Proper" Way to Frame a Print?
The proper way to frame a print is based on protecting the print for many years.
To frame a print professionally, the key is to use an acid-free mat and UV-protected glass or acrylic to protect the print as well as acid-free tape and an acid-free dust cover on the back.
This method will allow your print to last 100 years or more without disintegrating. So if you have a very expensive print, or just one that you treasure deeply, this is the best route.
This route is also smart if you're going to put your print somewhere that gets a lot of sun as you'll see less fading over time with UV acrylic.
You can read this article about how to protect art prints for more details.
But what's the "why" behind all of these framing techniques? Is it necessary to be so persnickety?
Acid-Free framing materials lengthen the lifespan of the print.
Using a mat creates a small gap between the glass and the print which prevents the print from being damaged by the glass.
Over time with heat and moisture the ink of the print can start to stick to the glass if there is no mat.
The mat also draws the eye into the print by creating greater negative space around the print. So it's utilitarian and artful.
Finally, the dust cover on the back prevents, well, dust and other elements like smoke or moisture from getting into the frame and damaging the print.While the UV glass or acrylic prevents the sun from fading the image over time!
Using a mat creates a small gap between the glass and the print which prevents the print from being damaged by the glass.
Choose Your Framing Materials
For the rest of this article, I'm going to assume you've decided to do the framing yourself.
But if you want to have the framing done for you, then scroll down for a couple online options where you can send in a print have it framed for you at a reasonable price.
Now, that you're ready to start framing your prints, you need to decide what kind of frame you're going to use and whether you want to go mat or no mat.
You need to decide what kind of frame you're going to use and whether you want to go mat or no mat.
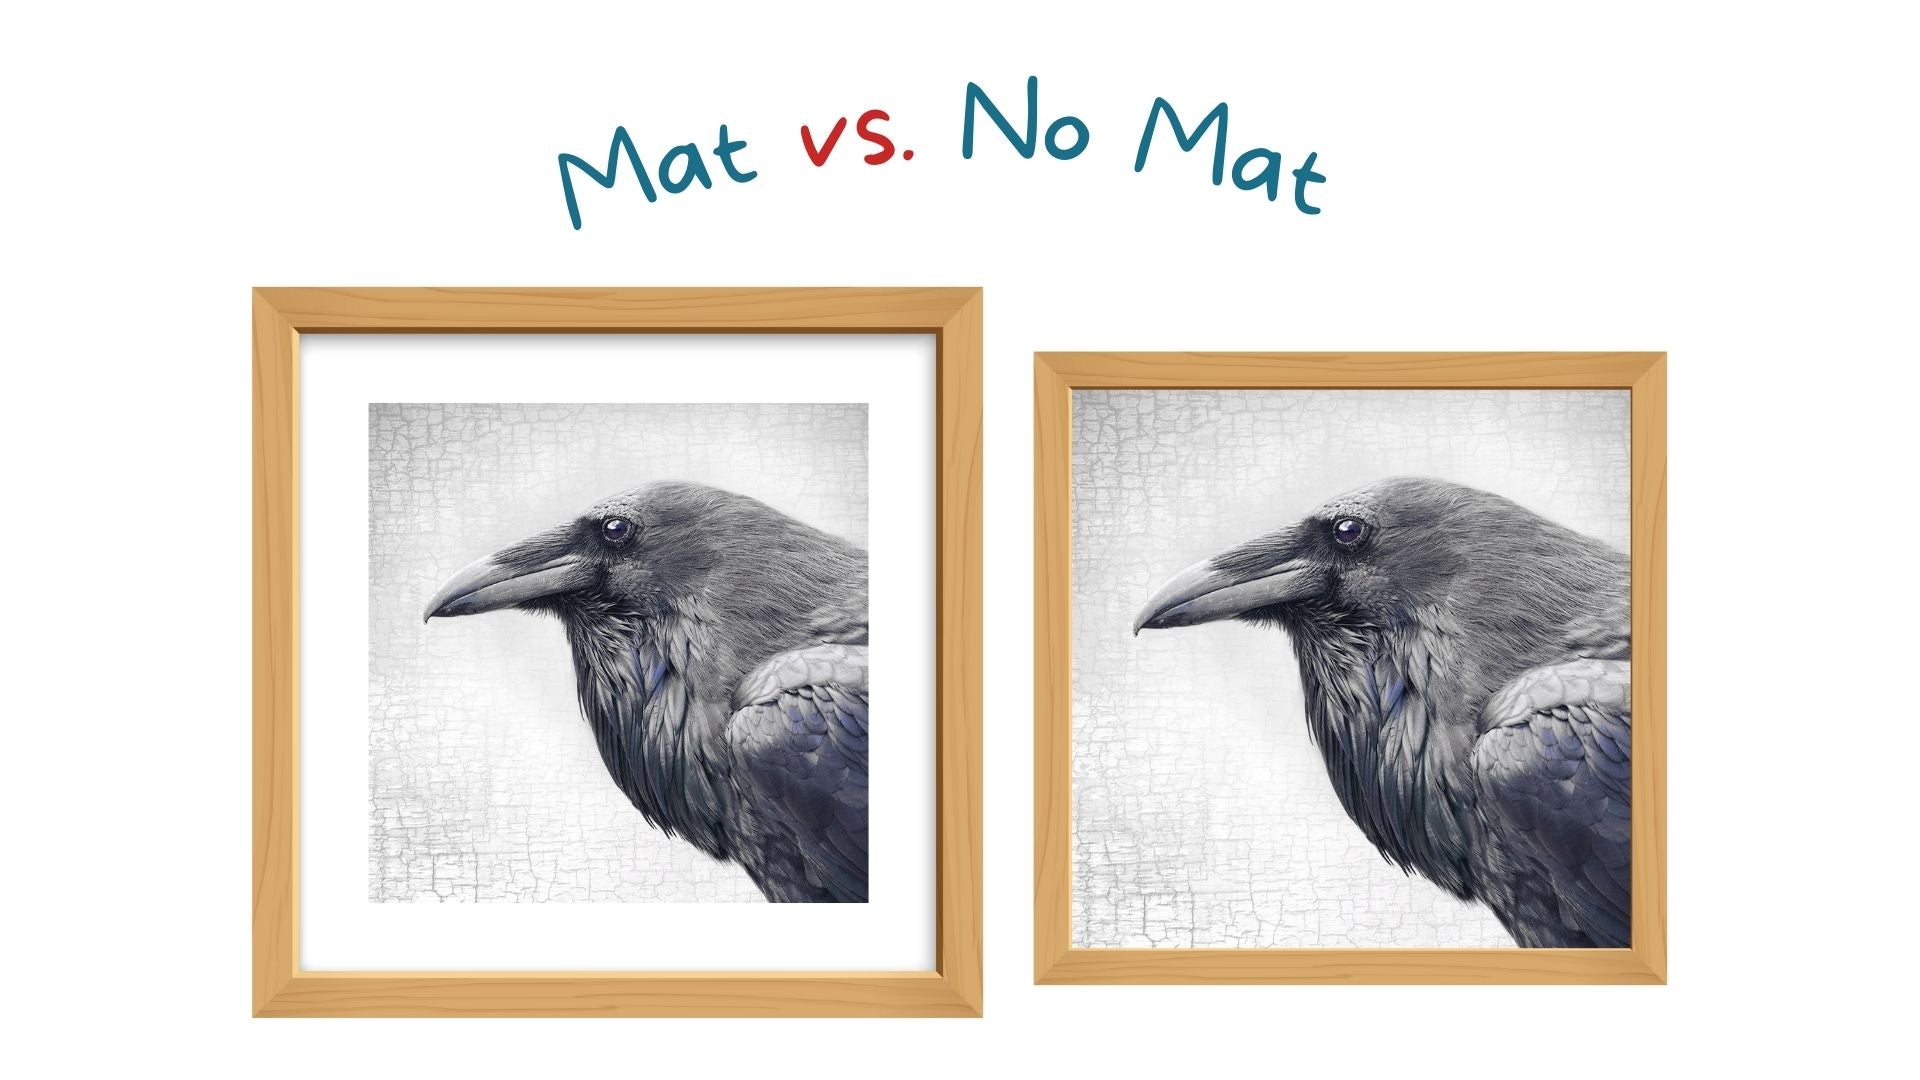
MAT OR NO MAT?
If you're framing a tiny portrait-style print, and it wasn't super expensive, then going no-mat can create a really cute look.
However, almost everything else looks best with a mat. If you're framing a medium-sized or large print i.e. anything that is 10x10 inches or more, then matting your print will truly make a difference.
While the mat is there to protect the print, it also draws the eye into the print, and creates negative space with allows the eye to rest comfortably on the image.
Using a mat along with a frame is like creating a spacious home for the print.
Finally, if your print is poster-sized or larger, then you can get away with a no-mat look because of the sheer size of the piece. It has presence and draws the eye on its own. However, there's no harm in matting a poster-sized print. Personally, I've never seen something with matting and thought, "Jeesh that would've been better without a mat!"
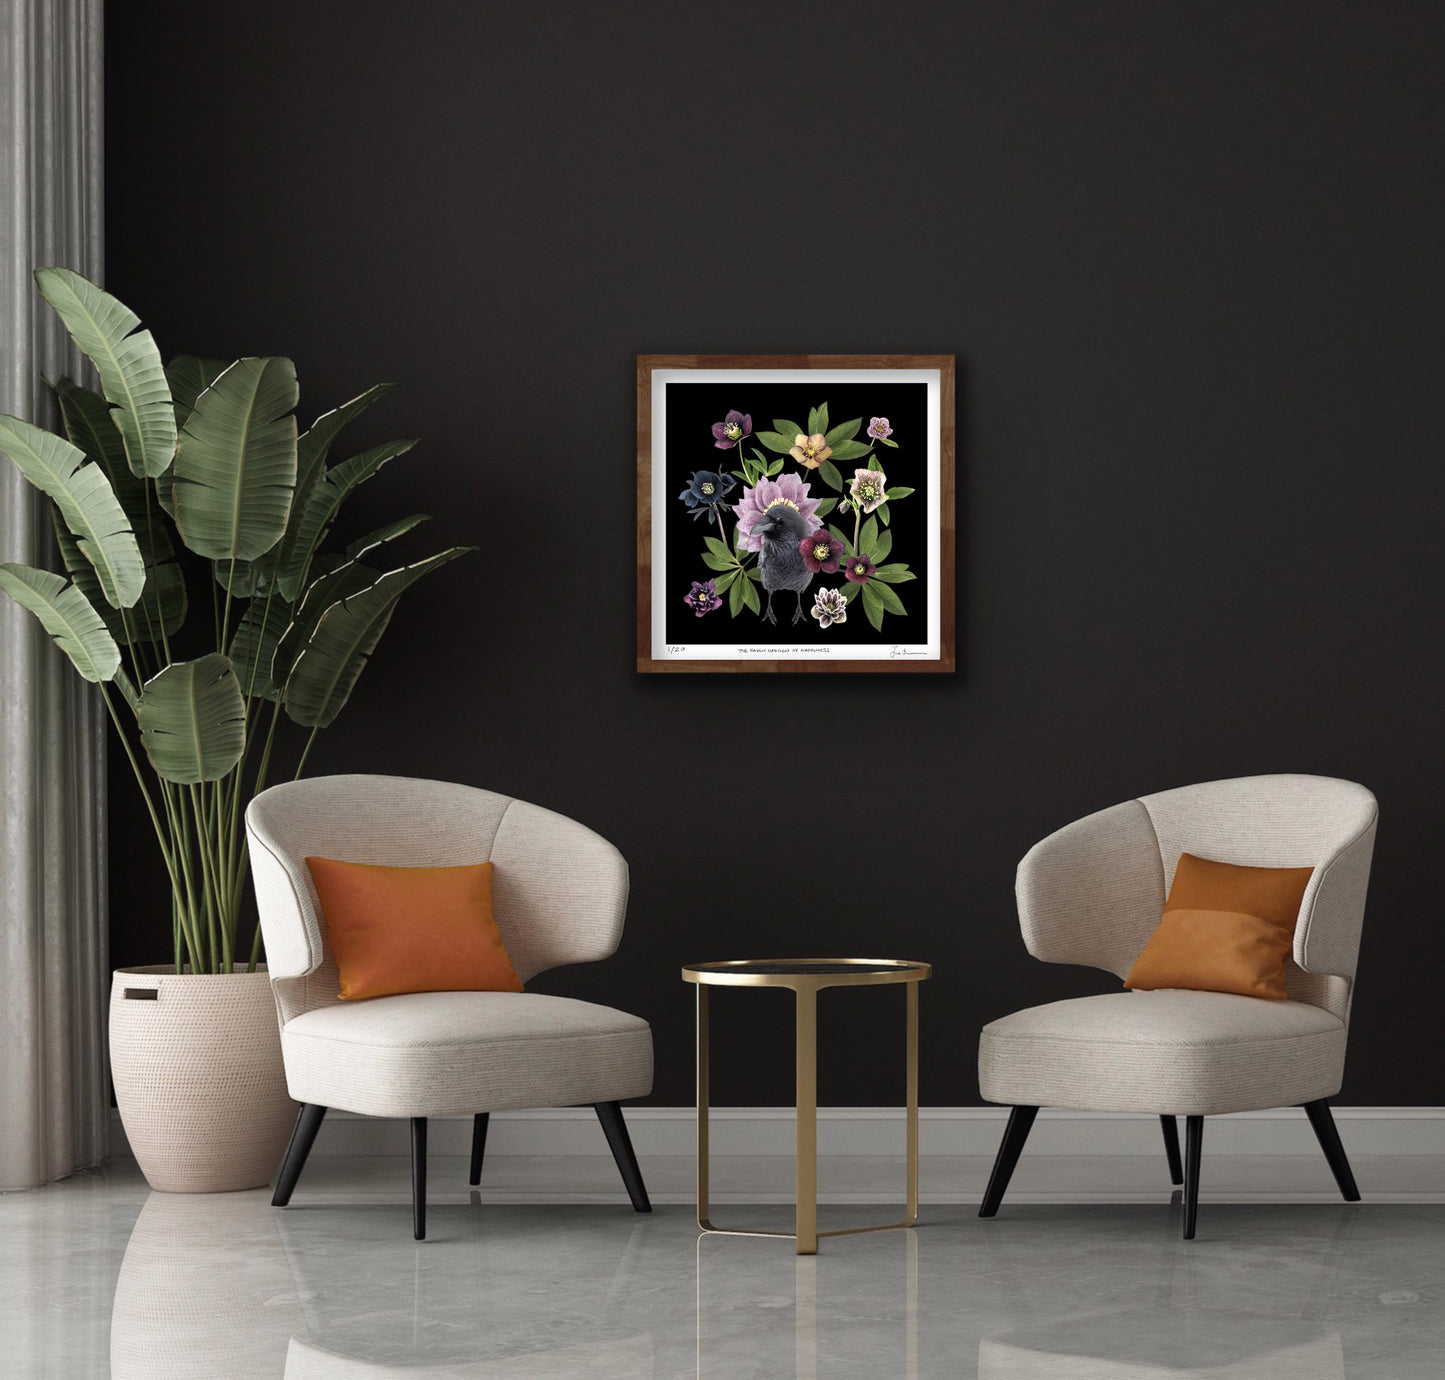
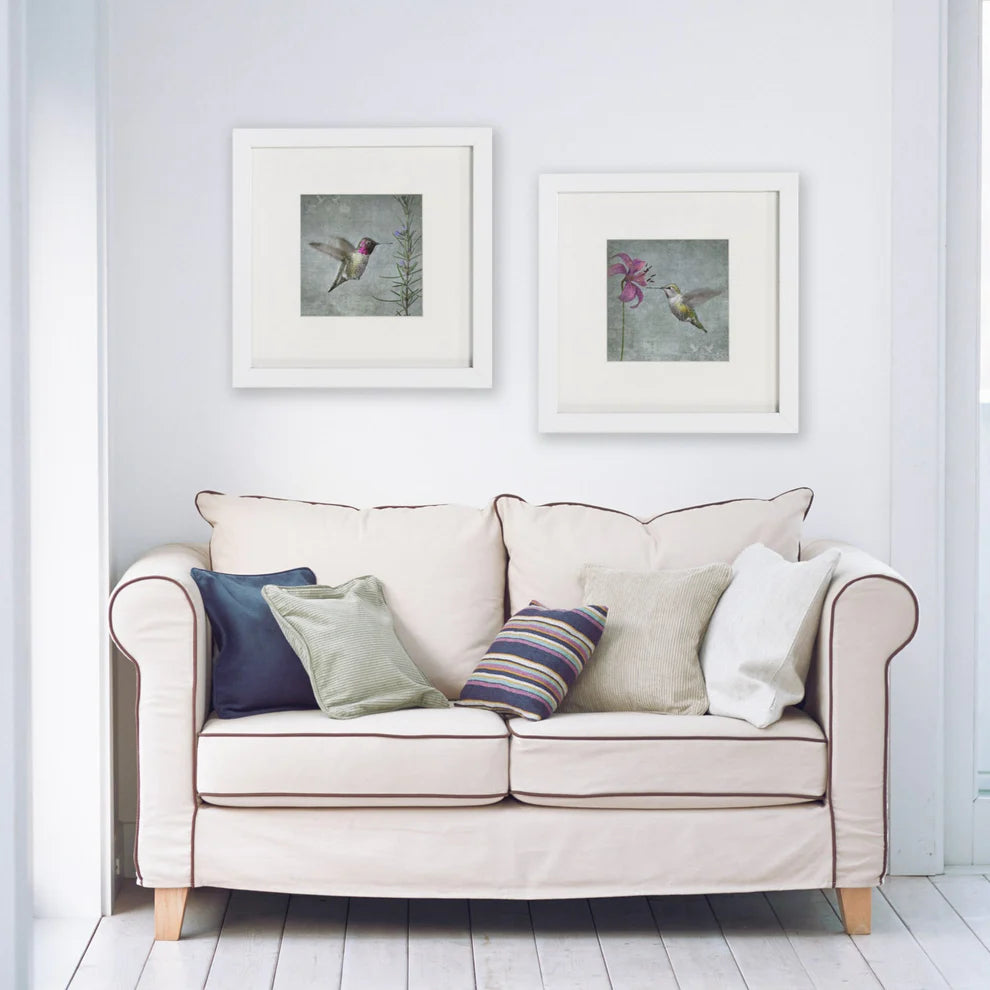
Blue Crow Landscapes: Fine Art Photography by June Hunter
FRAME
Next, it's time to choose your frame. Since you now know whether you're going mat or no mat, you can first focus on the material and aesthetic of the frame and then the size.
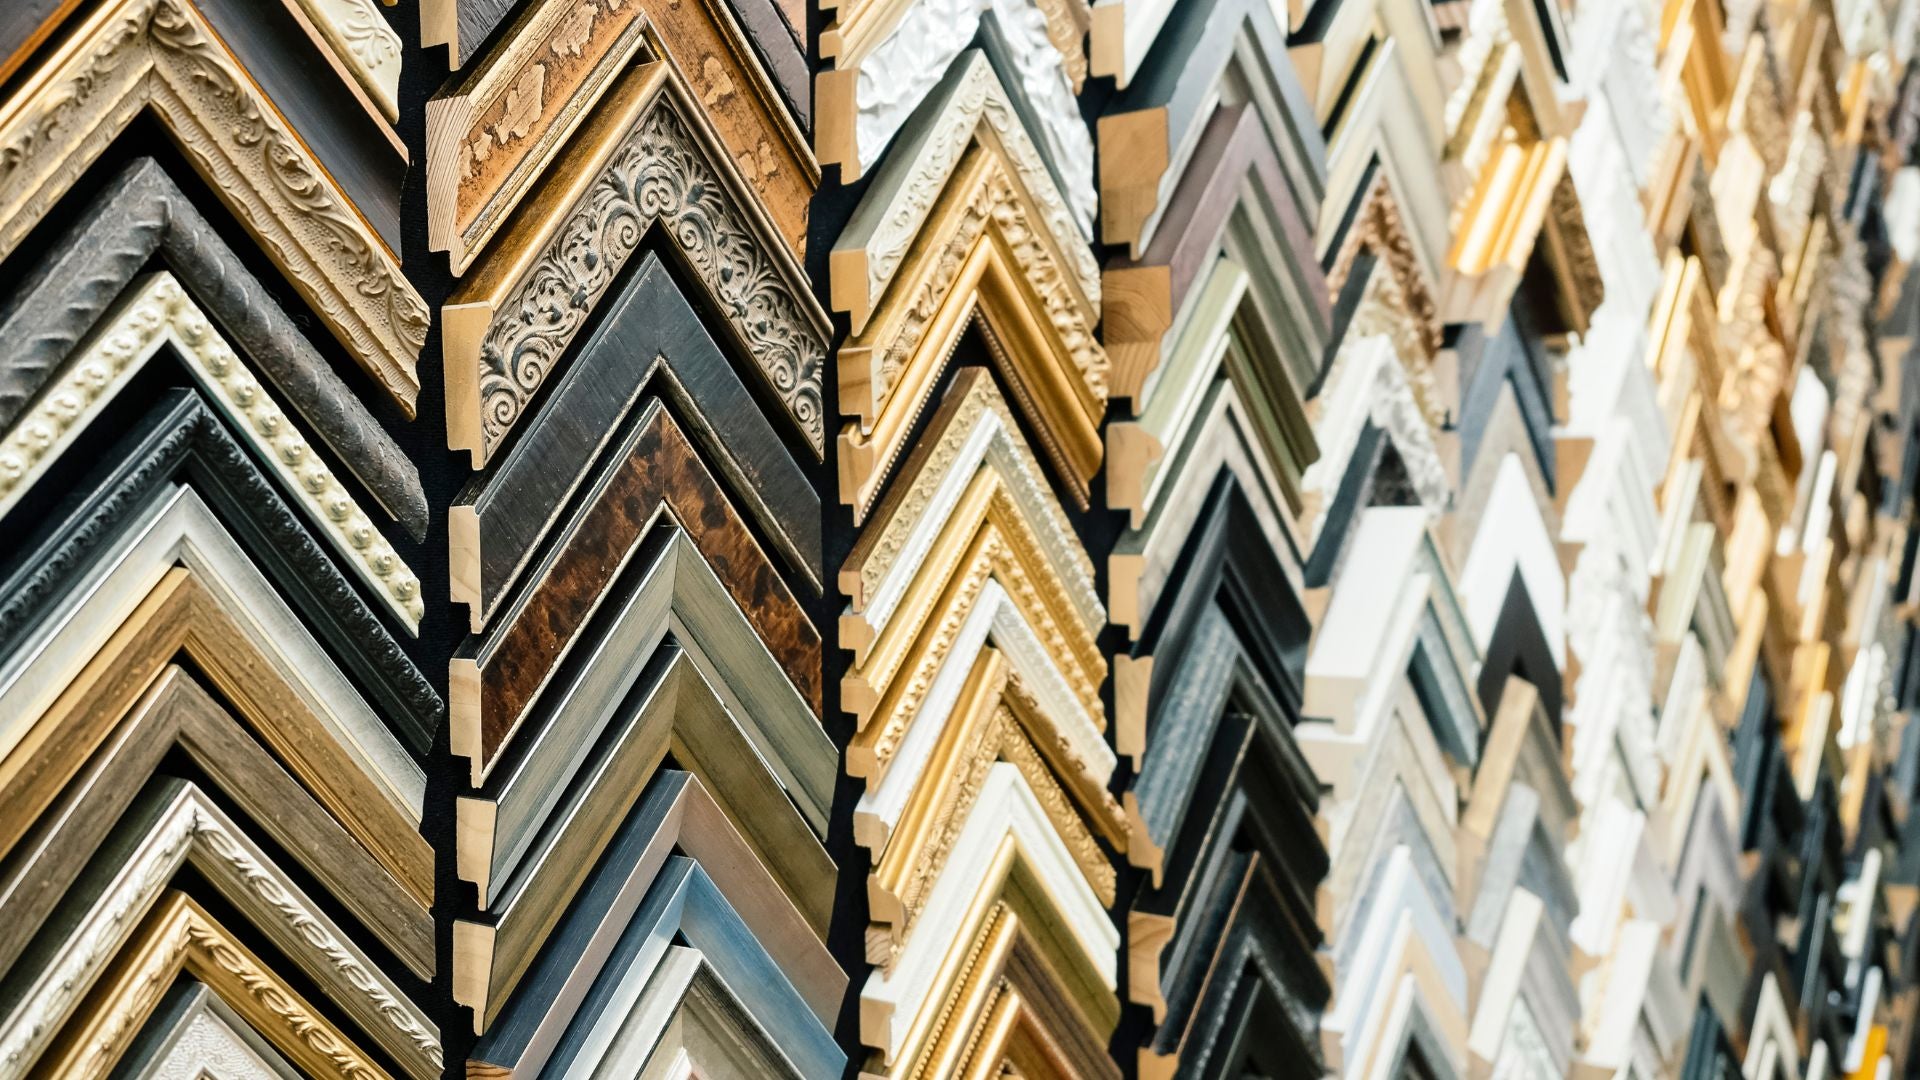
Frame Materials
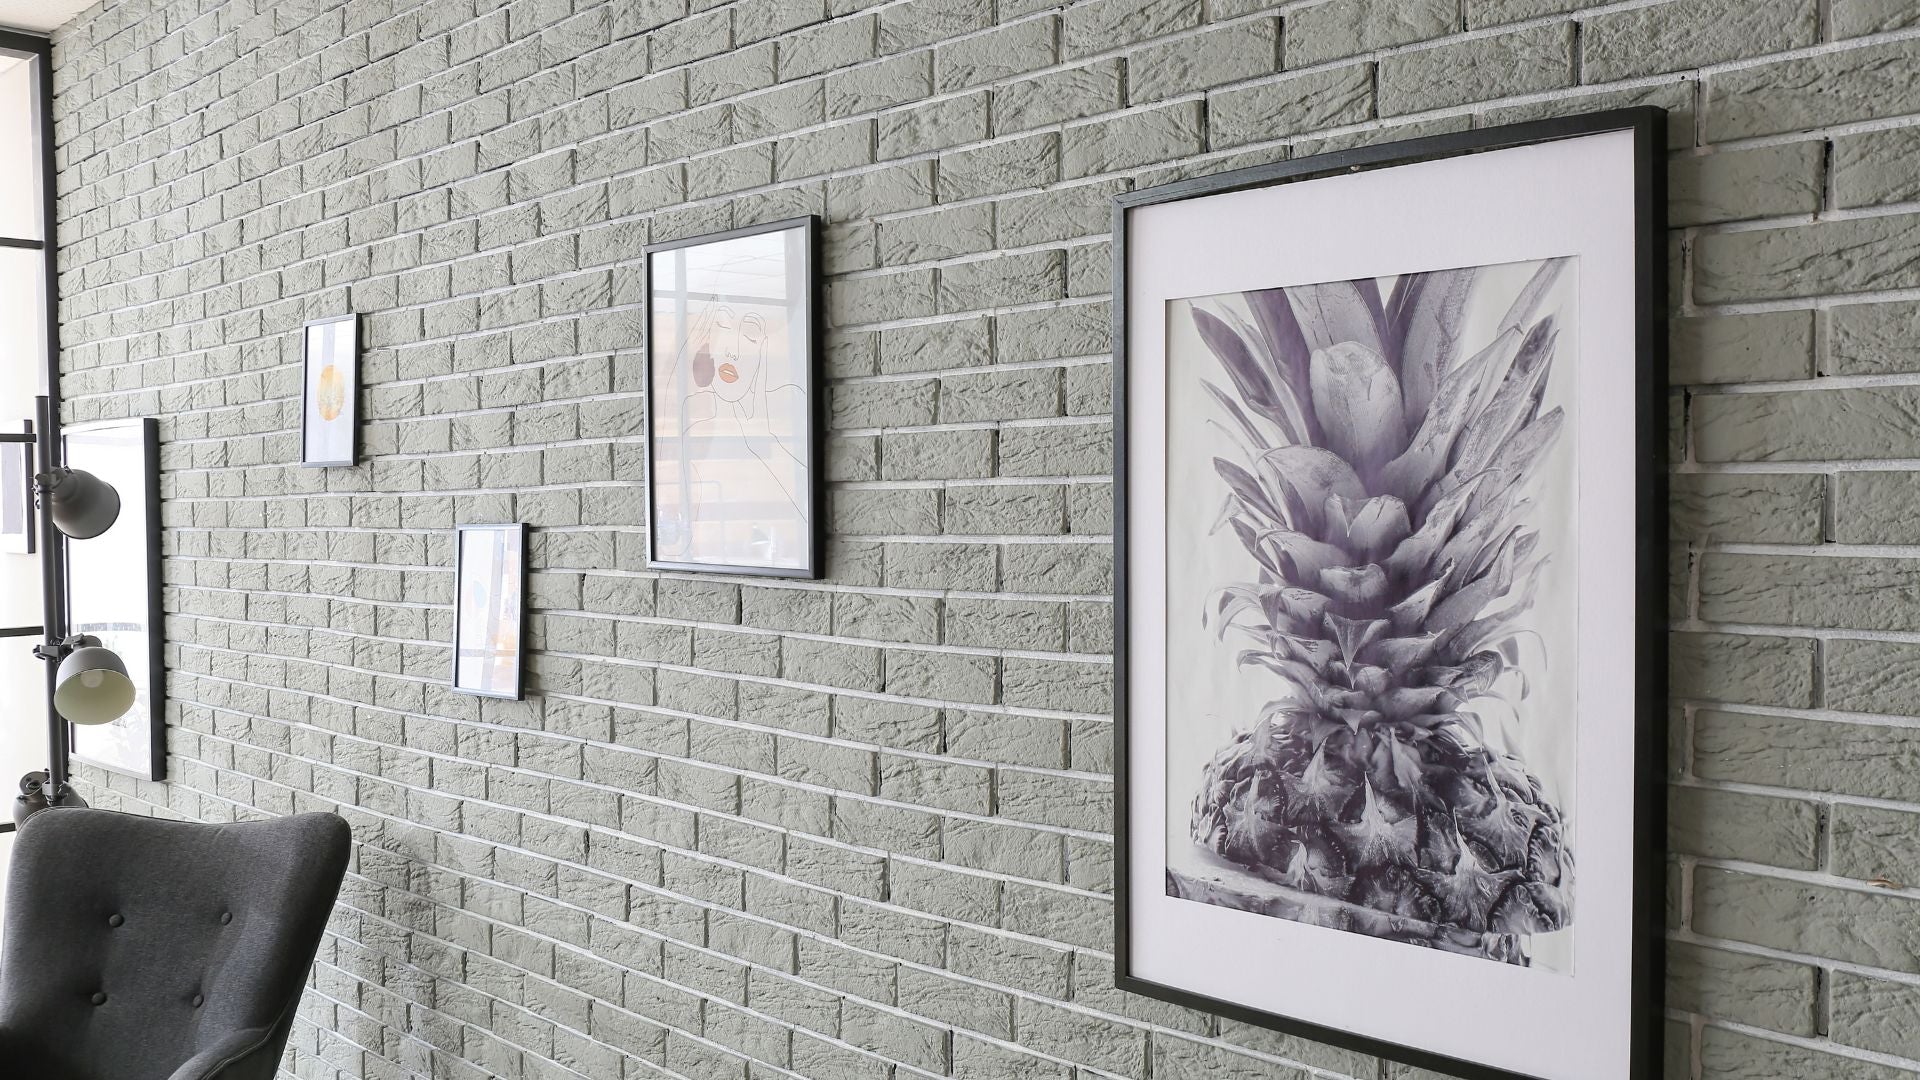
Look at the space where you'll be hanging your print and think about what look will most suit the space.
If it's a sleek modern space, you might choose to stick with the modern look and go with thin metal frames.
If it's a cozy space, then you might choose thick wooden frames that have some decorative elements.
If you want to create an organic but minimalist vibe, then going with wooden or bamboo frames that are slim and clean might be the right choice.
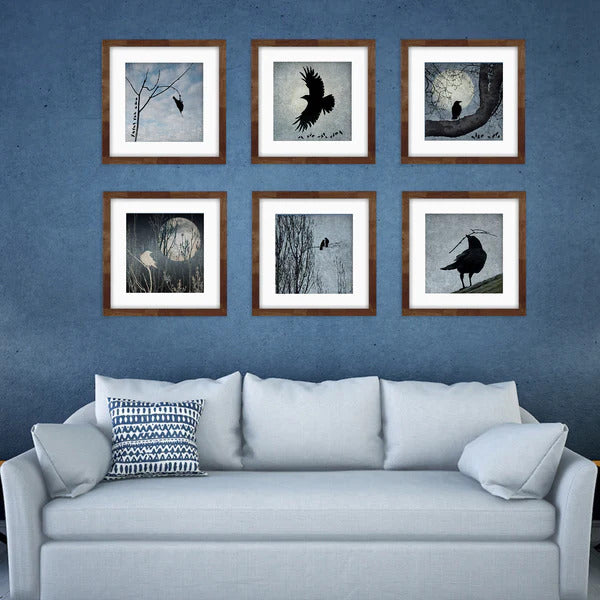
Judgemental Bird Prints by June Hunter
Frame Colour and Shade
Now that you've decided whether you want metal, wood, or bamboo, let's choose the colour!
You have five main colour and shade options to consider when choosing your frame in relation to the space and your artwork:
Shade:
1. Pick a shade that contrasts the wall your art is going to be placed upon — lighter or darker.
2. Pick a shade that will compliment or blend into the wall it's going to be placed upon — dark on dark or light on light.
Colour:
1. Pick a colour that will contrast the colours in the print and draw in the eye. You might combine a black-and-white print with a gold frame. Or if you have a print that's full of blues, you could choose a colour for your frame that's on the opposite side of the colour wheel. Imagine a blue print with a red, orange, or yellow frame.
2. Pick a colour that will compliment the colours in the print and act as more of a neutral vehicle.
3. Pick a colour that is analogous i.e. pulled from the print to add more vibrancy and a quirky colourful feel. Think: pink print, pink frame.
To make this a little simpler, think of it this way:
1. Do I want my framed artwork to pop off the wall or blend into the decor?
2. Do I want the frame to be a gentle or neutral element or to dramatically draw the eye into the artwork?
With that in mind, you're ready to either go online shopping or hunting for vintage frames!
Remember that you can find vintage frames of any colour and then paint them all to match. In terms of painting a vintage or pre-loved frame you can go with spray paint, chalk paint, or high-quality interior paint.
Benjamin Moore Matte Interior Paint and Benjamin Moore High Gloss Trim and Cabinetry Interior Paint are both great options for painting frames absolutely delicious colours.

Blue Botanical Prints: Fine Art Nature Photography by June Hunter
Select the Right Frame Size
Sometimes the challenge with framing a print comes from the fact that the print doesn't work in a standard size frame.
This can be solved by being creative with your mat. You can buy a standard frame that comes with a mat and then just recycle the mat and get a custom mat which will work for your non-standard print.
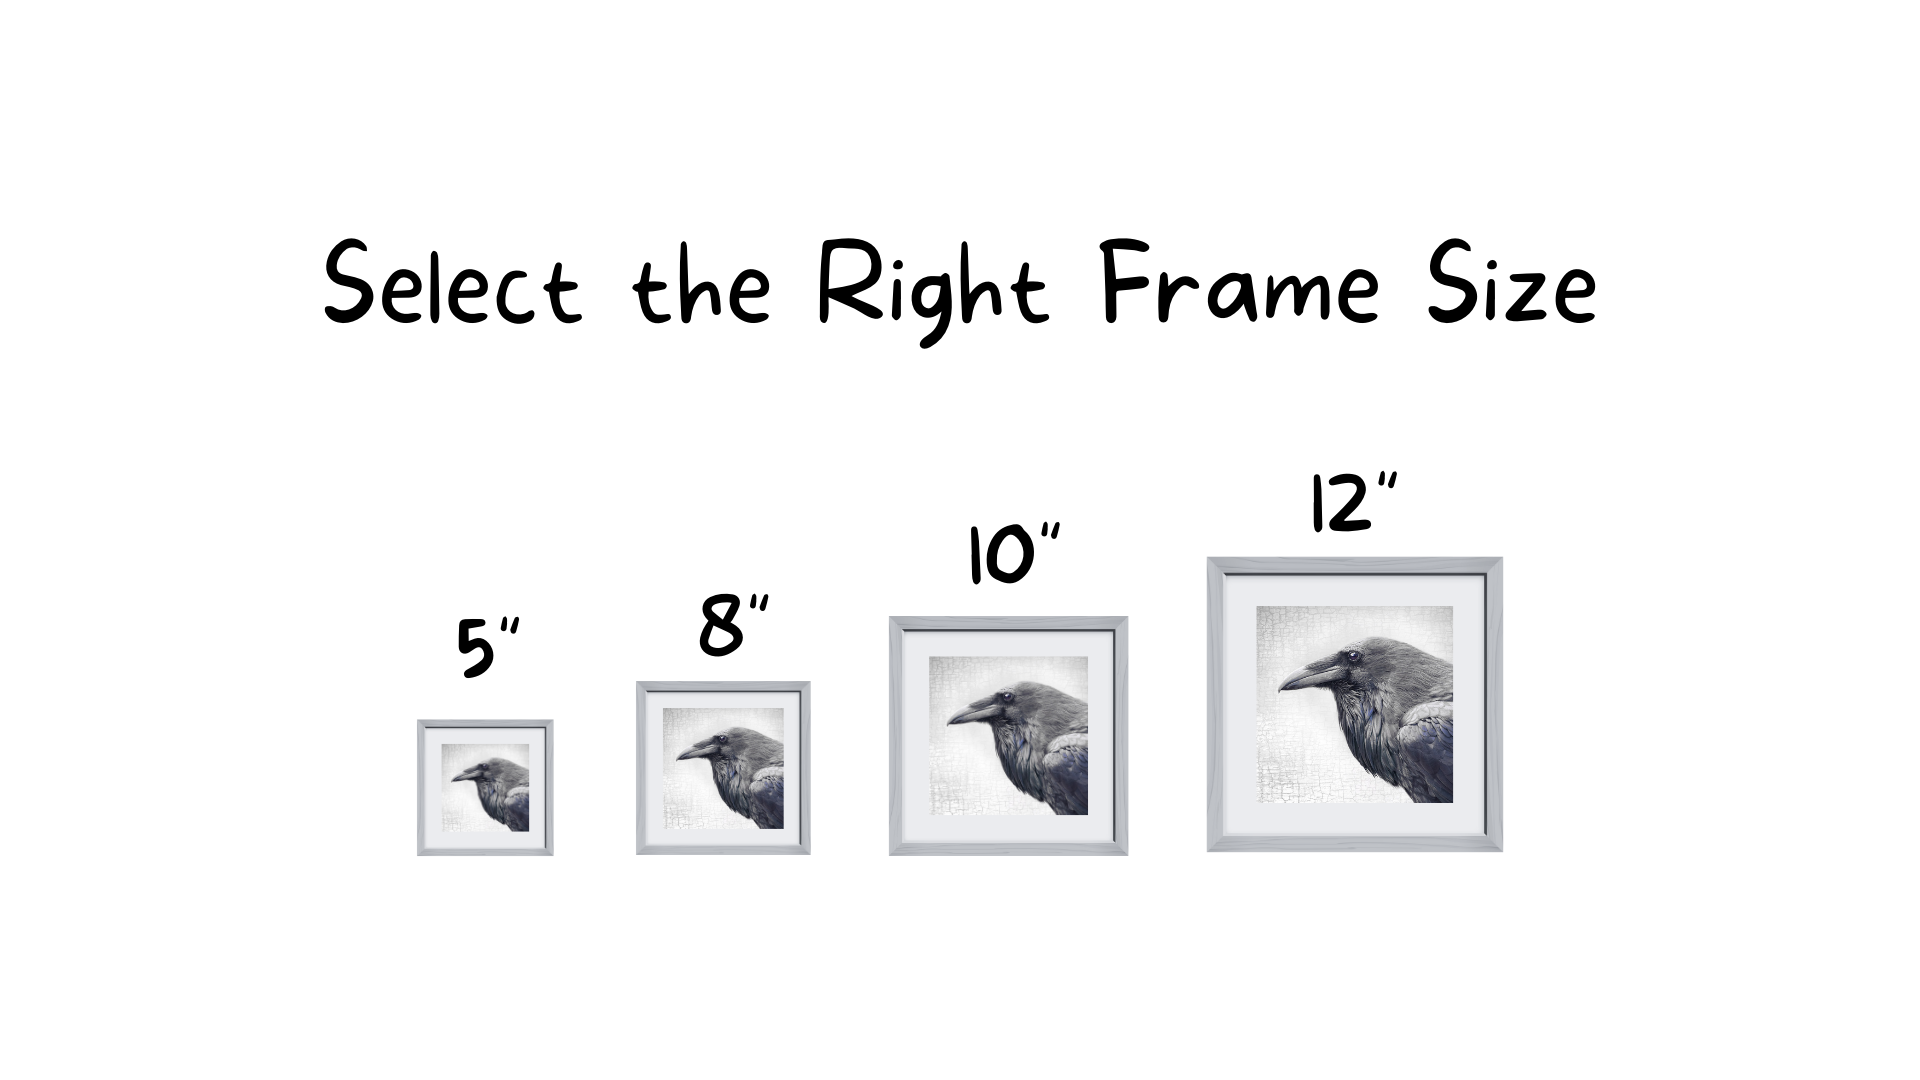
Sometimes the challenge with framing a print comes from the fact that the print doesn't work in a standard size frame.
Standard Framing Options
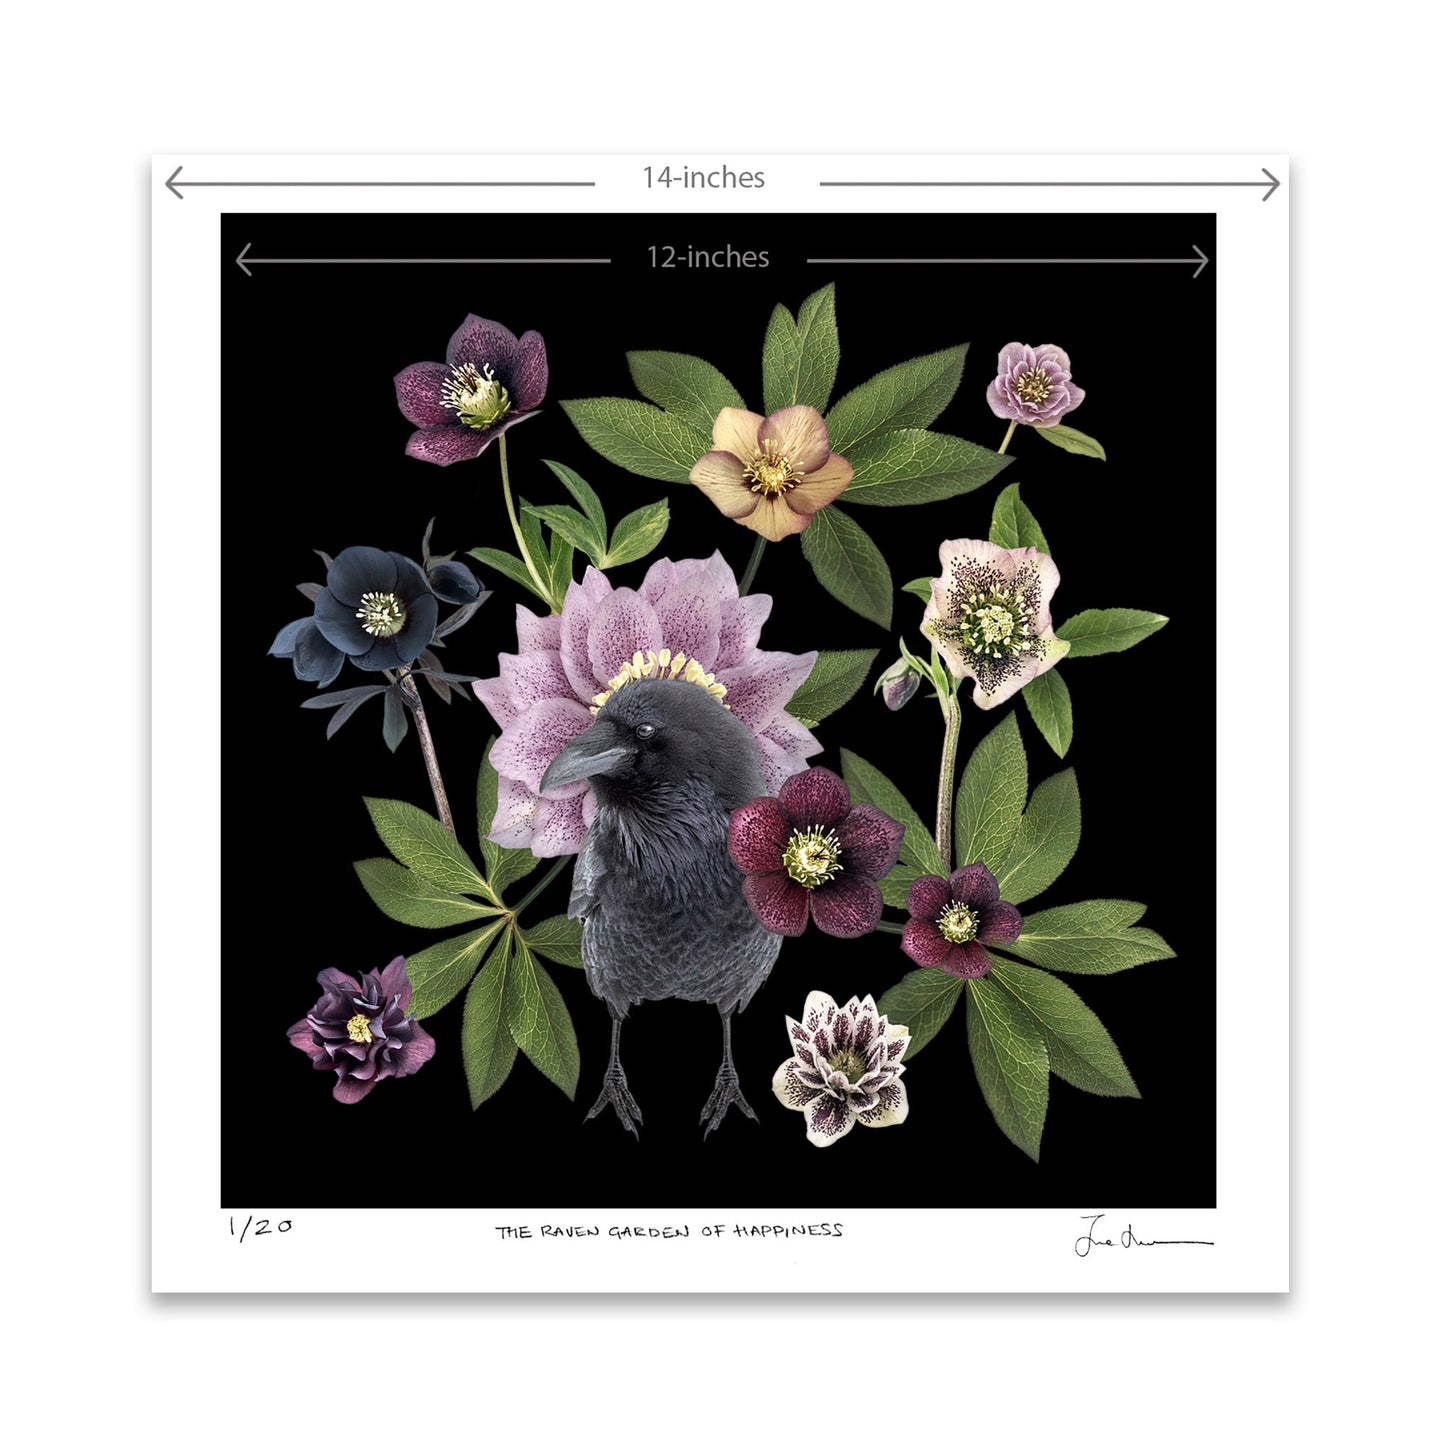
This table gives you some typical sizes with 2 to 5 inch mat borders. But you can also be creative and use unusual frame sizes and mat sizes. Please note that some artists create prints that are easier to frame because they print about 1/4 or 1/8 of an inch larger than a typical mat opening.
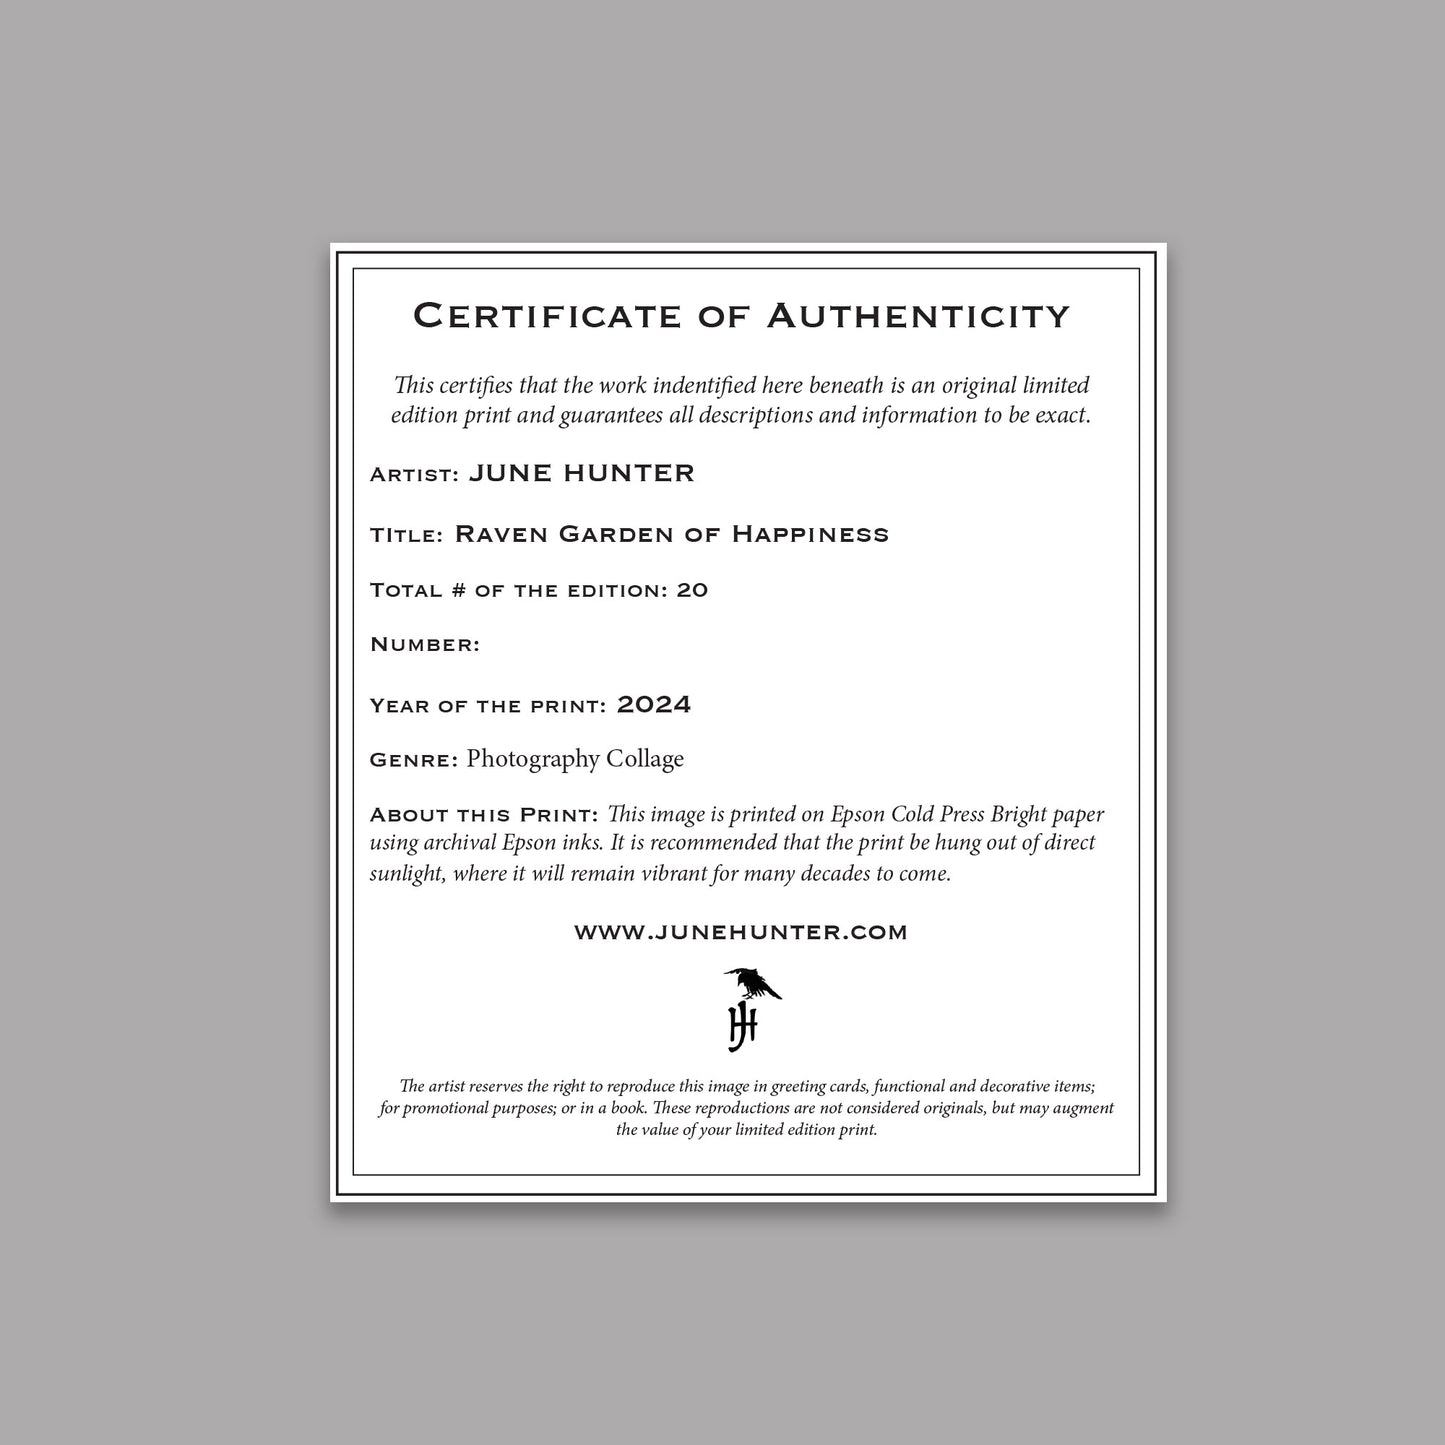
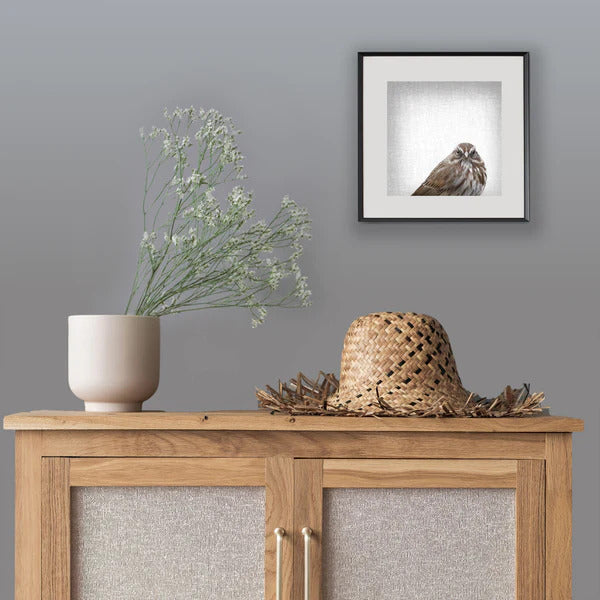
For example, artist and photographer June Hunter makes her 8x8 prints just a little bit wider than 8x8, so that they fit snugly into a frame with an 8x8 opening or a mat with an 8x8 opening without showing a white border. When framed this way you just see the print and not the name and artist's signature. But for many settings this style works well. It puts all the emphasis on the art itself, drawing your eye towards the image.
However, if you want to do something custom, this table will act as a guide:
The outer mat dimensions will typically be 1/8 of an inch smaller than the frame opening so that it can fit into the opening of the frame at the back.
All sizes in inches. These are common dimensions, but you can customize your mat however you like!
|
Print Size |
Mat Inner Dimensions |
Mat Outer Dimensions |
Frame Size |
Border Size |
|
5 x 5 inches |
4.75 x 4.75 inches |
7.875 x 9.875 inches |
8 x 10 inches |
1.625 x 2.625 inches |
|
5 x 7 inches |
4.75 x 6.75 inches |
7.875 x 9.875 inches |
8 x 10 inches |
1.625 x 1.625 inches |
|
8 x 8 inches |
7.75 x 7.75 inches |
10.875 x 13.875 inches |
11 x 14 inches |
1.625 x 3.125 inches |
|
8 x 10 inches |
7.75 x 9.75 inches |
10.875 x 13.875 inches |
11 x 14 inches |
1.625 x 2.125 inches |
|
10 x 10 inches |
9.75 x 9.75 inches |
15.875 x 19.875 inches |
16 x 20 inches |
3.125 x 5.125 inches |
|
11 x 14 inches |
10.75 x 13.75 inches |
16.875 x 19.875 inches |
16 x 20 inches |
2.625 x 3.125 inches |
|
12 x 12 inches |
11.75 x 11.75 inches |
15.875 x 19.875 inches |
16 x 20 inches |
2.125 x 4.125 inches |
|
16 x 20 inches |
15.75 x 19.75 inches |
17.875 x 23.875 inches |
18 x 24 inches |
1.125 x 2.125 inches |
|
18 x 20 inches |
17.75 x 19.75 inches |
23.875 x 35.875 inches |
24 x 36 inches |
3.125 x 8.125 inches |
|
24 x 36 inches |
no mat |
no mat |
24 x 36 inches |
no border |
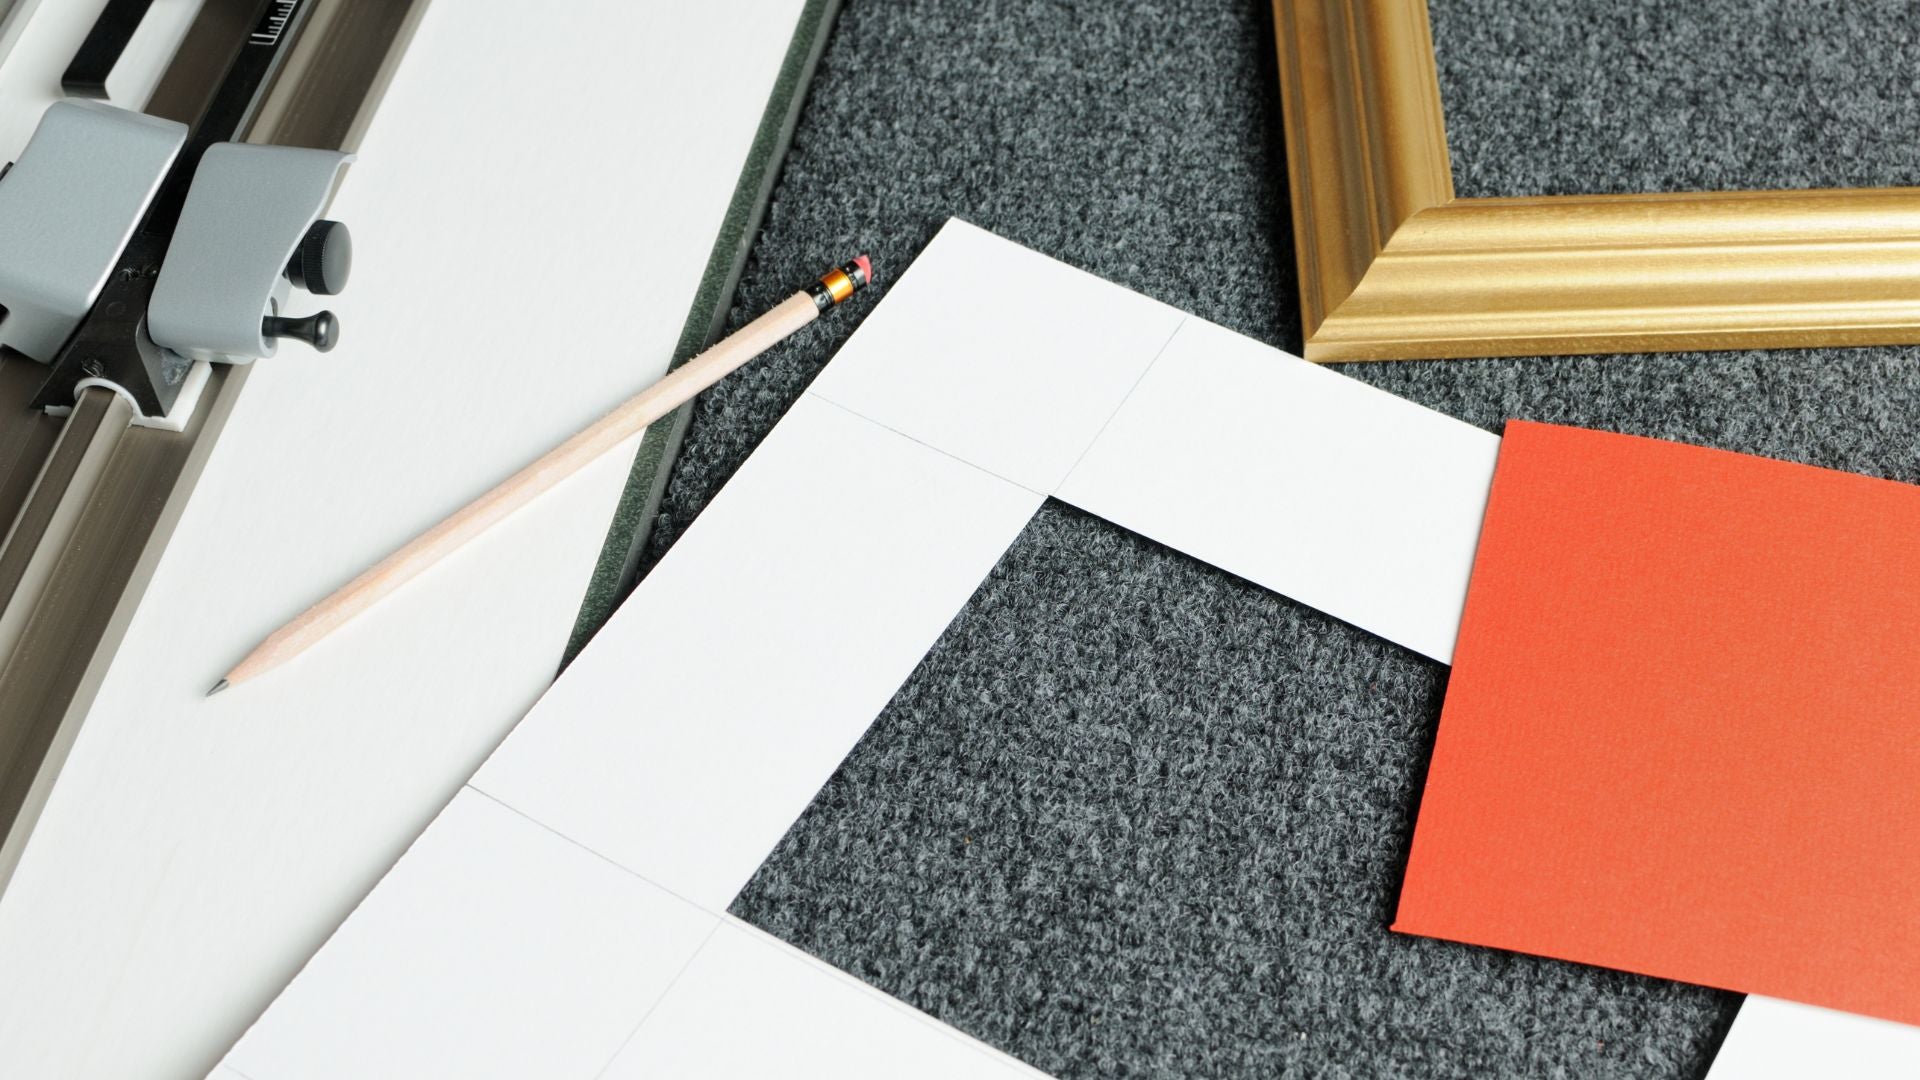
Choose the Right Mat Size
1. Measure the print.
2. Decide if you want to show off the artist signature.
If you want the white border around the print to show and to see the artist's signature, measure 1/8 to 1/4 of an inch extra around the edge of the print. In other words, measure exactly where you want the mat to start so you can get the exact inner dimension of the mat.
OK, now you should have the inner dimensions of the mat.
Example: Let's say you have a print that's 8x8 on a 9x9 piece of paper. If you want the print to be fully covered by the mat, you'll need a mat with an opening that's about 1/8 of an inch smaller on all sides so that the mat covers the print. However, if you want to show the artist's signature and the white border around the art, you might need a mat with an opening that's 8 1/2 x 8 1/2.
3. Next, figure out the outer dimensions you'll need for the mat.
If you've already got the frame picked out the outer dimensions of the mat will be the inner dimensions of the frame. Just measure the opening of the frame from the back side to determine the size of your mat.
However, if you're going to order a custom frame, then decide on how large of a border you'd like to have. And then add that number to the inner dimensions of your mat.
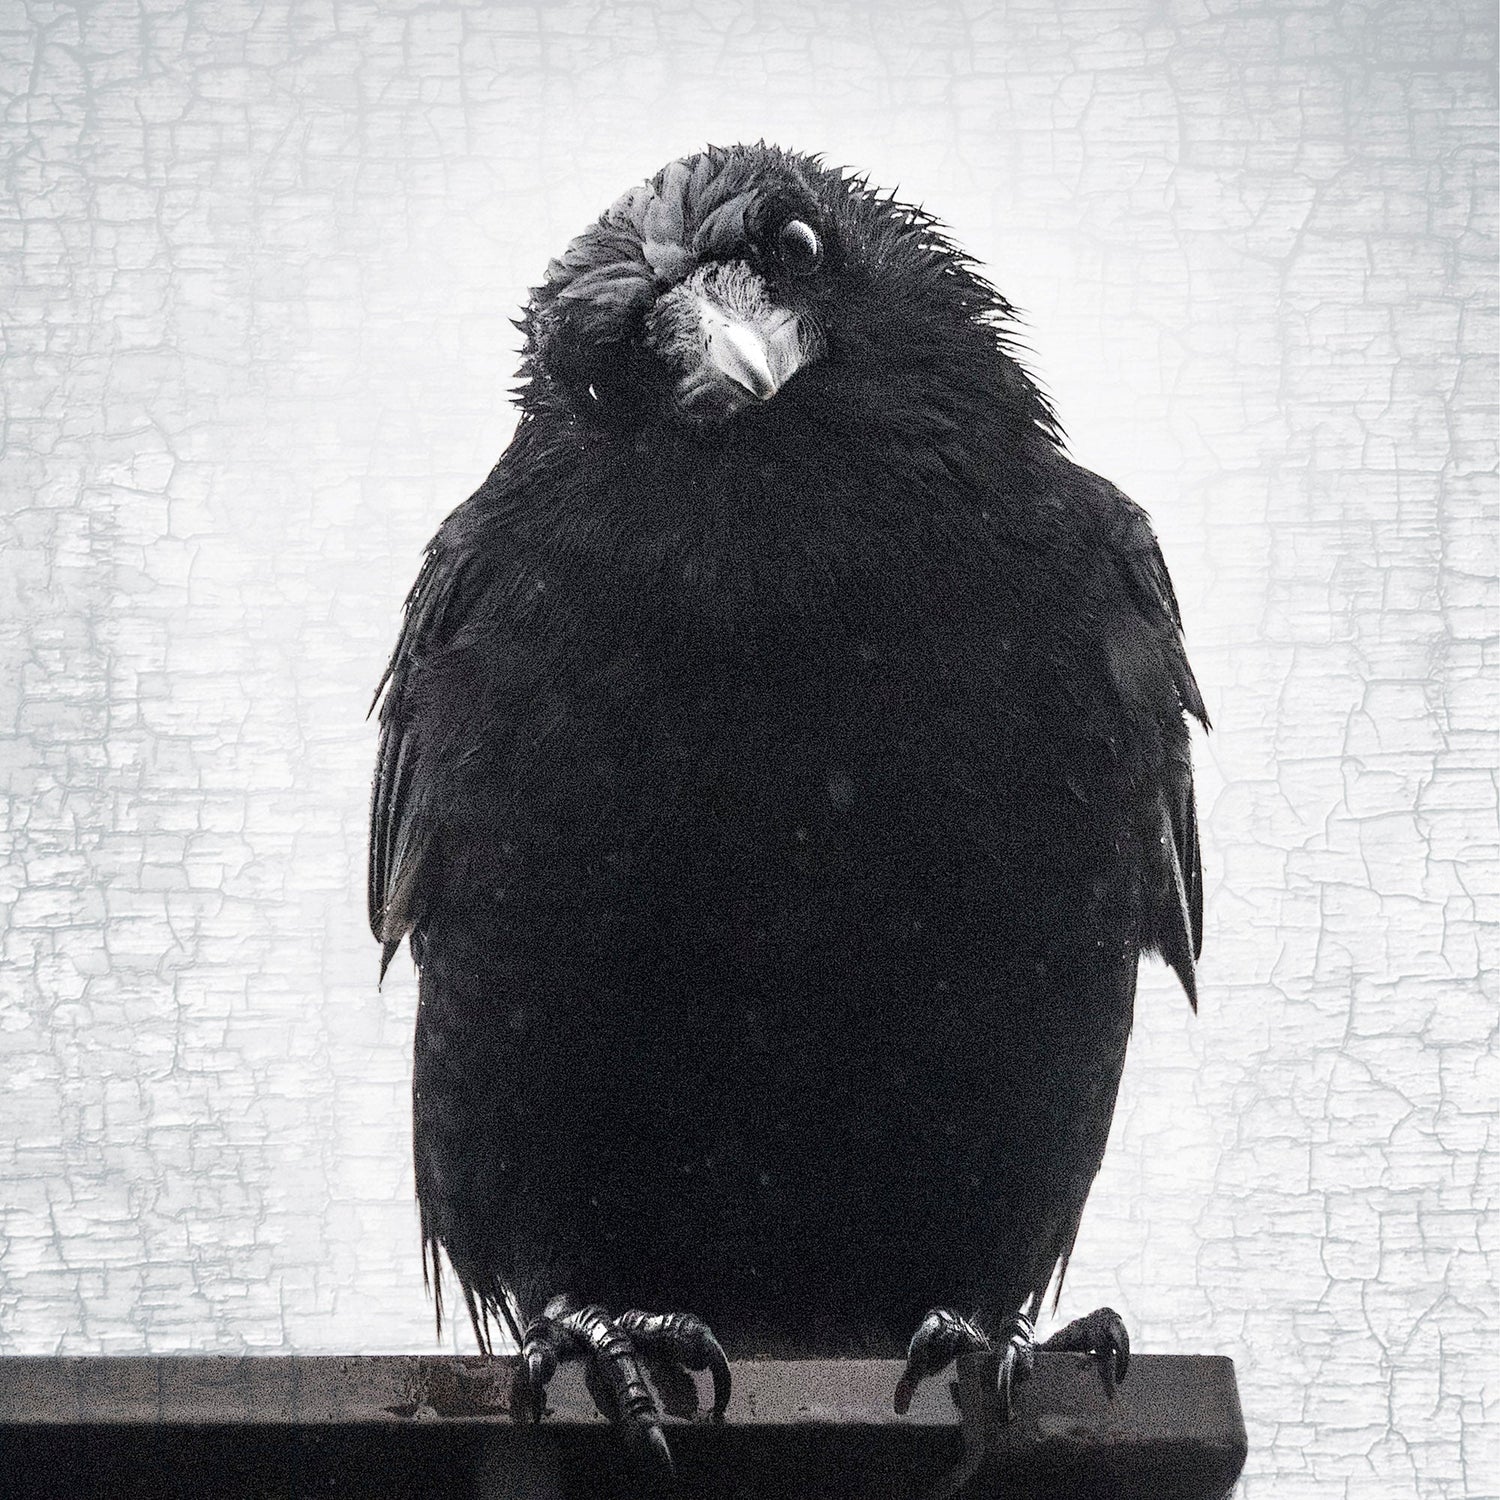
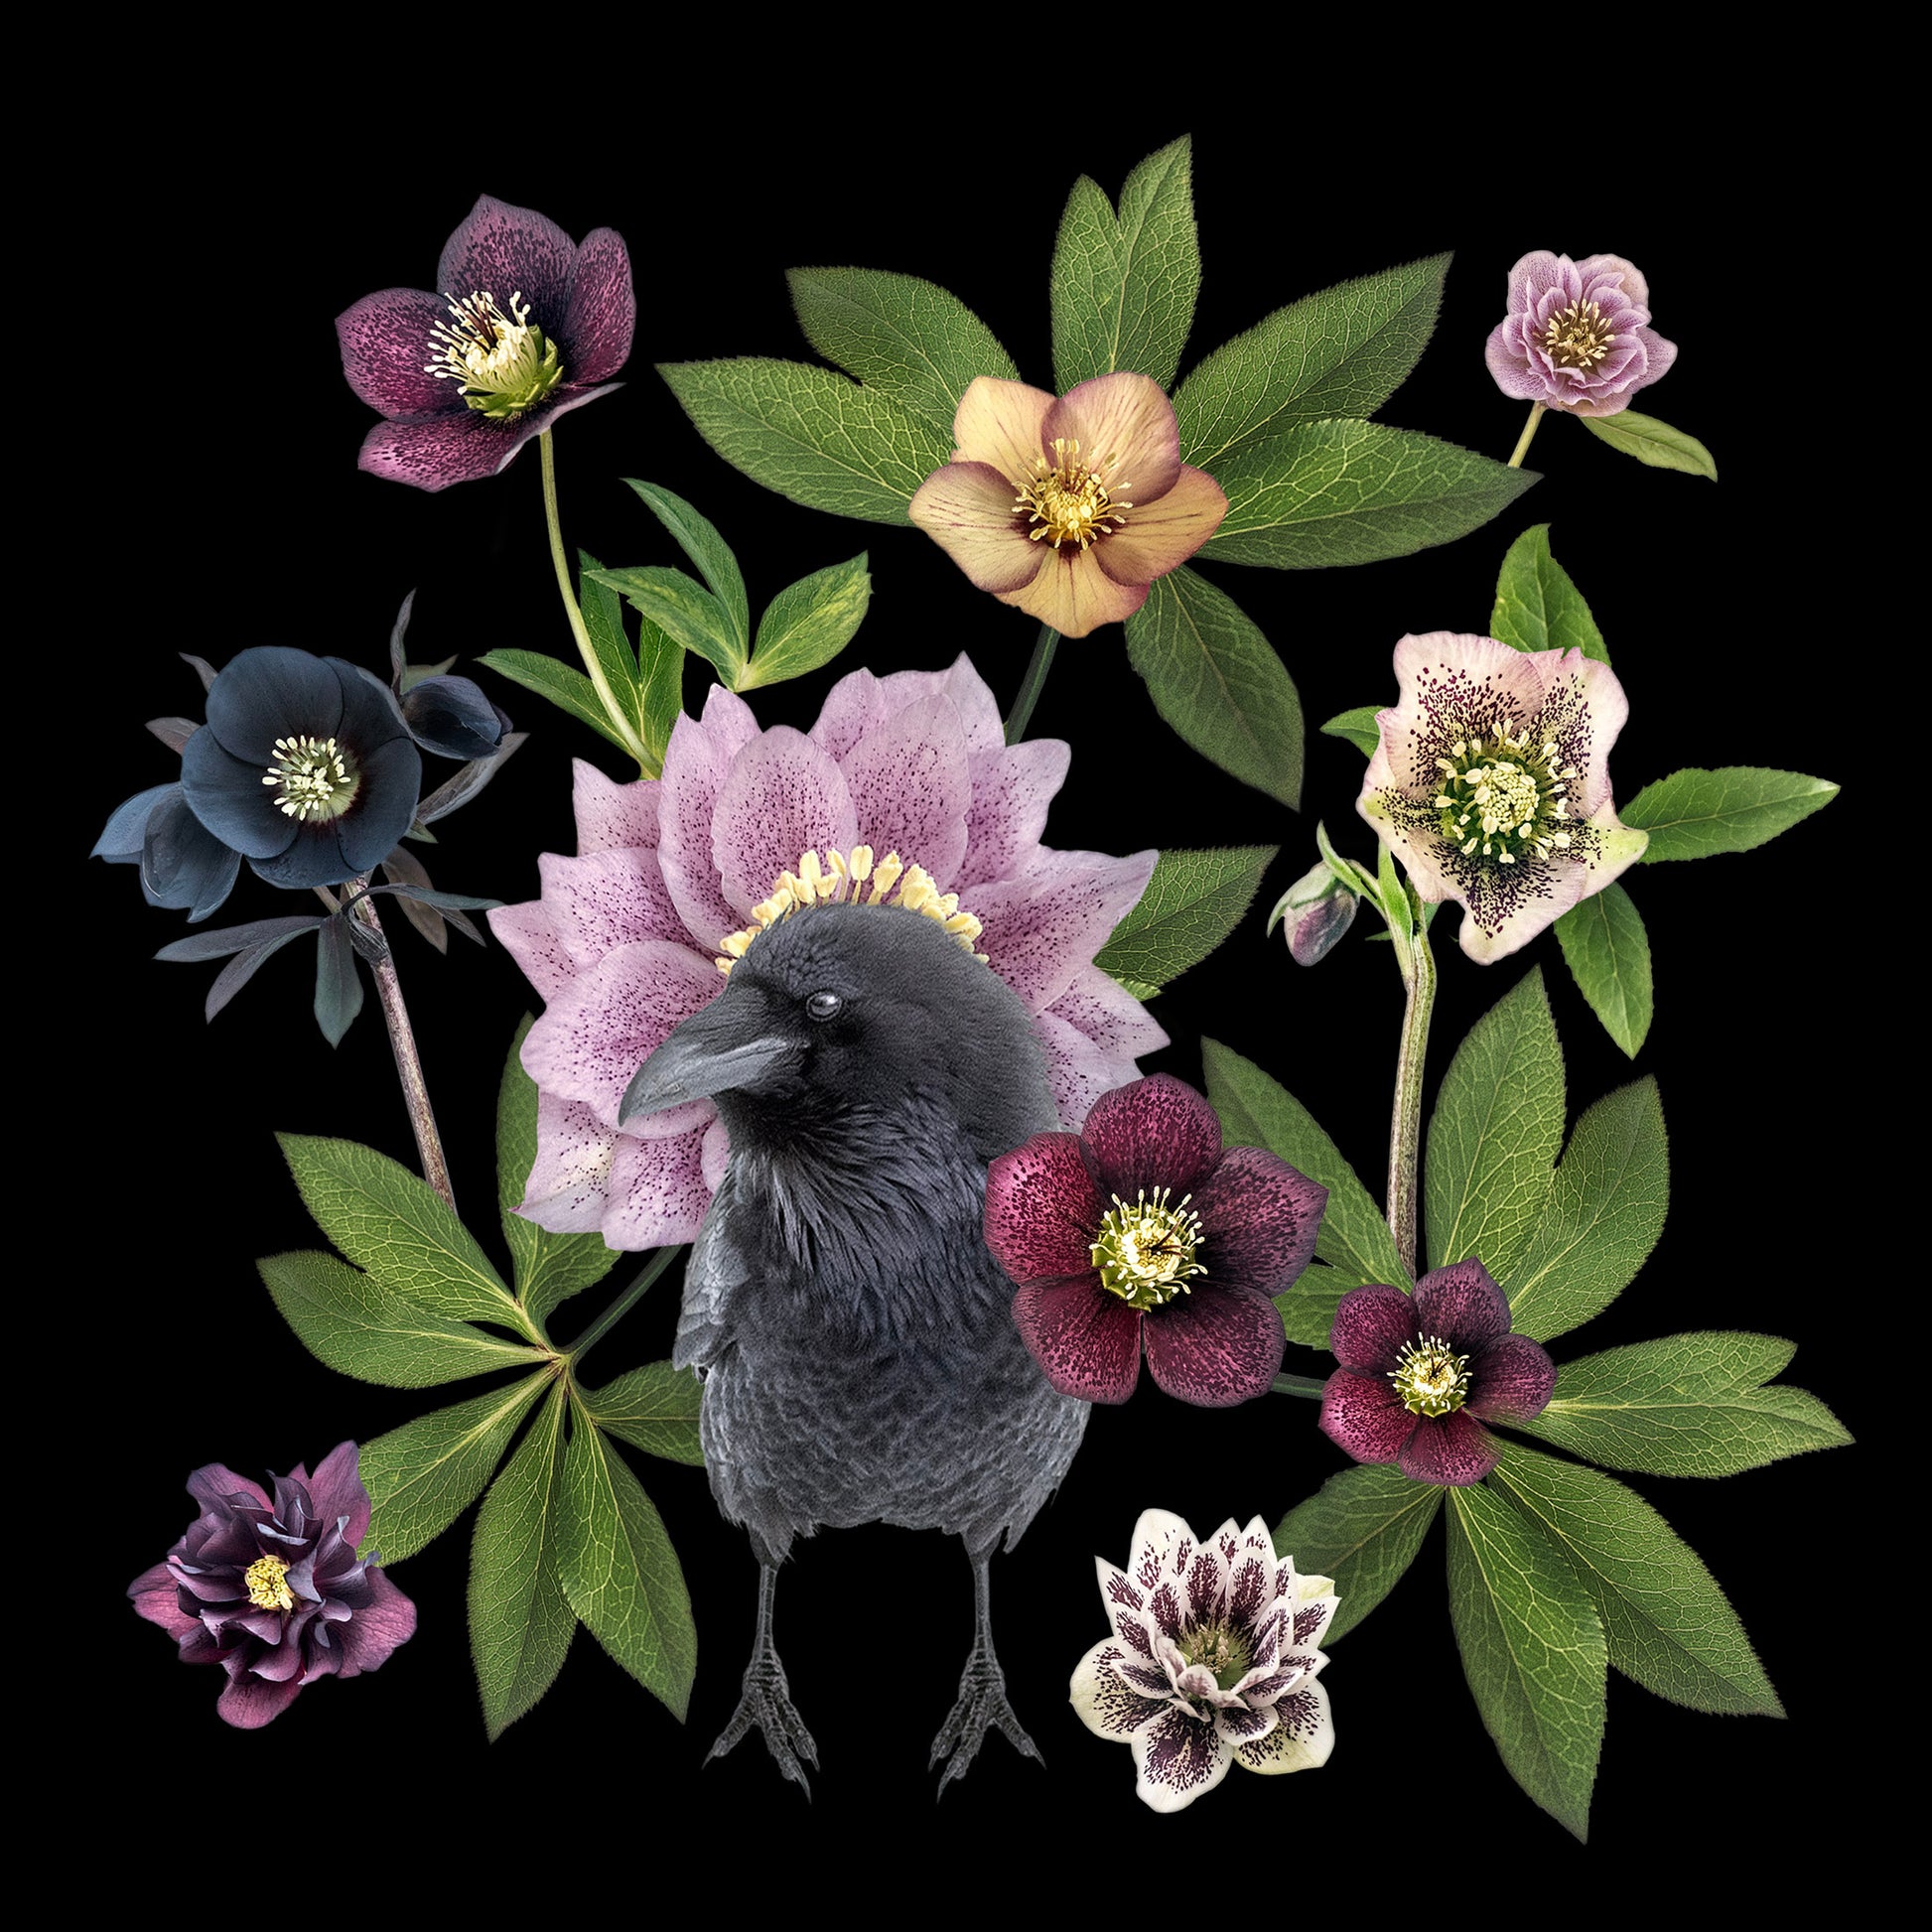
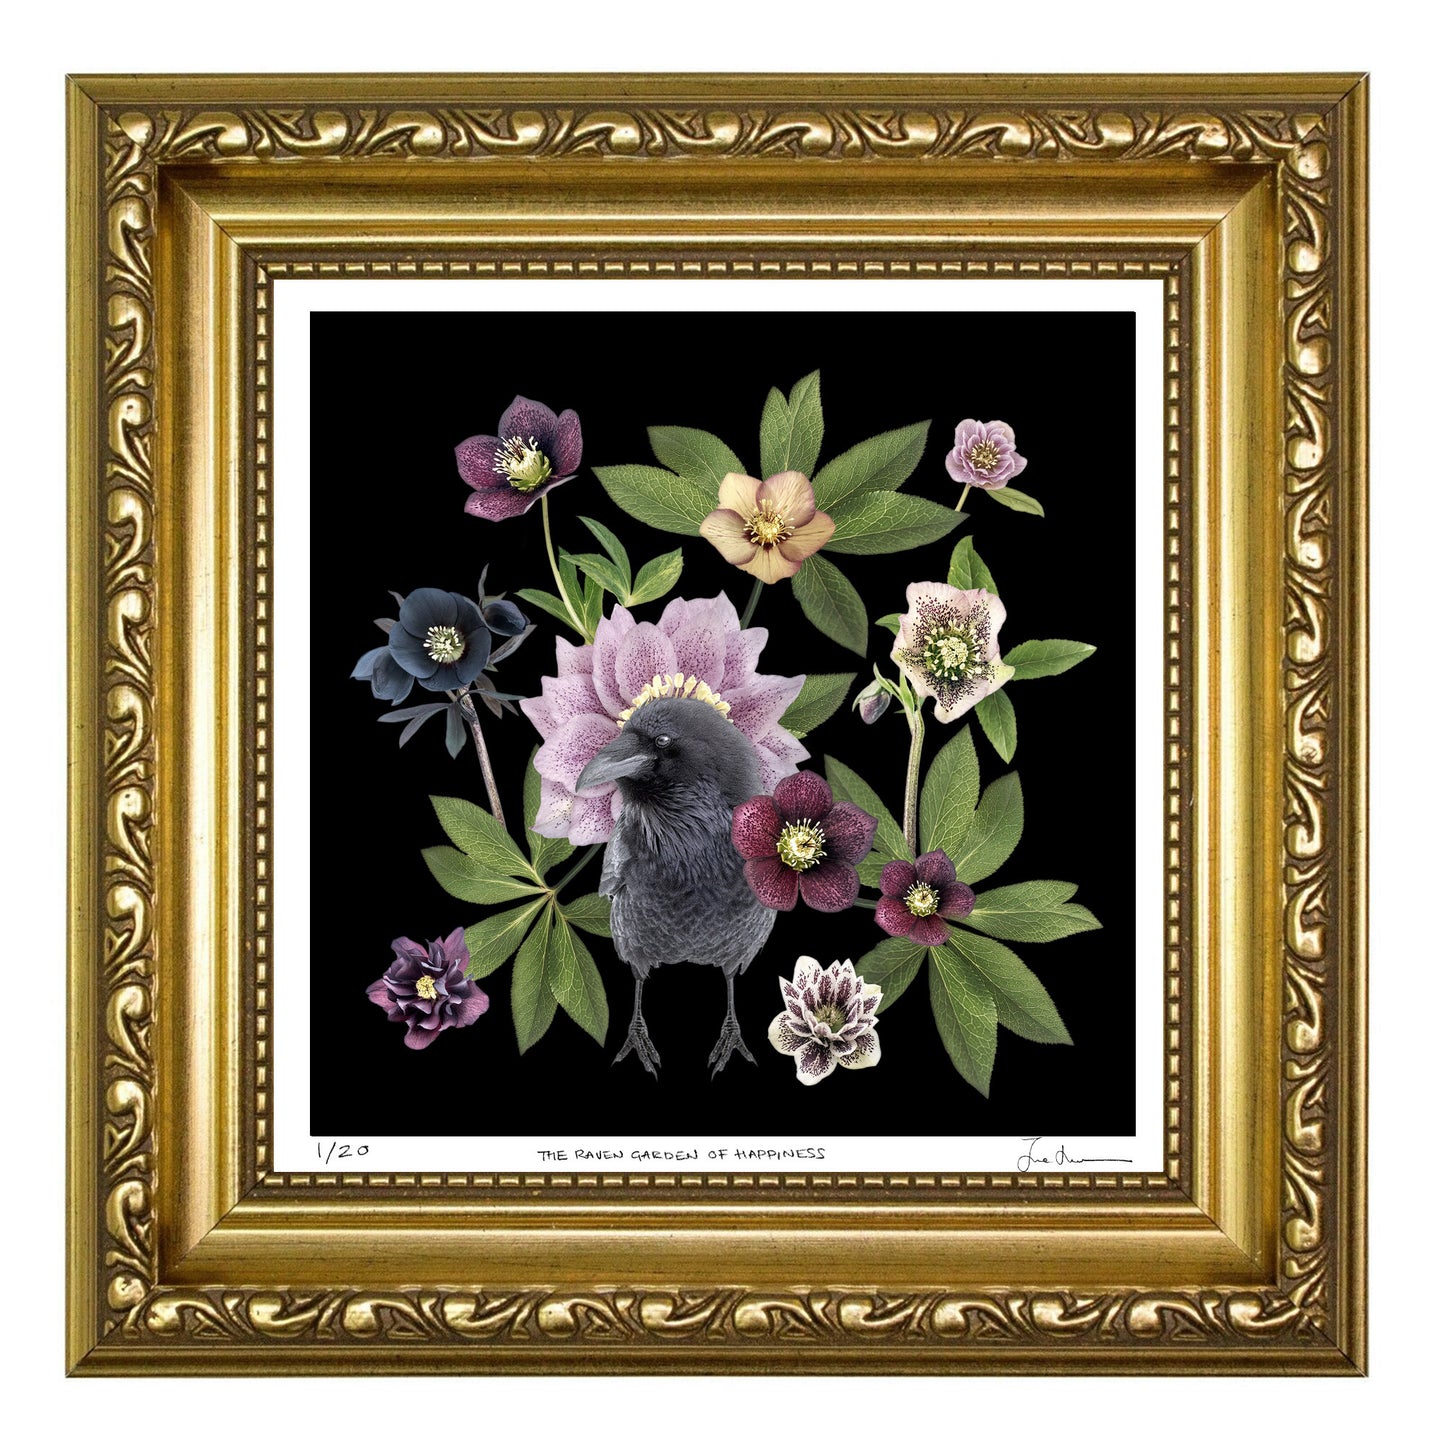
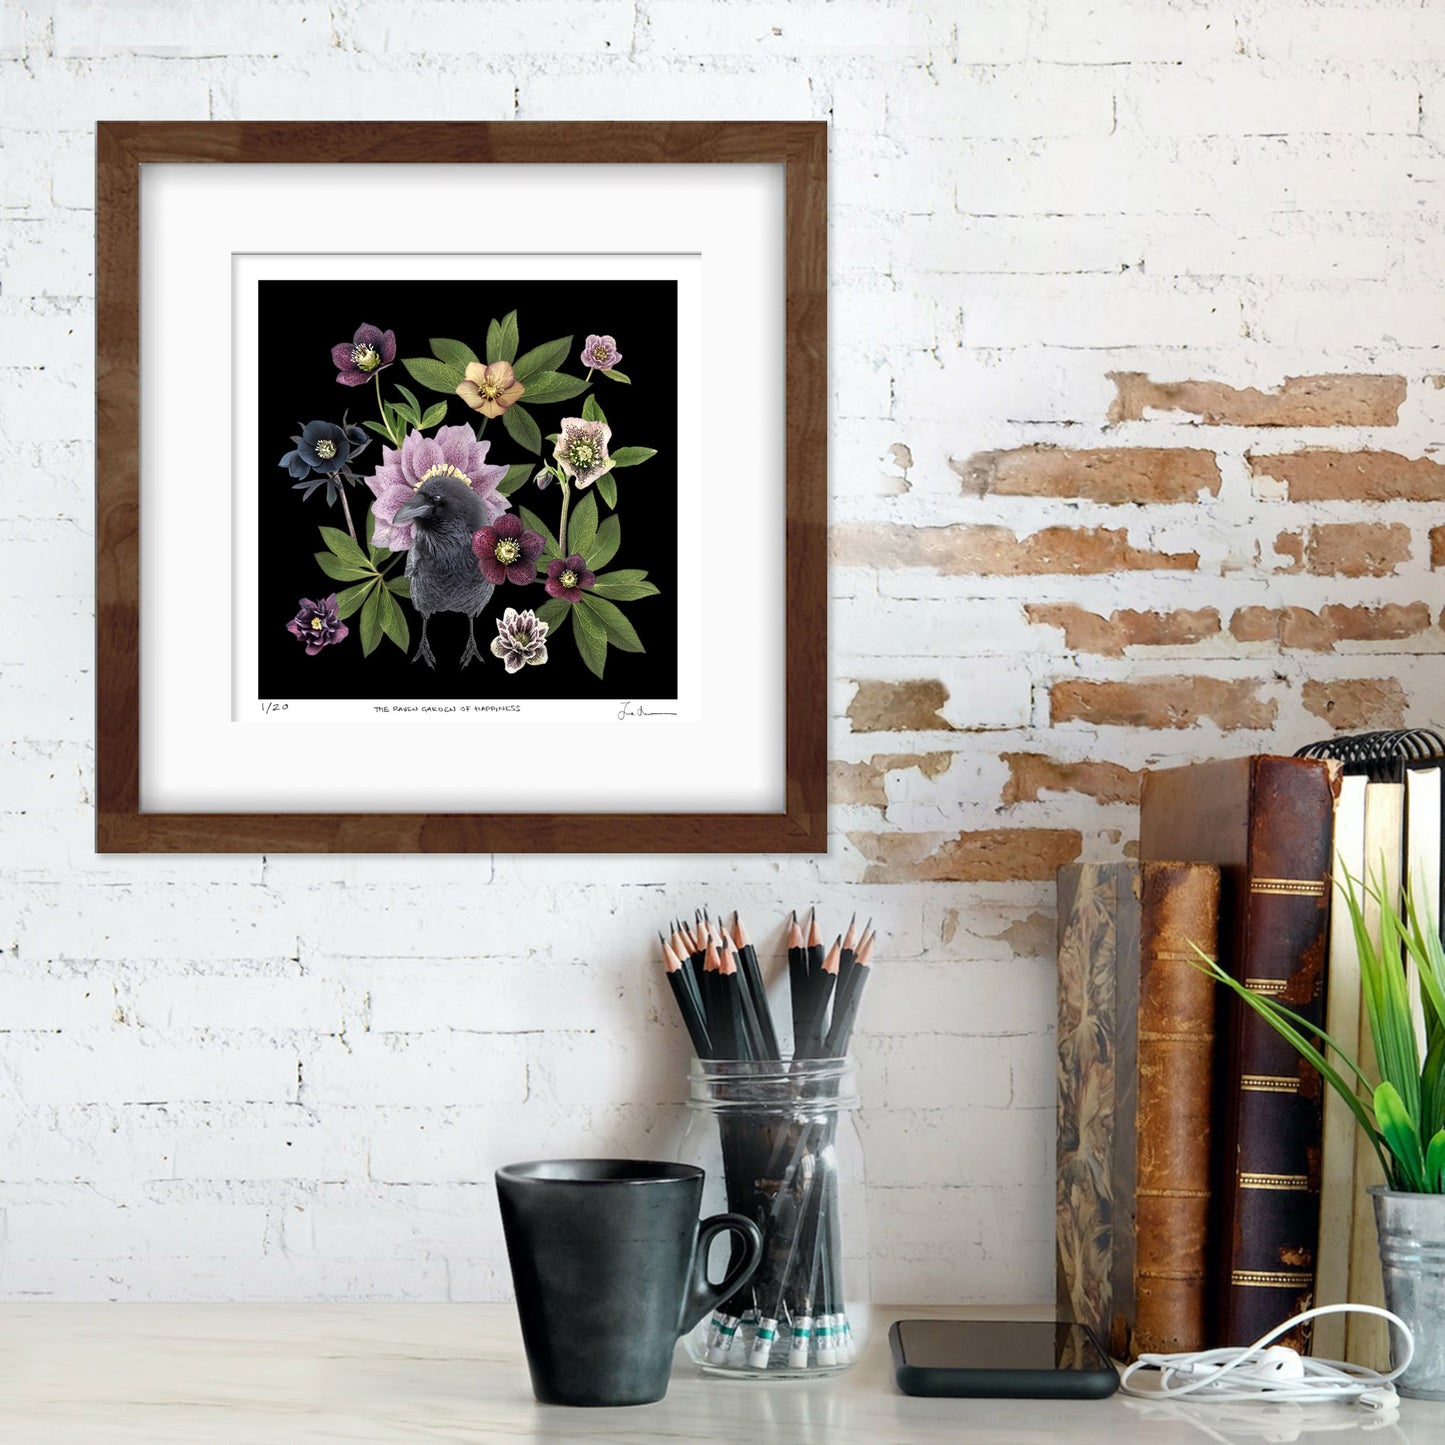
Raven Art Prints: Fine Art Photography by June Hunter
Places to Get Frames Online
The sheer number of places you can get frames online is a little overwhelming, but here's a shortlist of the top places to find frames in Canada and the US.
- Gallery Quality Frames at Metropolitan Picture Framing (USA)
- The Poster Store Frames
- Ikea Picture and Poster Frames
- Opposite Wall Wooden and Metal Frames
- Desenio Wooden and Metal Picture Frames
- Custom Frames from PictureFrames.com (USA)
- Colourful Custom Wooden Frames on Etsy
- Specialty Frames on Wayfair
- Affordable Frames at Michaels
- Specialty Frames on Wayfair
- Affordable Frames at Michaels

Blue Botanical Prints: Fine Art Nature Photography by June Hunter
Time to Consider Glass
If you've gone the vintage or pre-loved frame route, now it's time to decide whether you're going to use the glass that came with the frame or buy UV acrylic or regular acrylic. If your vintage frame doesn't have any glass, then I'd recommend going with regular or UV acrylic simply because it's nearly impossible to break, so you don't have to worry about shards of glass should the frame somehow make its way off the wall.
Also, it's easier to find custom cut acrylic online than glass.
- Custom Cut PlexiGlass in Canada
- Custom Frame Acrylic in USA from Metroframing in USA
- Custom Cut Acrylic from Framing 4 Yourself in USA
- Custom Cut Acrylic in UK
- Custom Cut Acrylic from Framing 4 Yourself in USA
- Custom Cut Acrylic in UK
If your vintage frame doesn't have any glass, then I'd recommend going with regular or UV acrylic simply because it's nearly impossible to break.
Get Your Mat & Backing Board
Now that you've got your frame and your glass sorted out, it's time to pick your matting.
First, how do you determine the size of the mat board that you need?
There are a few measurements you'll need:
1. Interior dimensions2. Exterior dimensions
3. Border dimensions on the top and bottom i.e. do you want more space below the print than above it?
If you have the frame already just measure the size of the inner shelf where the mat would sit. That's your outer dimension. Then measure on your image where you want the mat to start and finish. That's your outer dimension.
If you're cutting your mat yourself, just make sure you measure twice and cut once.
ACID-FREE TAPE OR WASHI TAPE
If you want to be fancy and make sure you protect your print, you'll use acid-free archival hinging tape and create a hinge to adhere the print to the backing board. For normal-sized prints, you'll use "pressure sensitive" archival tape rather than water activated archival tape.
The backing board gets added at the back of the print for protection before adding the very optional dust cover.
DUST COVER
Getting Started with DIY Print Framing at Home
Here's a step-by-step process you can follow to do DIY print framing at home:
1. Find the Right Frame: Look for well-made frames in thrift stores or buy a frame online. If you go frame hunting at thrift stores, make sure you plan ahead and decide roughly the size of frame you'll need. Take a picture of the print or if it's small, bring it with you. This will help when picking out a frame.
2. Prep the Frame: If you're using a pre-loved frame, then take it apart removing the backing and foam core. Stain or paint the frame.
3. Buy Glass or Acrylic: If a frame doesn't have any glass at all, then you can buy regular acrylic or UV acrylic online for a very reasonable price.
4. Cleaning the Glass: Clean the glass thoroughly with dish soap and water and follow up with a lint-free cloth. Clean on both sides of the glass. If you're buying custom acrylic you shouldn't need to do this as the acrylic arrives in perfect condition.
5. Matting the Art: Decide how to mat your art. Either purchase custom matting or buy a pre-cut mat on line if the right size is easily available. If protecting your print isn't a priority, you can lay the art on top of the mat. When matting your art, you can center your art or leave more space at the bottom than the top.
6. Securing the Art: Connect the back board and the mat with tape, creating a hinge so that the mat can open up like a book. Then use acid-free gummed paper hinging tape on the back of the artwork so that the sticky side of the tape faces up if you're looking at the front of the print.
Next place the print on top of the back board, and bring the mat down adjusting the print until it's in the exact right spot. Life the mat up and take two more pieces of tape to secure the print in place by taping down the first two pieces of tape, thus creating a hinge. Watch the video below for clear instructions on how to do this.
How to Create a Hinge When Matting a Print
Materials and Tools Needed for DIY Framing
- Picture frame
- Glass or acrylic sized for your frame
- Mat
- X-acto knife or mat cutter
- Back board
- Dust cover paper
- Archival hinging tape
- Clean surface
- Clean heavy object like a paper weight
- Lint-free cloth
- Soap and water to clean glass if needed
Online Custom Framing Options
If you'd like to get a few prints framed but you don't have access to a custom framing store, then you can try out either of these options online:
Framebridge: https://www.framebridge.com/
Simply Framed: https://simplyframed.com/
With both of these companies you can mail in your print, they'll frame it for you and send it back. Easy peasy!
Check Out June Hunter's Prints
Check out June Hunter’s collection of crow, raven, garden bird and blue botanical prints which will add a vibrant touch of nature to your home.

Read More:
Where to Buy Art for a Gallery Wall
How To Make an Art Gallery Wall at Home
Explore June Hunter's Gift Shop
This article was written by Colette Nichol and reviewed by photographer and nature enthusiast June Hunter. Our aim with these short articles is to bring interesting bird facts and nature-inspired home décor info to more online readers while also highlighting June Hunter's photography and designs. To read June Hunter's popular blog the Urban Nature Enthusiast, where she shares stories about crows and ravens, please click HERE.