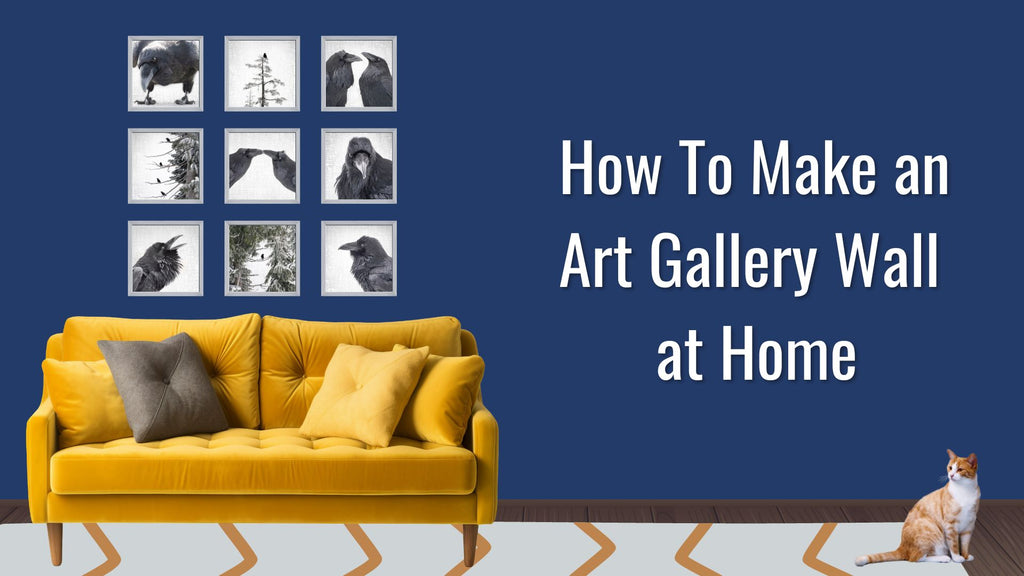
How To Make an Art Gallery Wall at Home
10 Easy Steps to Create Your Own Art Gallery Wall
Creating an art gallery wall at home is a great way to personalize your living space.
It's a form of self-expression that shares your taste, interests, and the story you want to tell through art. Below are ten steps to guide you in creating a beautiful and cohesive gallery wall, along with a few solutions to common challenges.
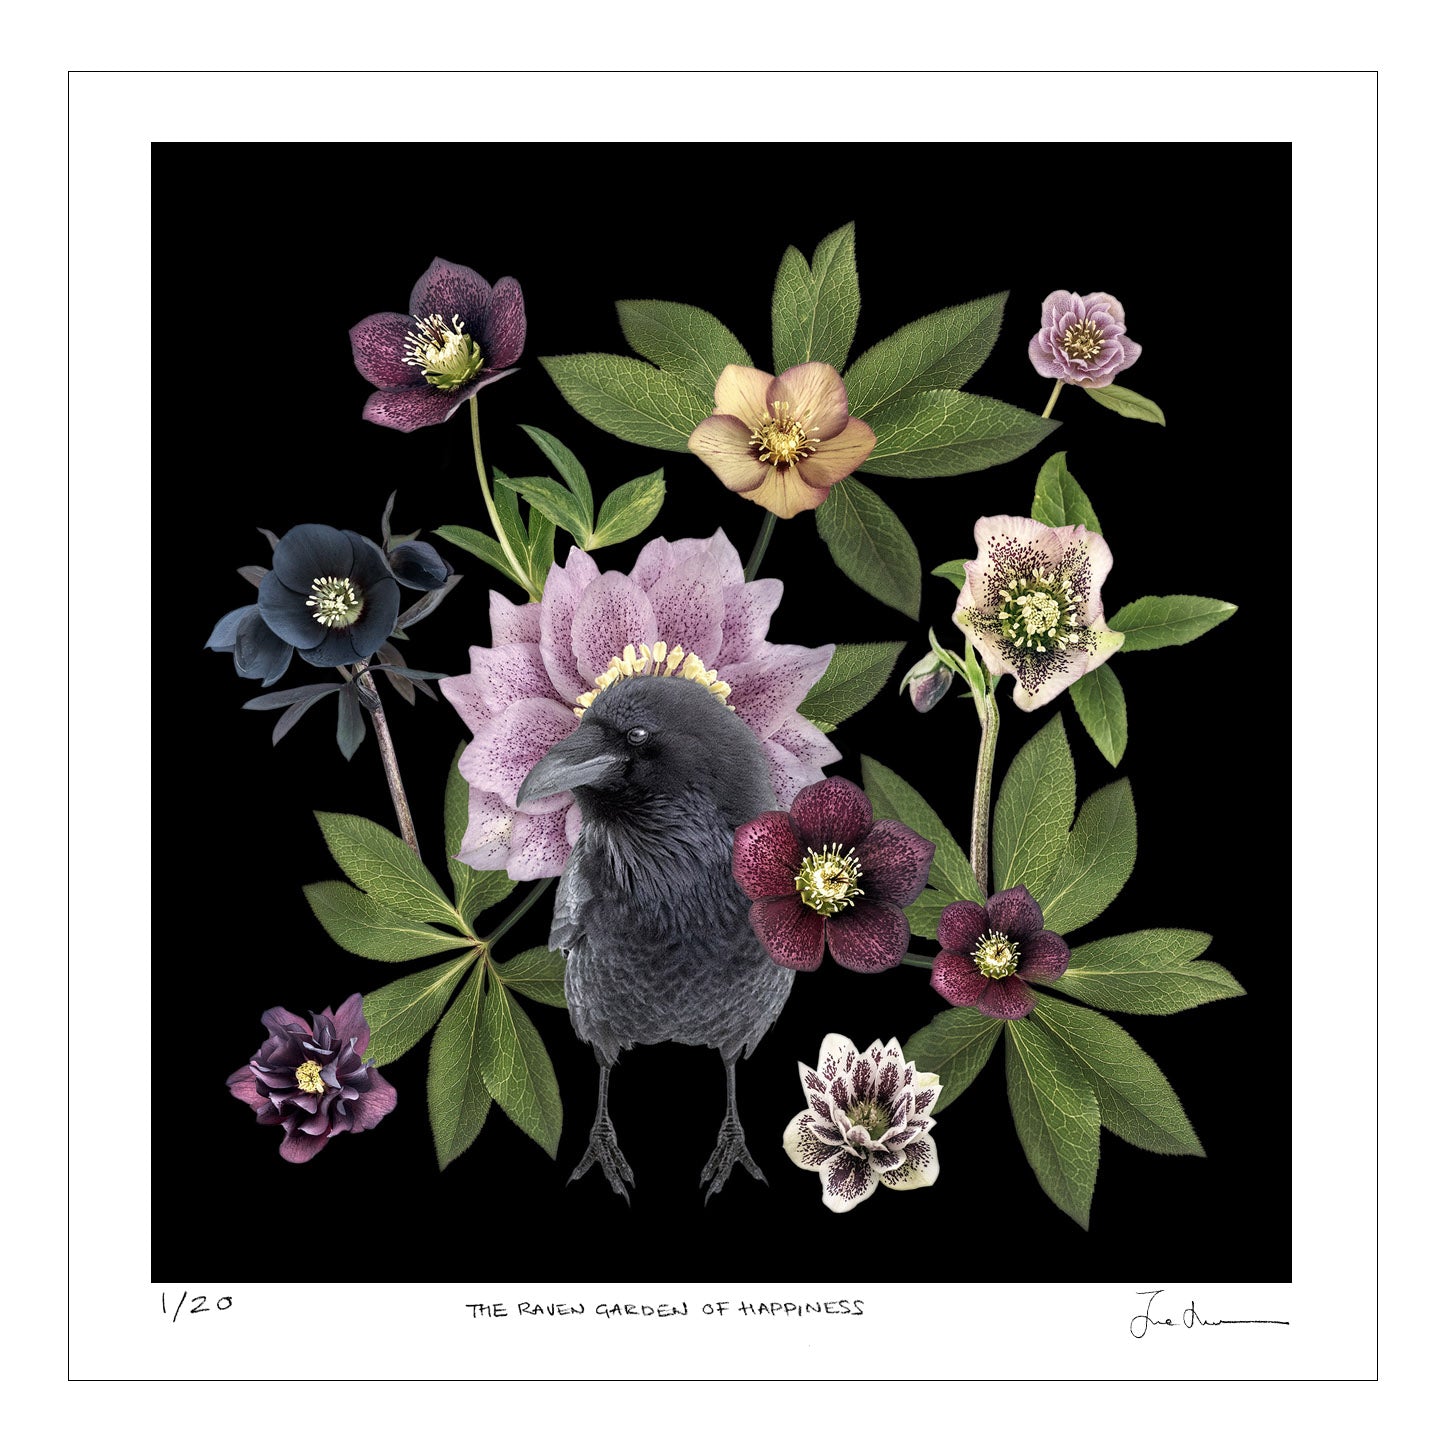
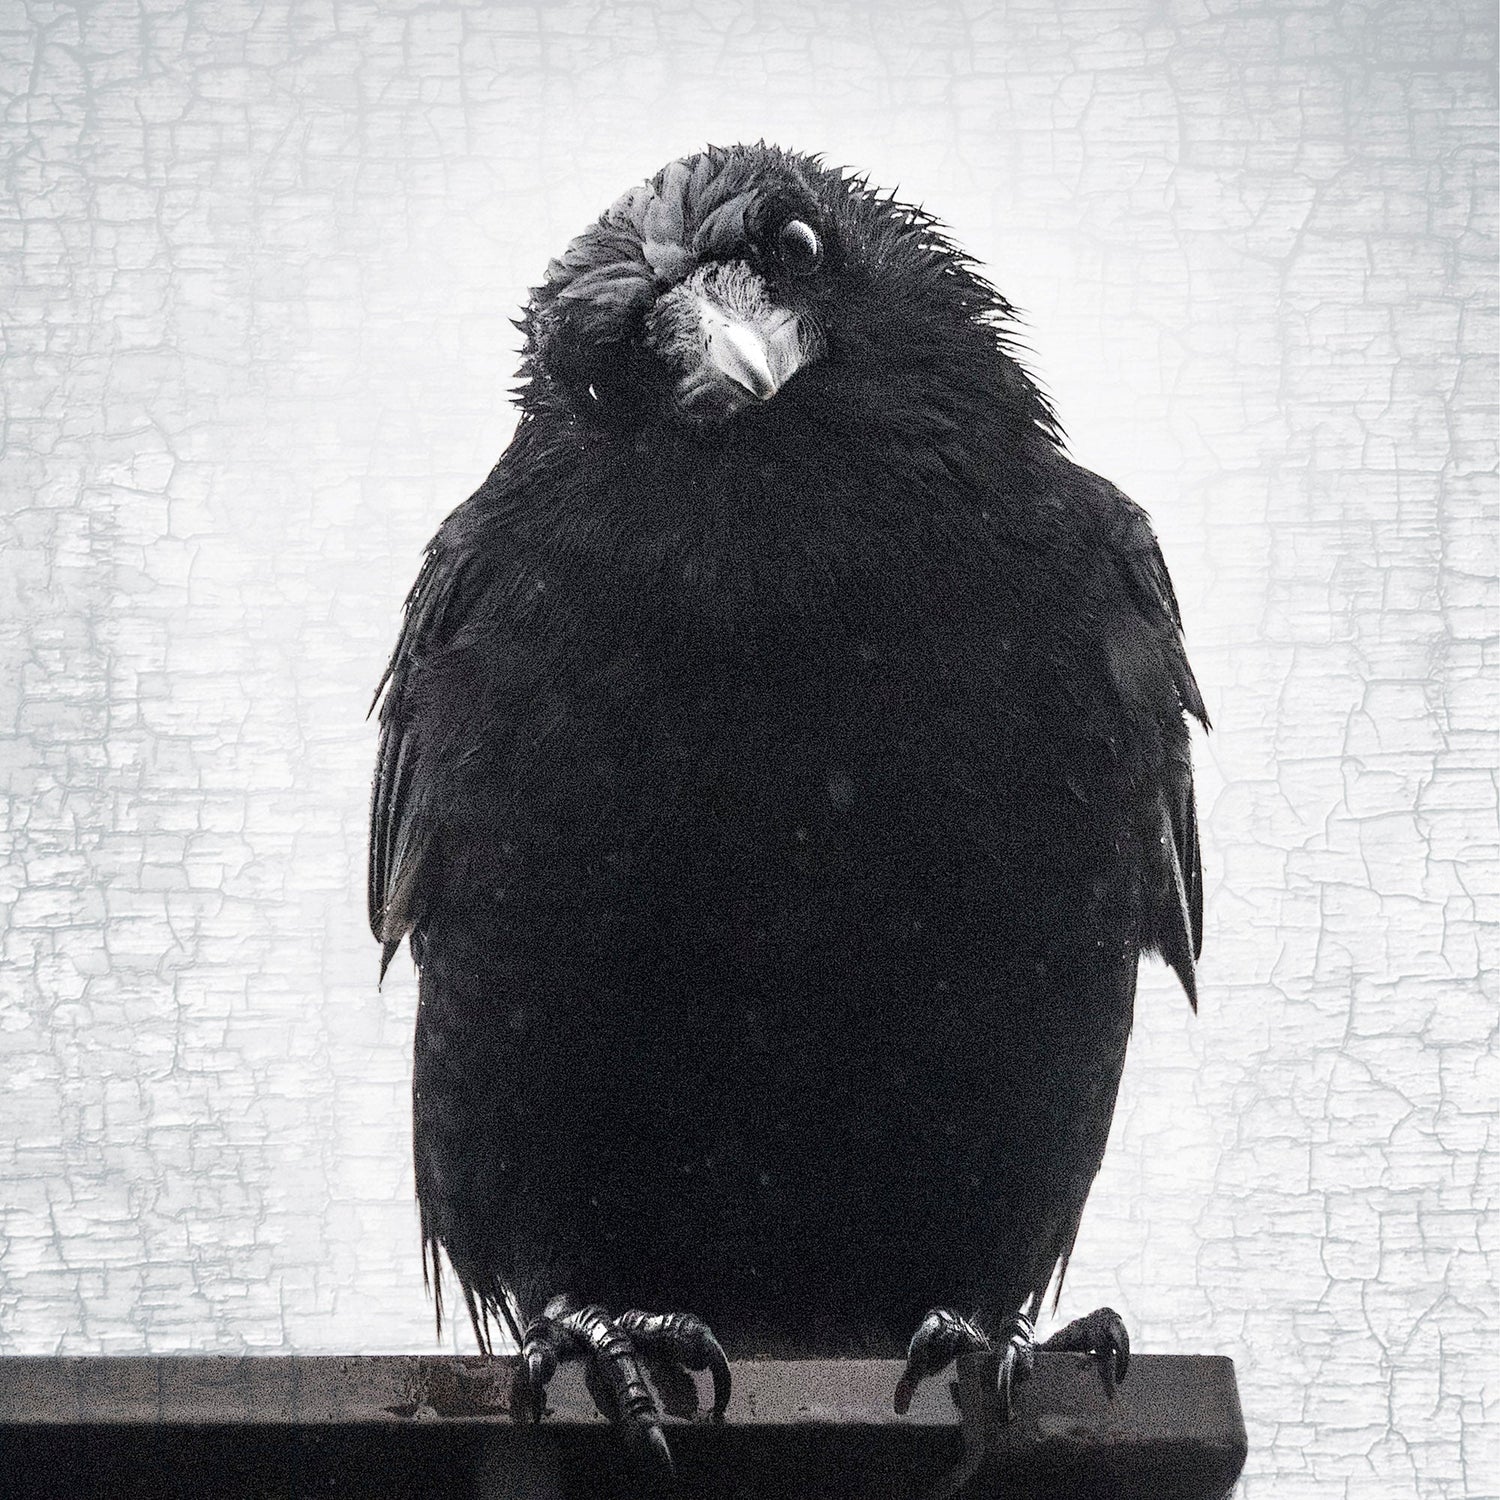
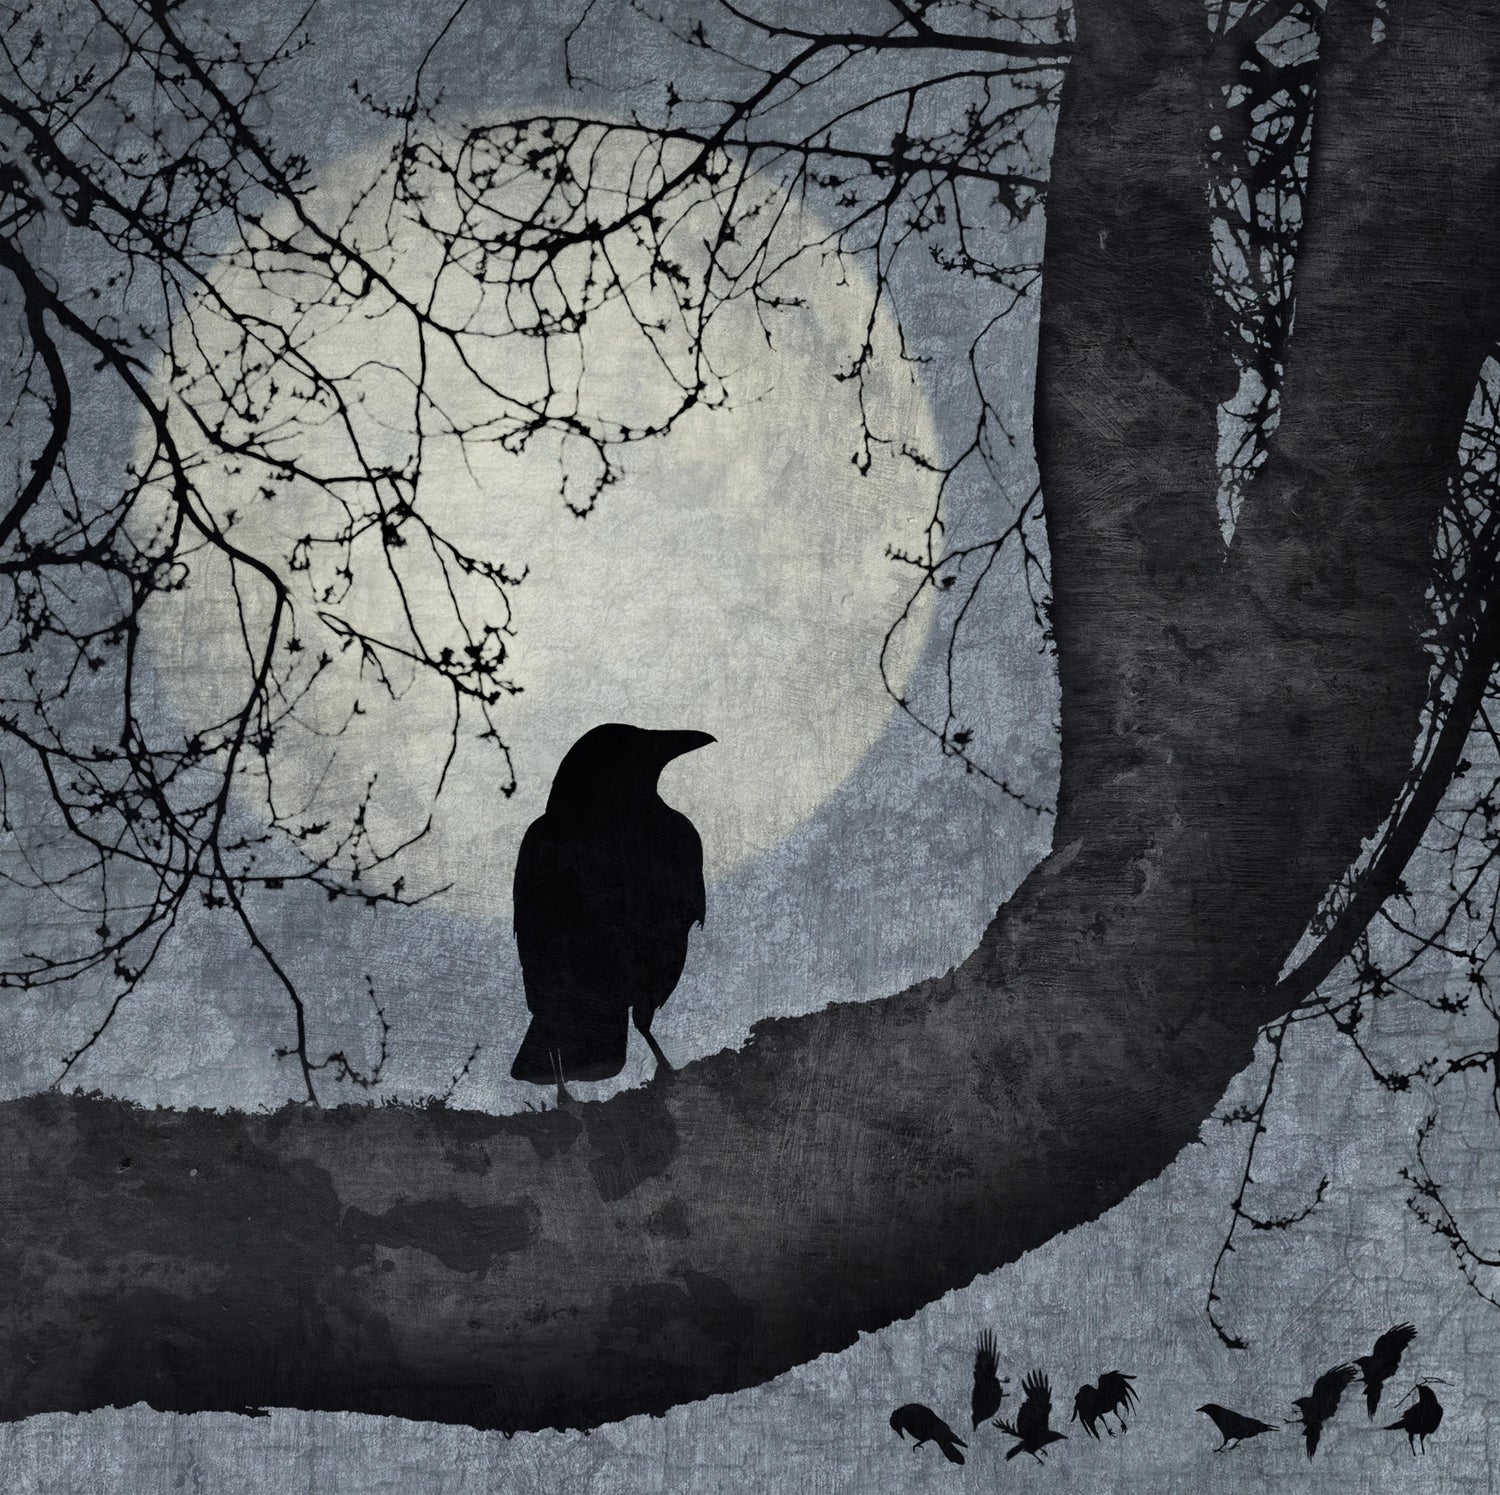
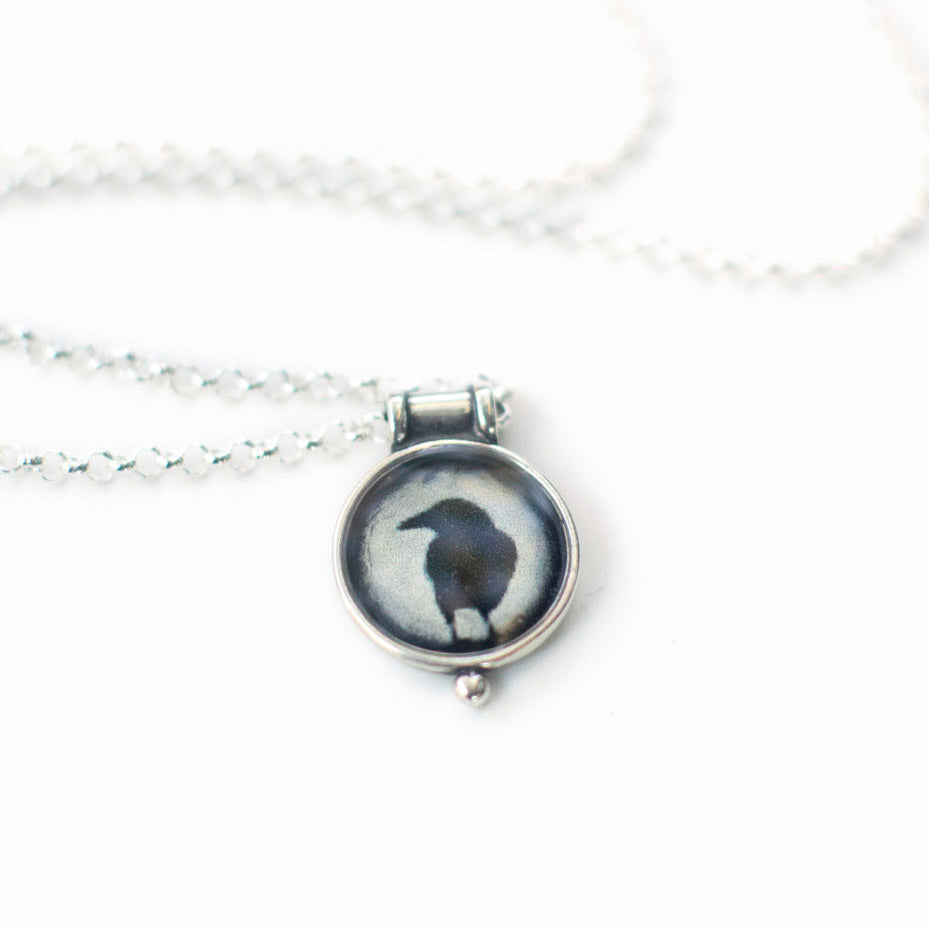
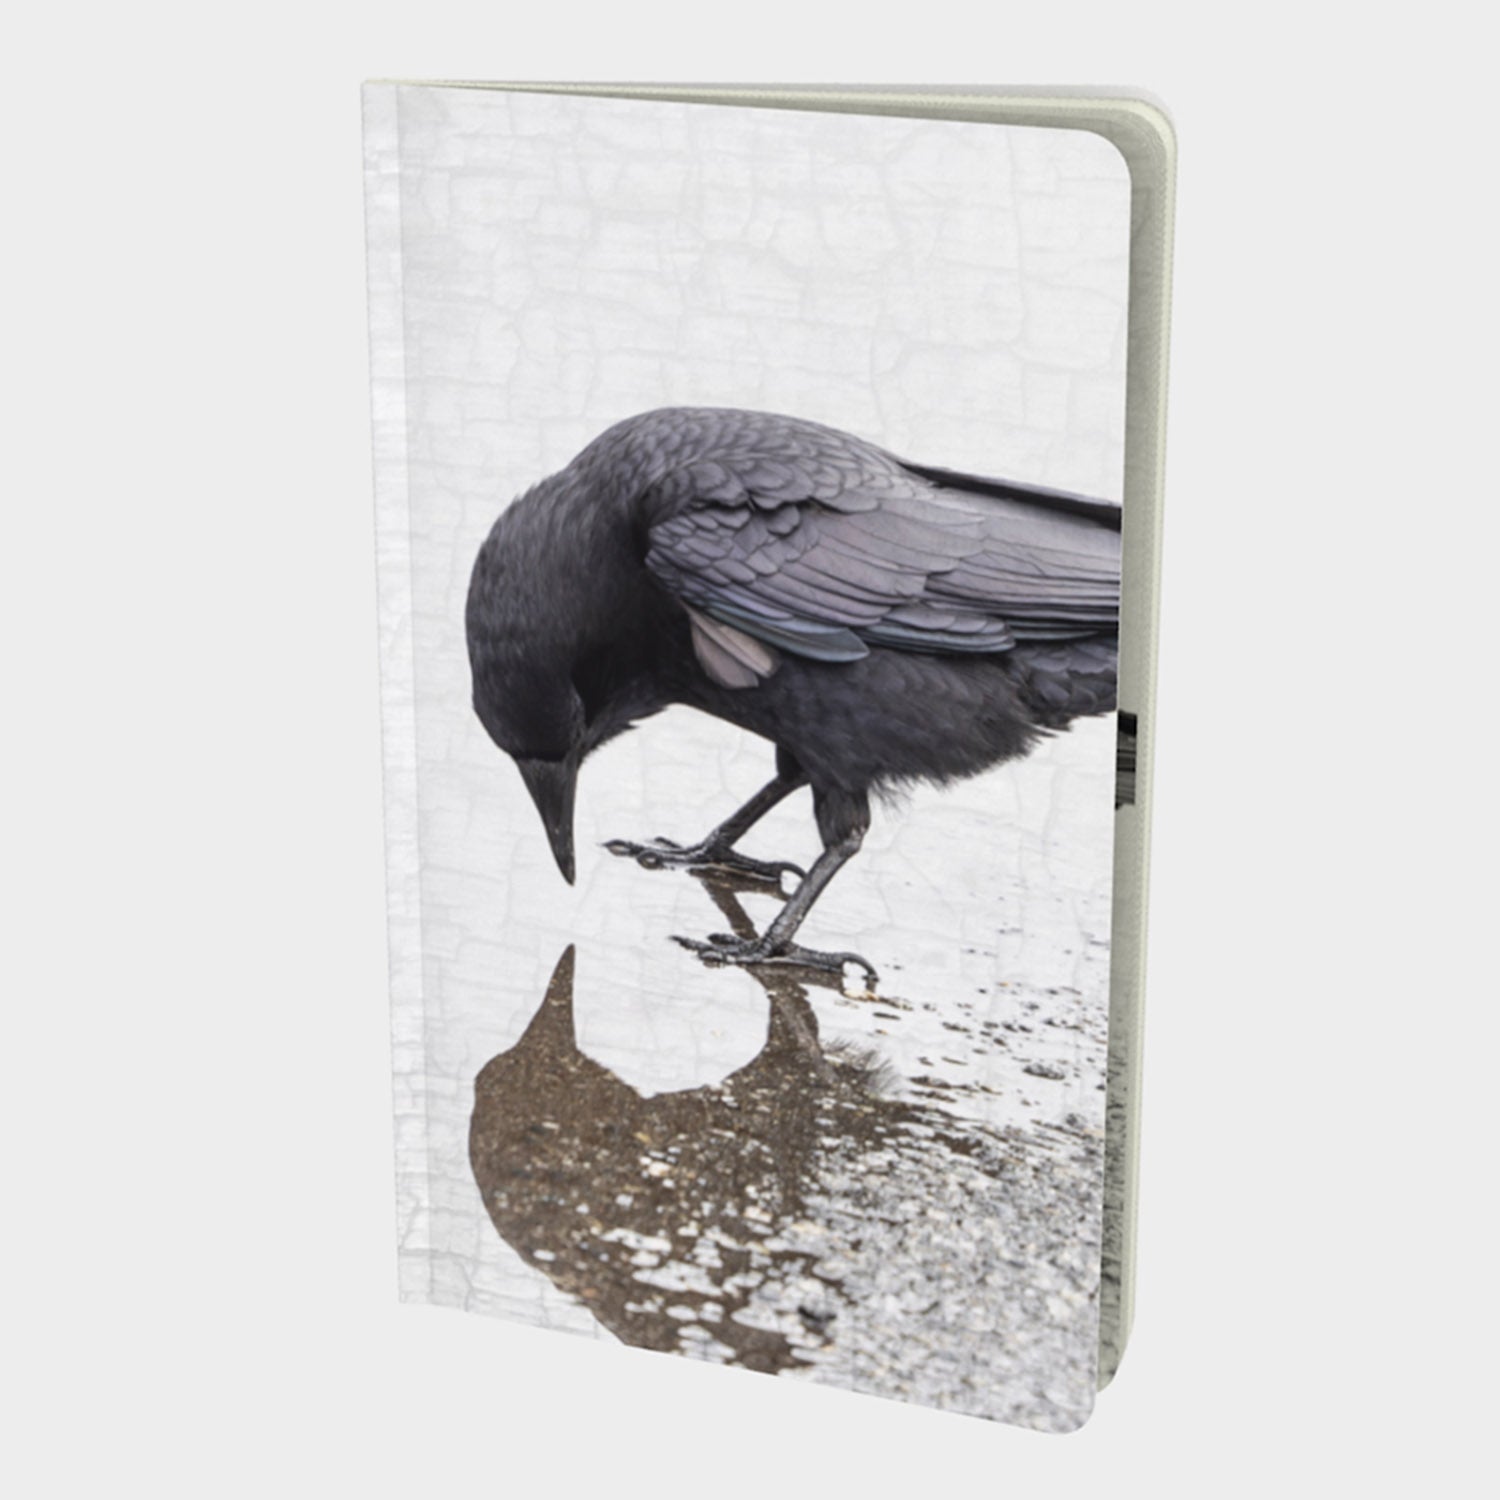
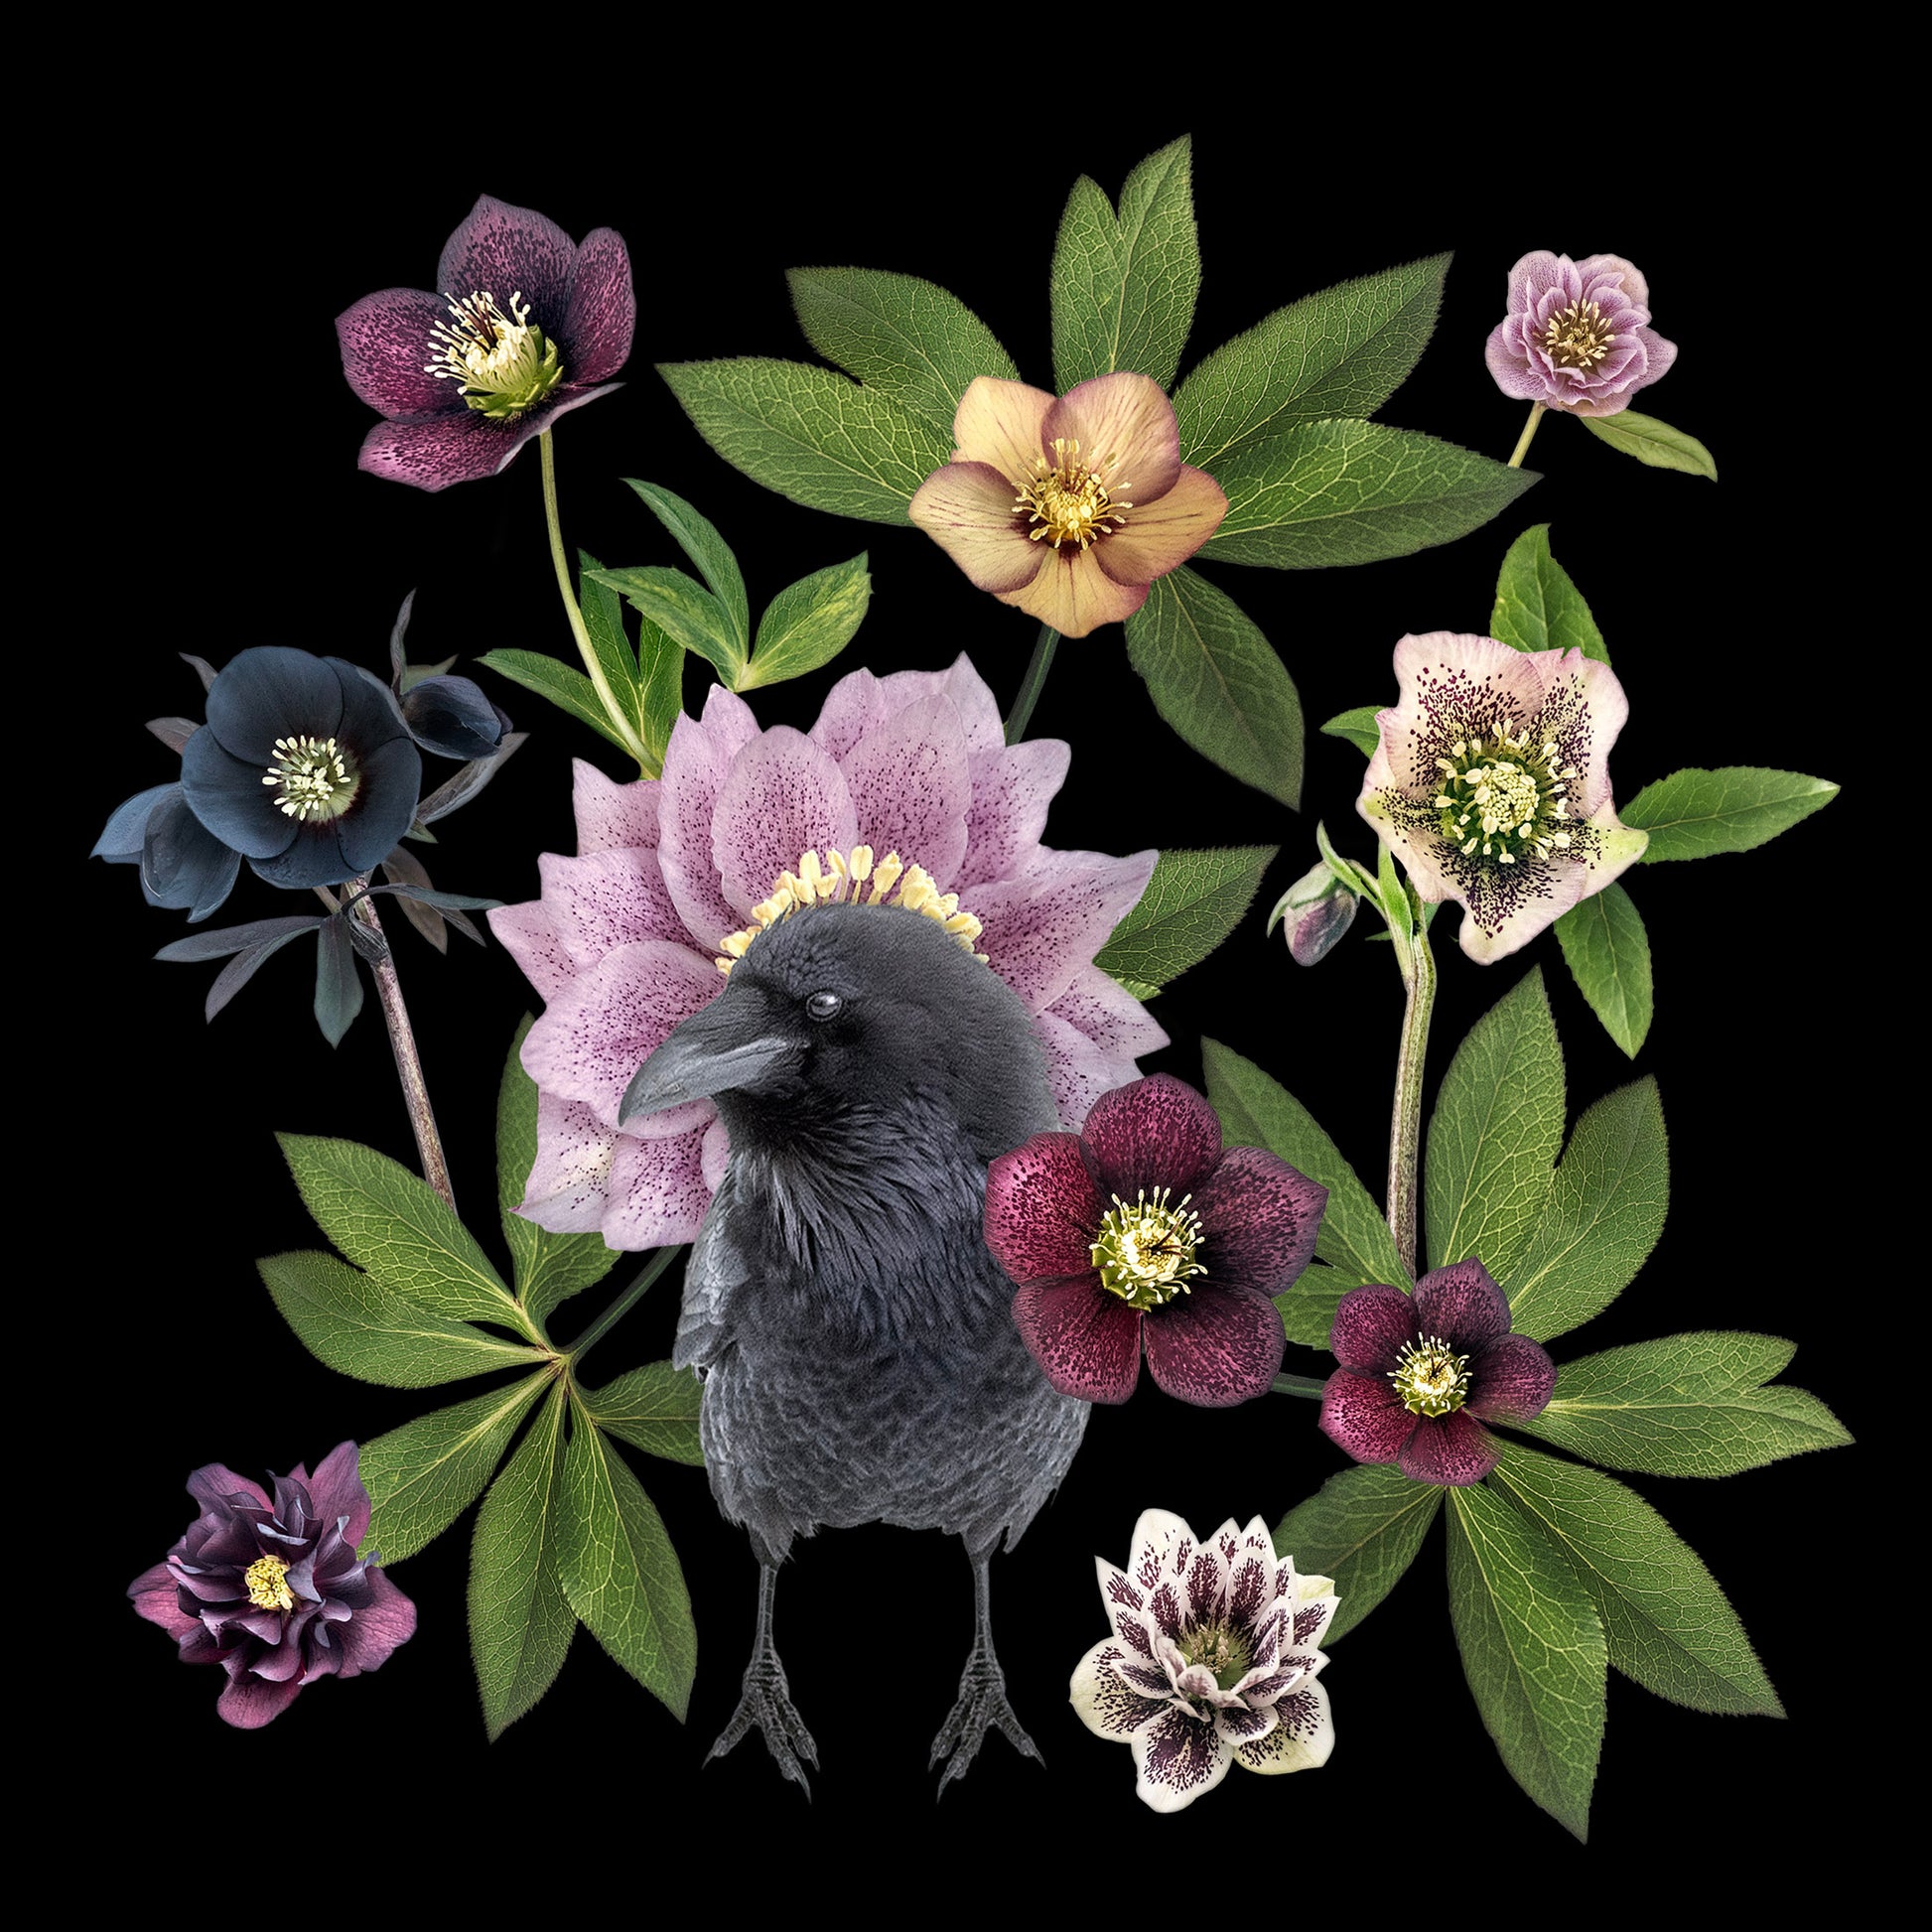
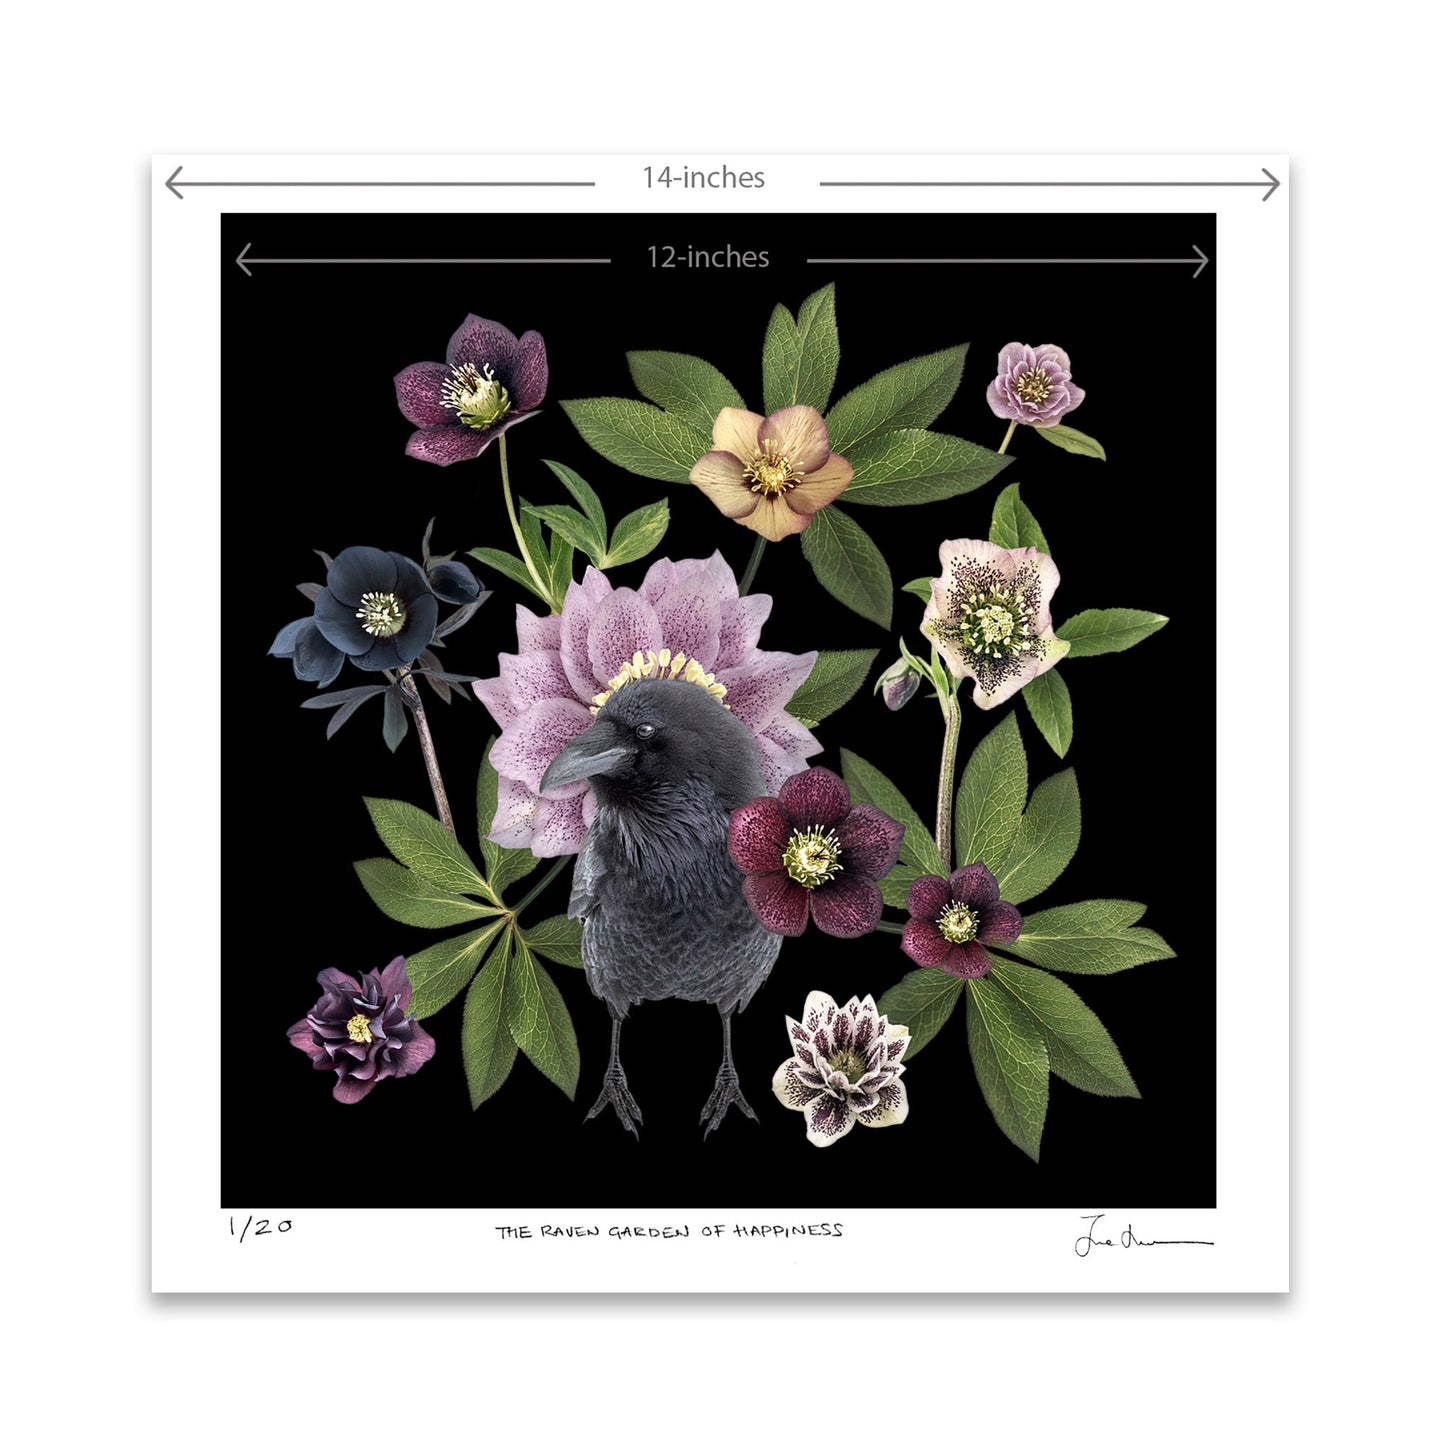
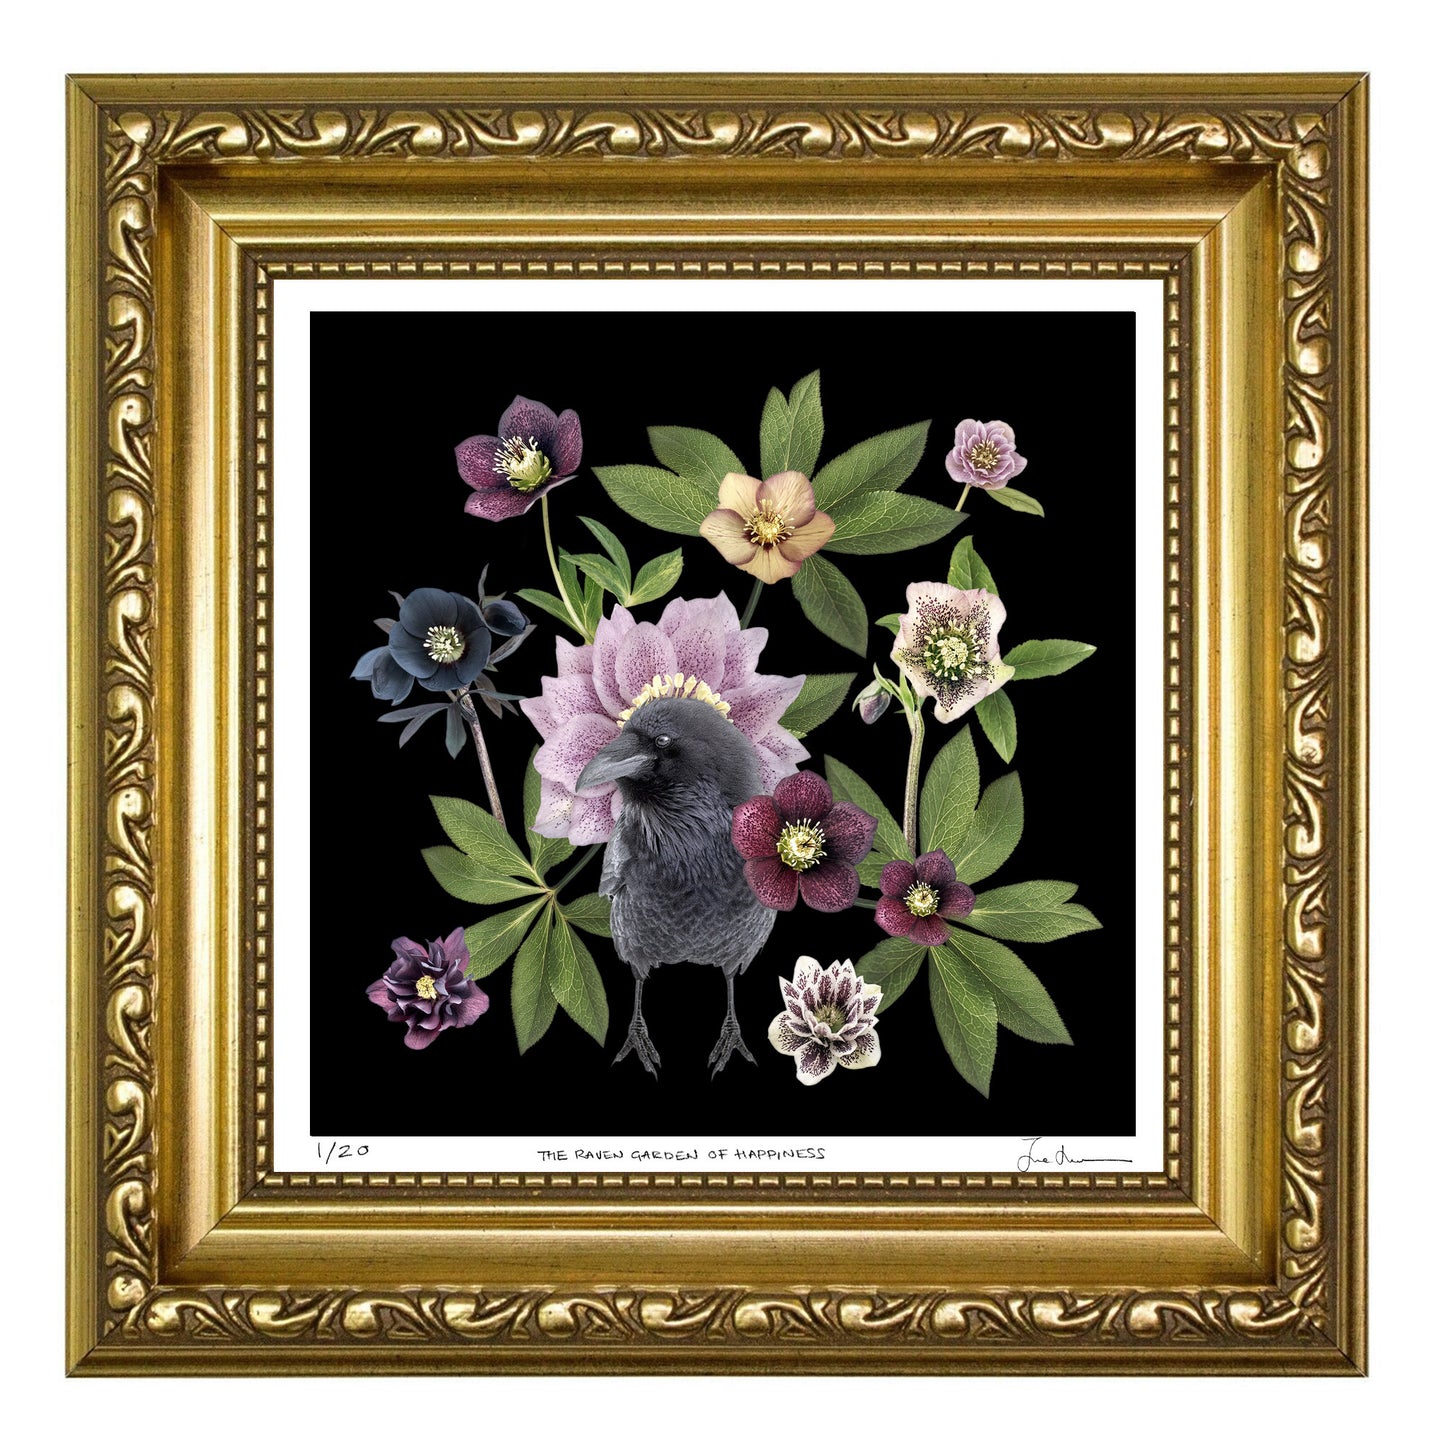
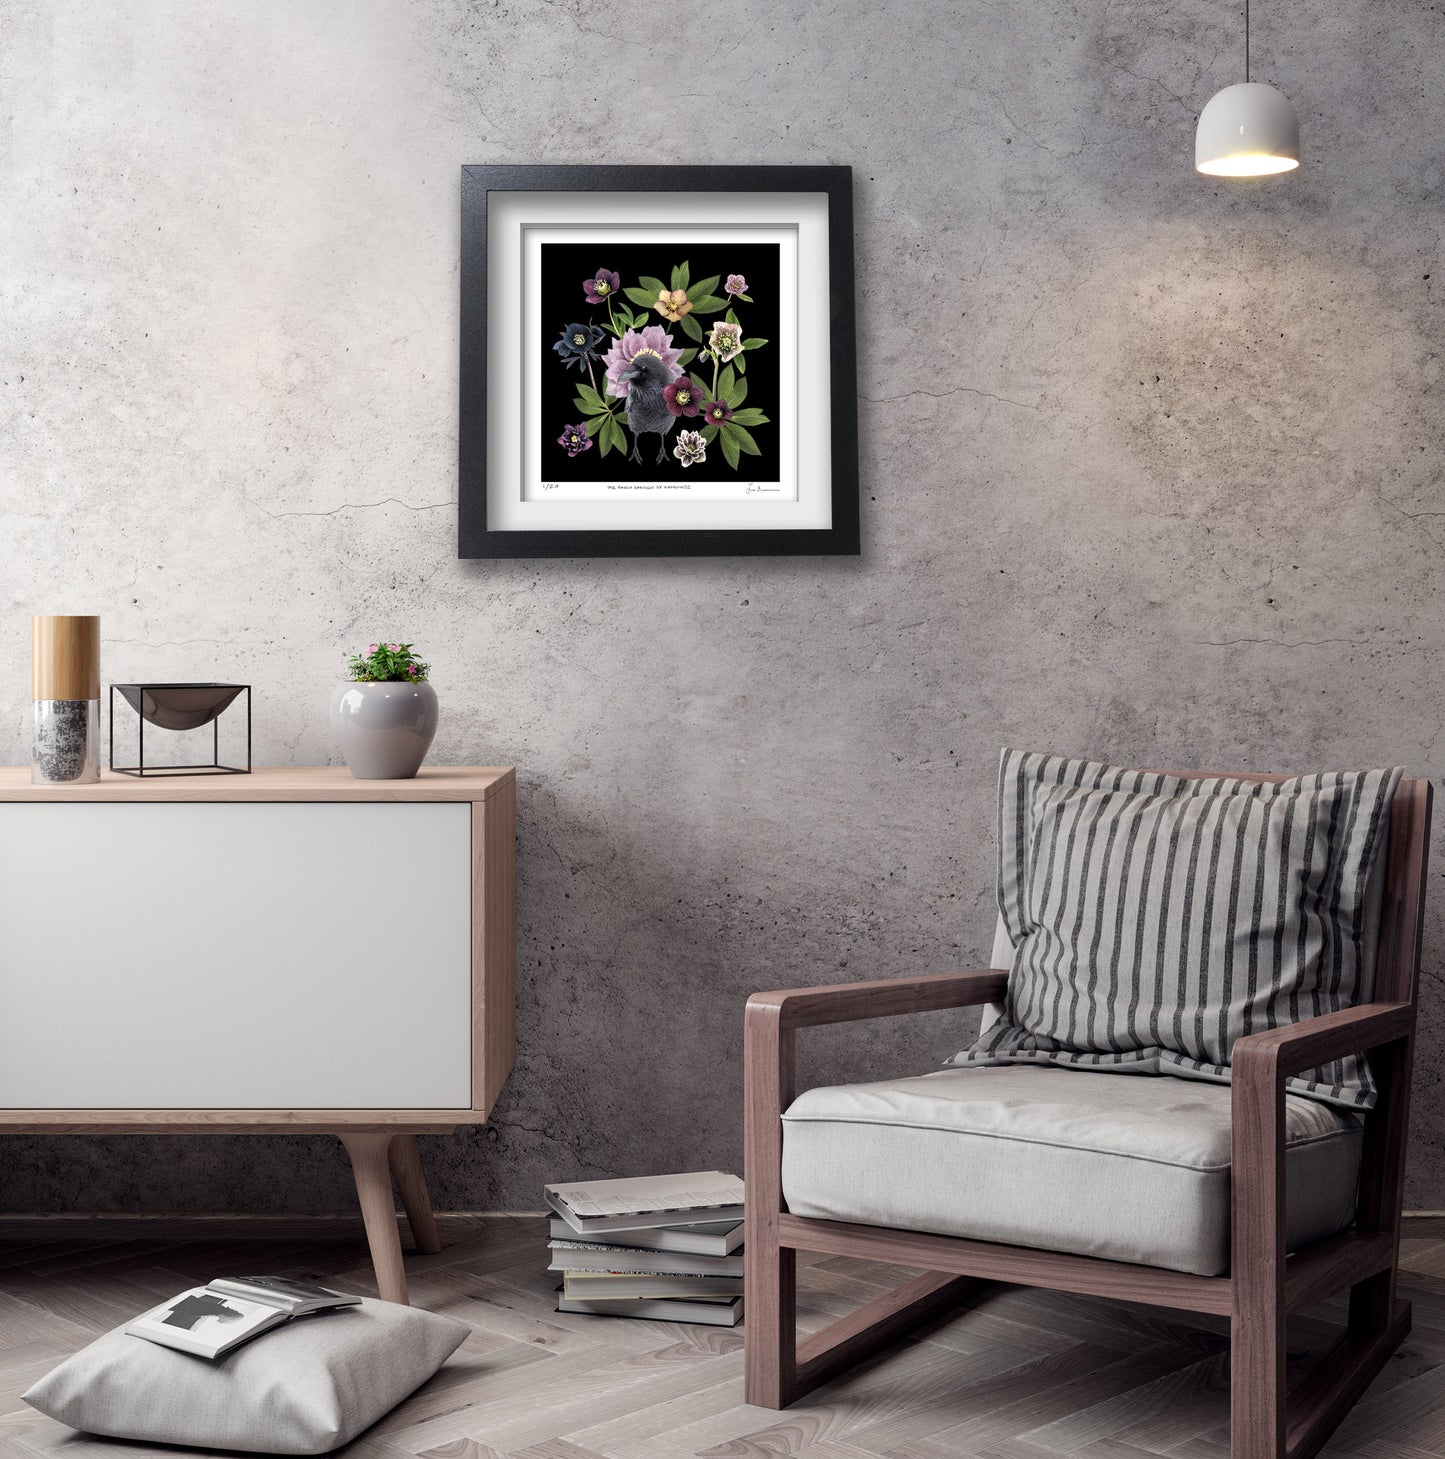
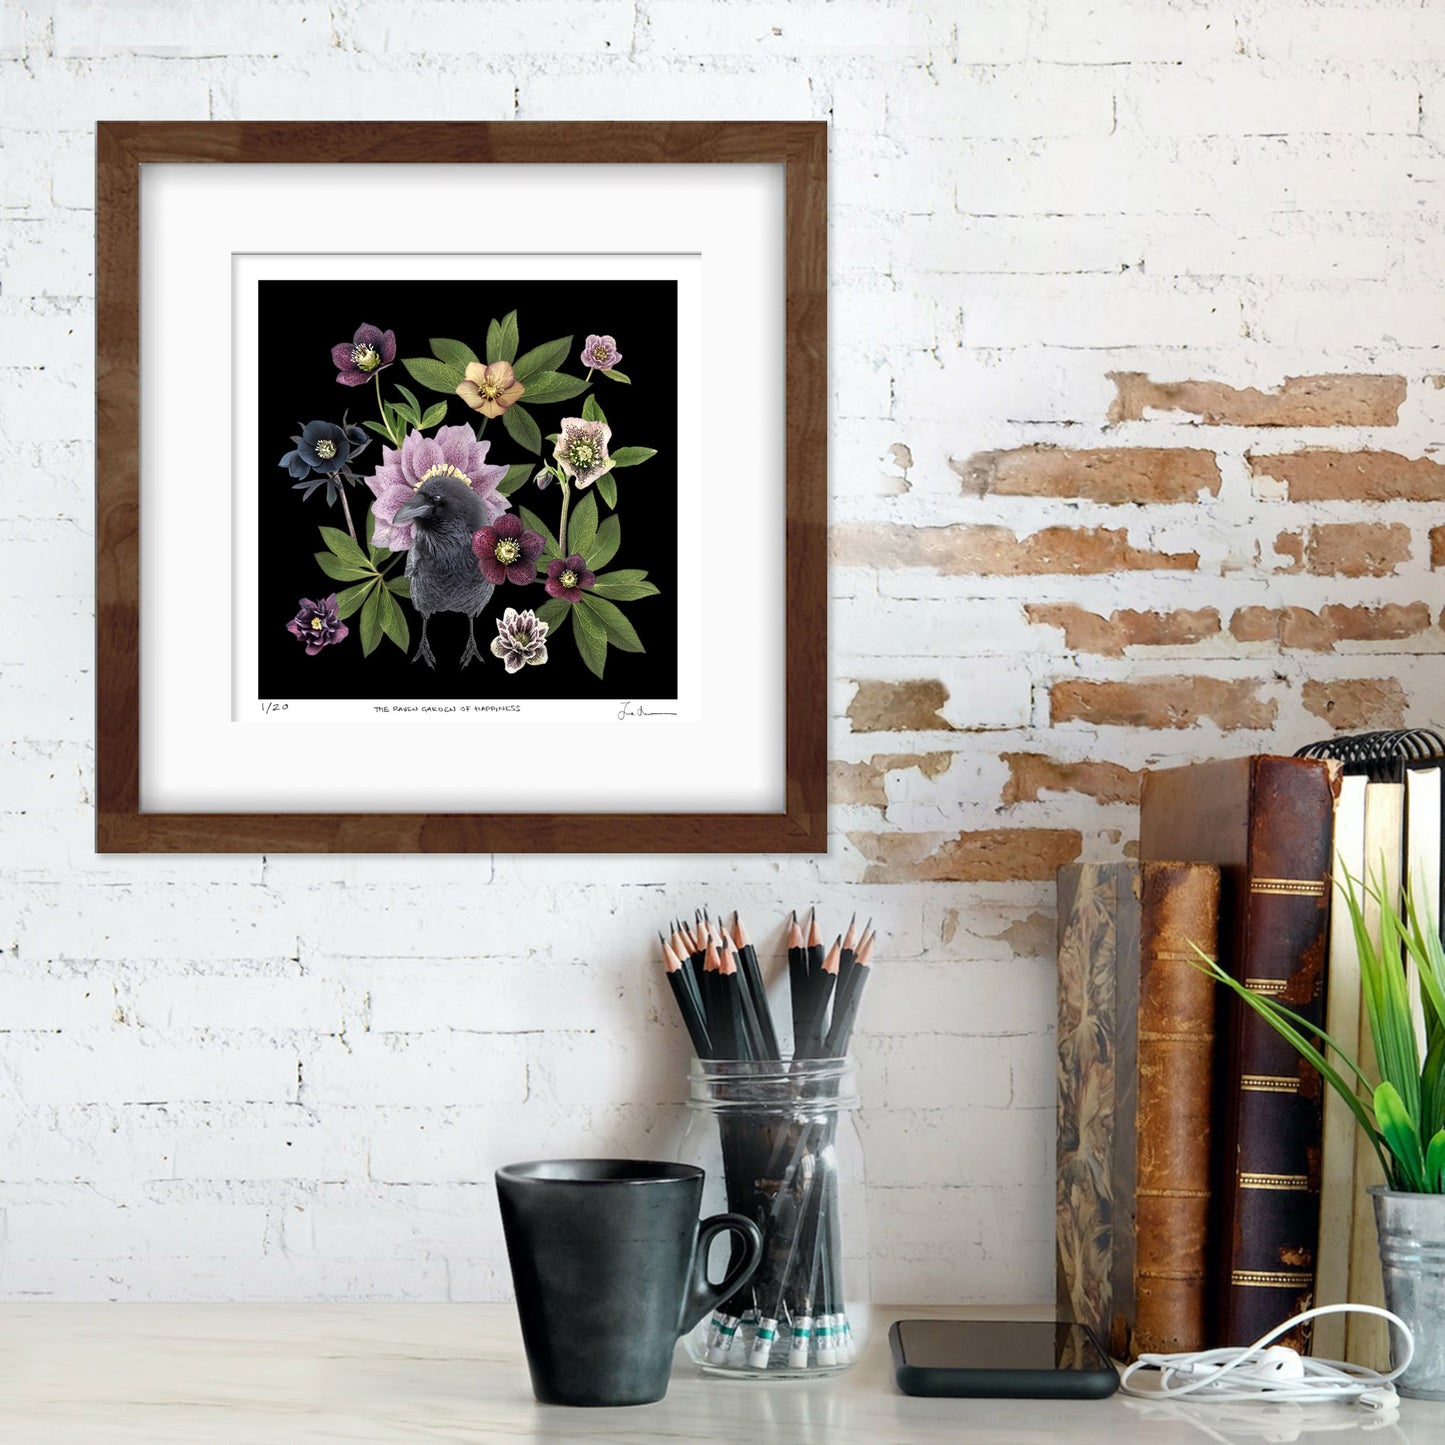
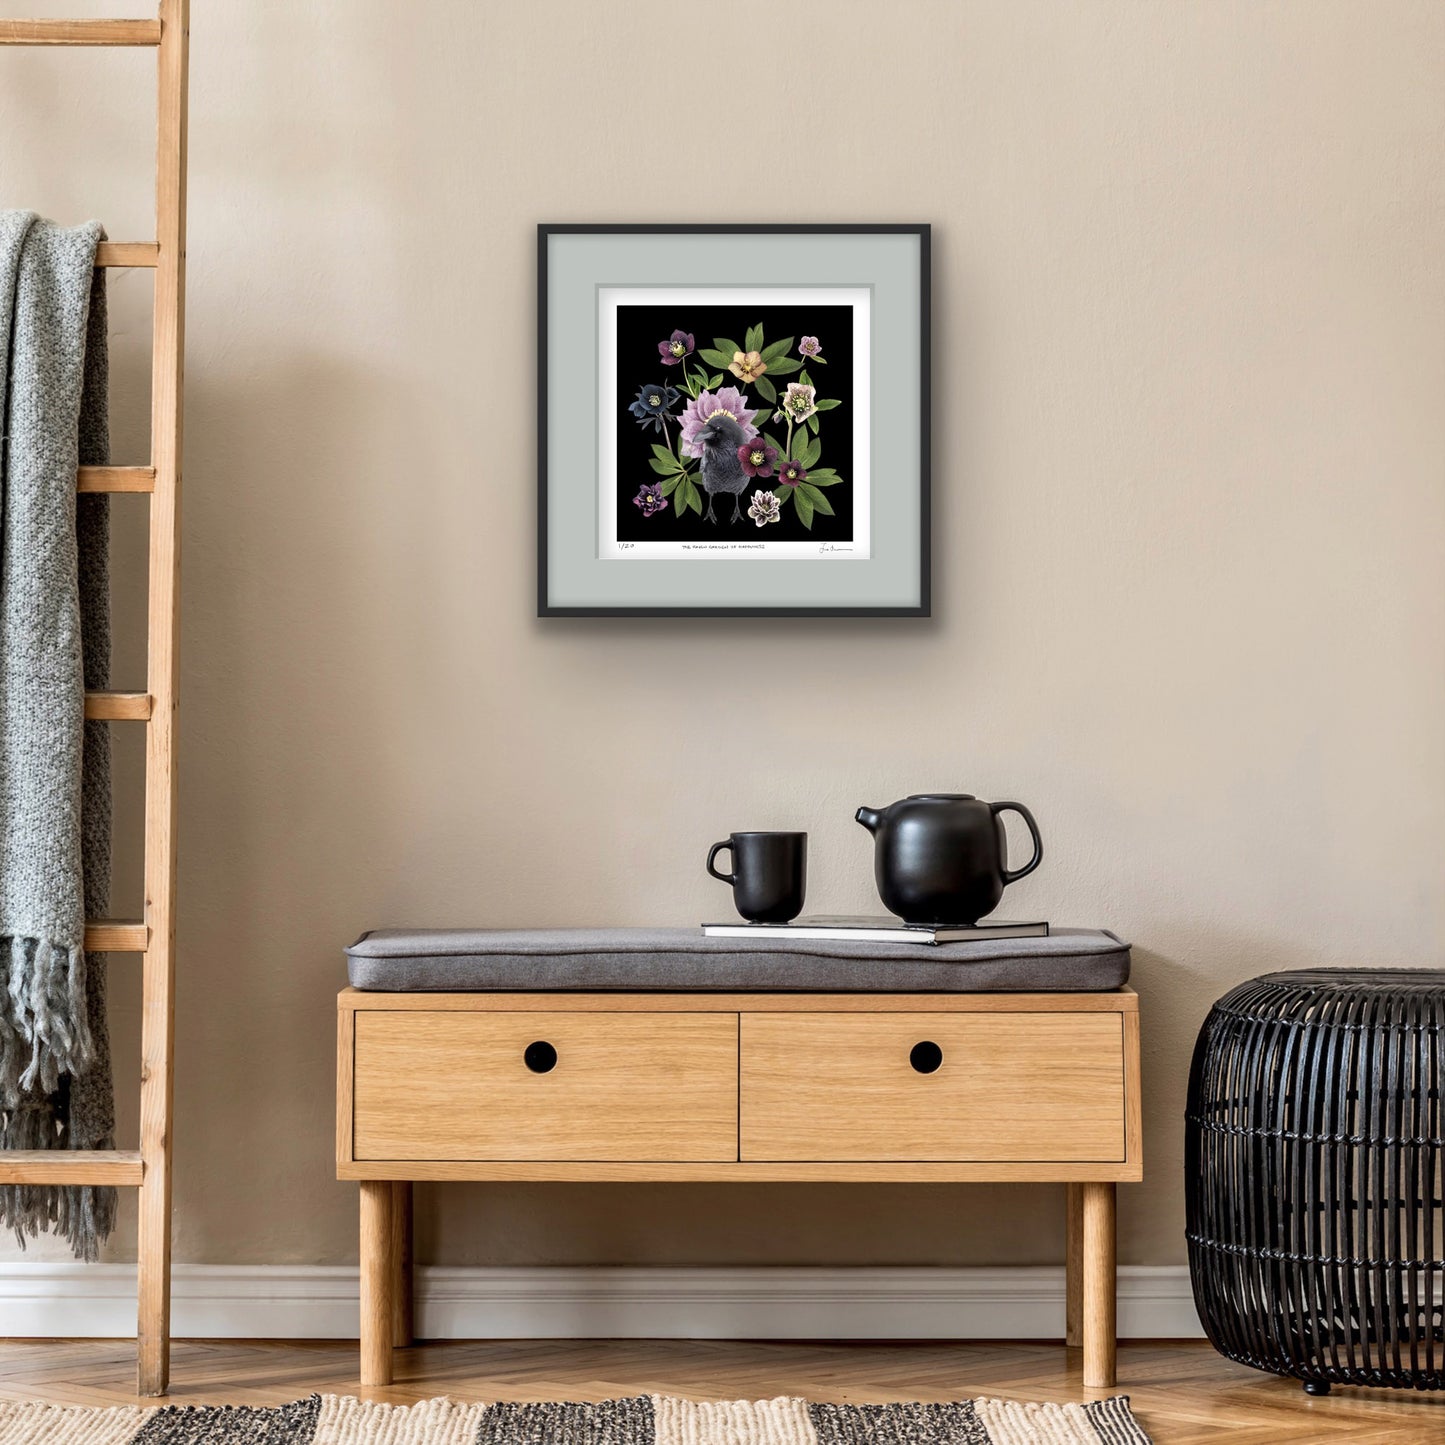
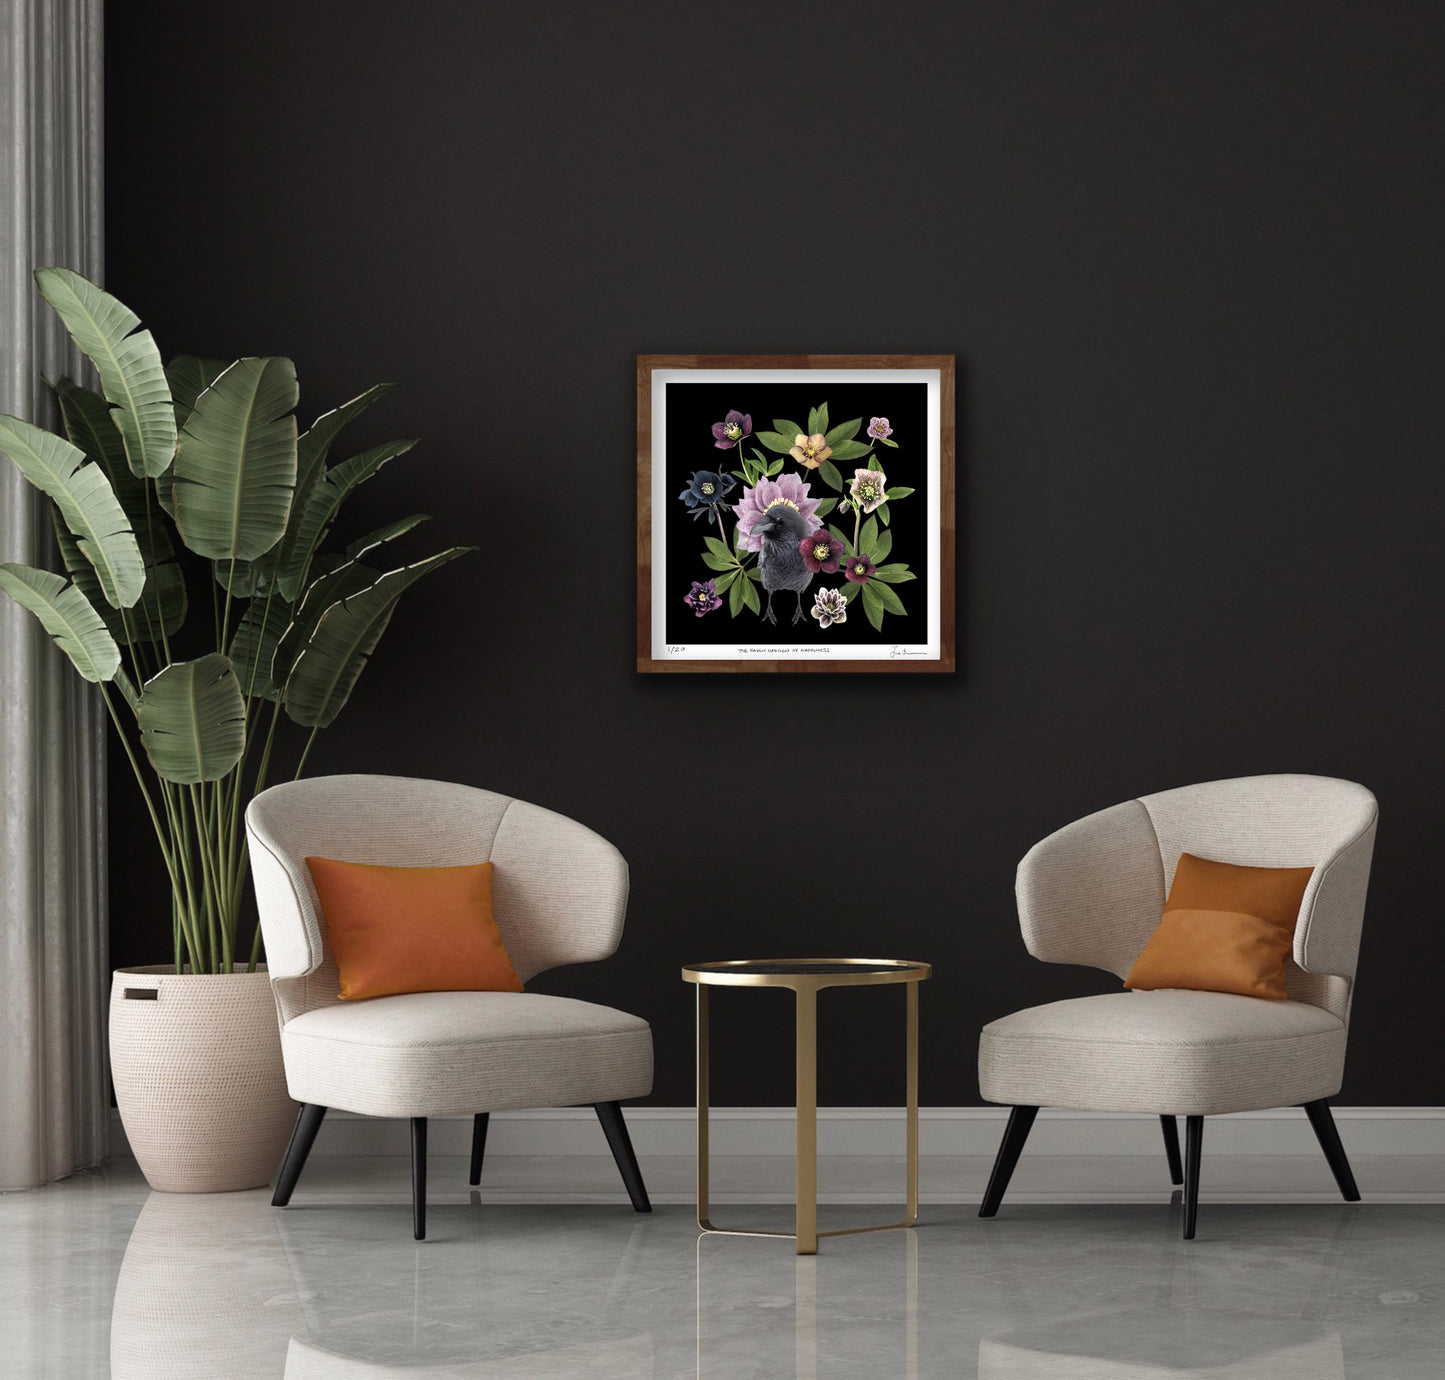
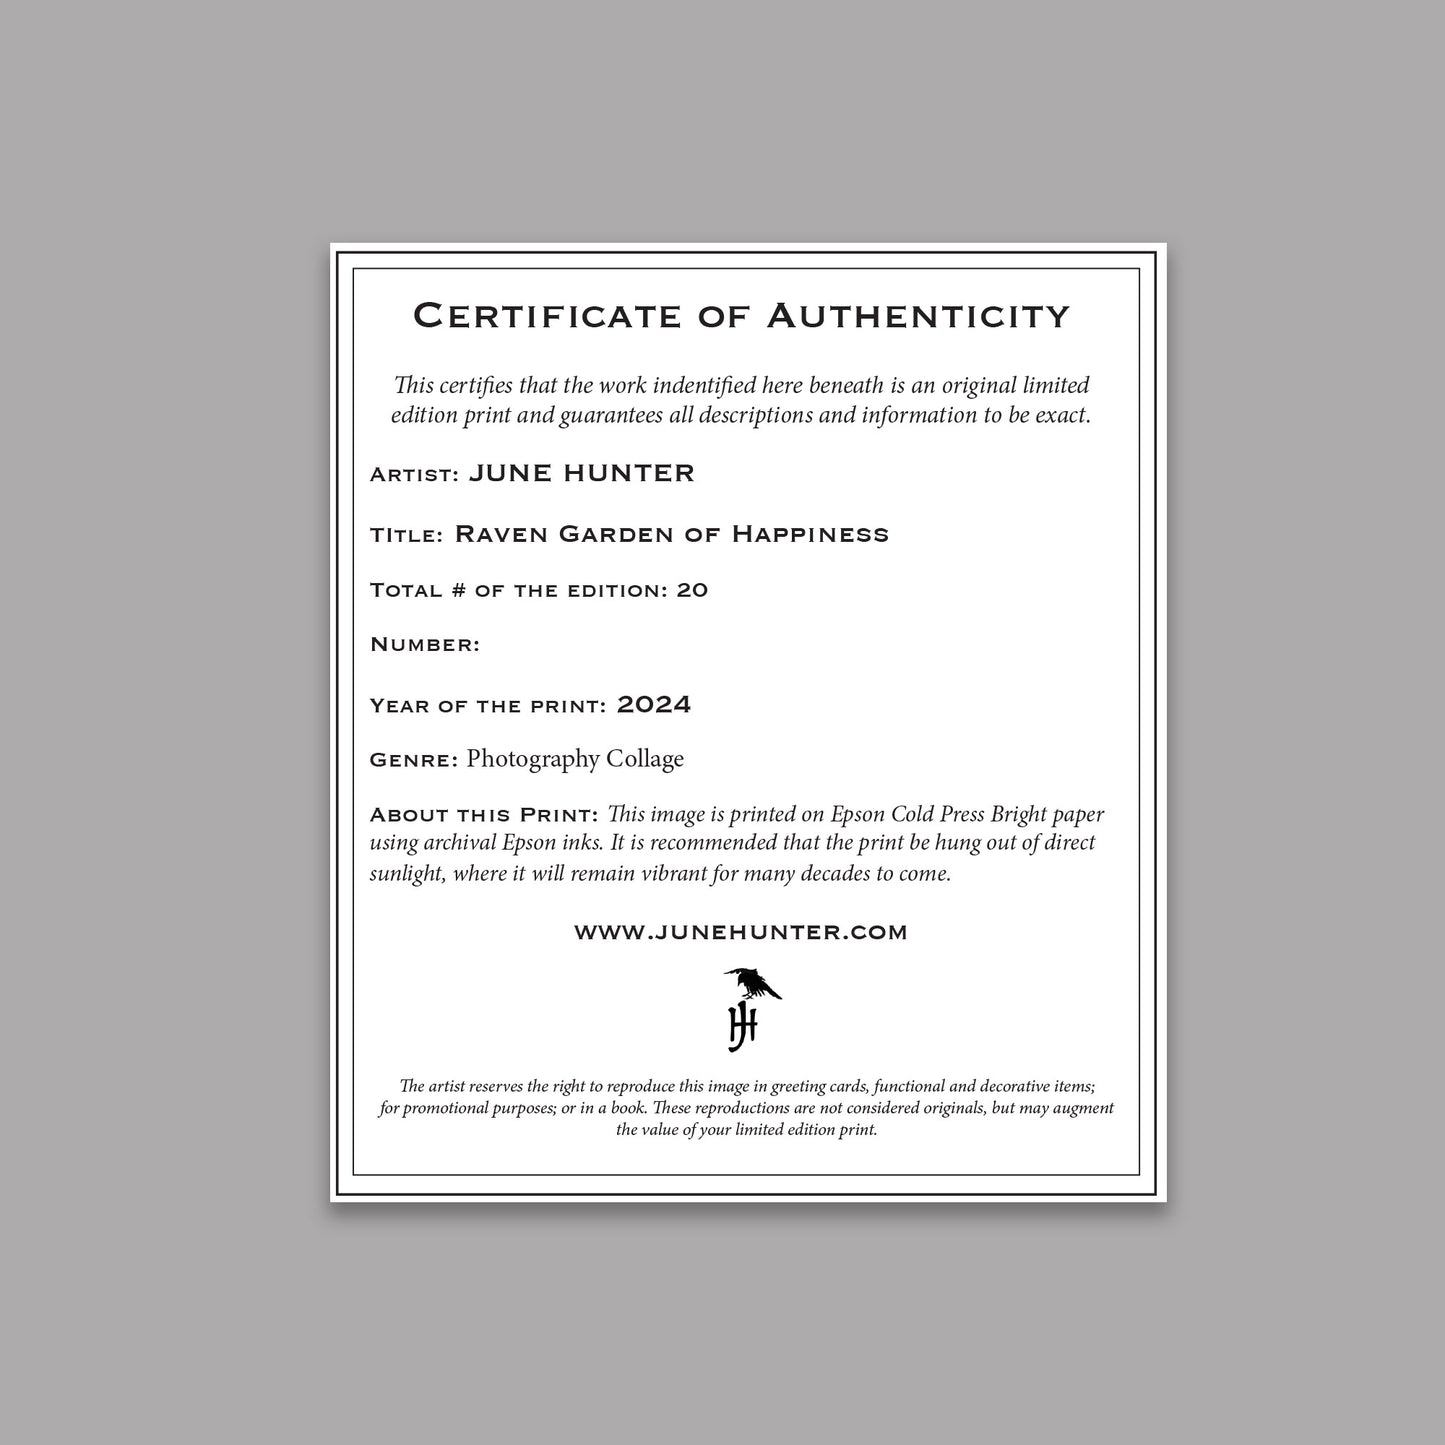
RAVEN PORTRAITS - Wall Art & Prints By June Hunter
Step 1: Set Your Vision
Before you start, think about the aesthetic as well as the mood or theme you want to convey. Is it travel, family, abstract art, or a mix of everything that inspires you? This vision will guide all your decisions, and you'll be more likely to create a focal point that's cohesive. Of course your vision might be Boho Chaos or Victorian Jumble Sale in which case a mishmash will be entirely appropriate!
Step 2: Select the Wall
Choose the wall that will serve as the focal point in the room where you're going to create the gallery wall. It could be the wall above a sofa, down a hallway, or the first wall seen upon entering the room. Ensure it's a space where artwork can be appreciated without (too much) obstruction.
Step 3: Gather Your Pieces
Start by selecting the artwork and objects you’d like to display. Don’t be afraid to mix mediums – photographs, paintings, drawings, and even three-dimensional objects can all find a home on your gallery wall. You might add mirrors, baskets, air plants or mini shelves. Make sure that the objects you add fit with the theme of the gallery wall.
Step 4: Choose Cohesive Elements
To create a cohesive look, find a common element that ties your pieces together. This could be a consistent colour palette, frame style, or subject matter. Even with diverse artworks, a unifying factor will create harmony. This builds on the vision you've set for yourself in step one!
Step 5: Plan Your Layout
Lay your artwork out on the floor to plan your arrangement. This step helps you visualize the gallery wall and allows you to make adjustments without putting a million holes in the wall. (Erm, guilty of all charges!)
Common Challenge:
Solution:
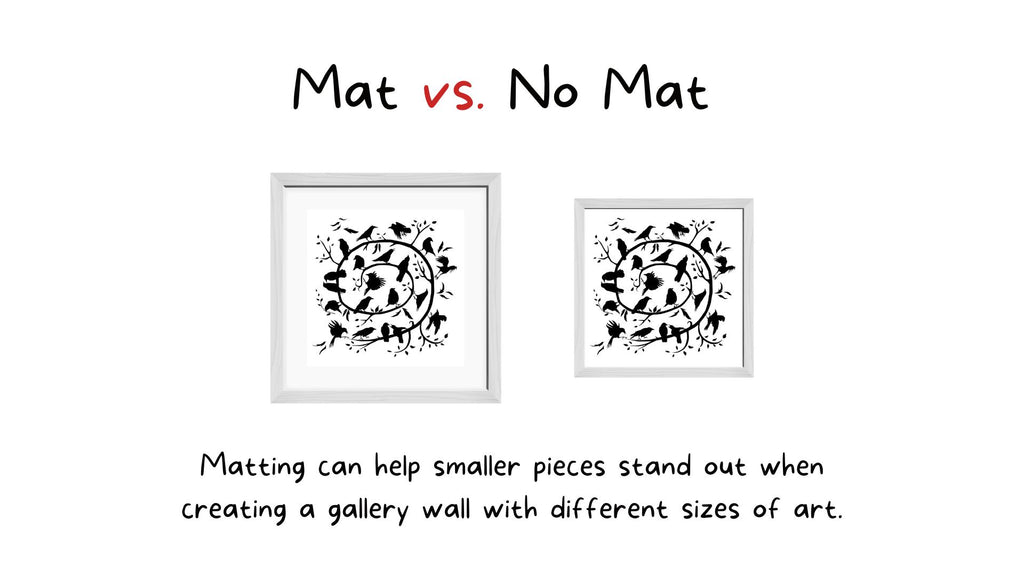
Step 6: Frame and Mat Appropriately
Select frames that complement both the art and your decor. Matting can help smaller pieces stand out and provide a visual rest between different artworks.
Step 7: Create Templates
Use craft paper to create templates for each piece of art. Tape these to the wall to finalize your layout. This helps in positioning and nail placement.
You can even measure how far down the hanger is on each frame, and then measure and mark that spot on the template. Then simply nail your picture hooks directly into the paper.
Finally, pull the template off the wall and you've got all your nails placed perfectly! Huzzah!
Step 8: Hang Your Art
Start hanging your art from the center and work your way out. This is useful if you happen to change your mind as you go. You'll start to be aware of the balance as you build out the gallery wall.
Also, be sure to use proper picture hooks for the weight of your artwork to ensure they are secure.
Step 9: Consider Lighting
If possible, consider adding focused lighting to your gallery wall to highlight the pieces and bring your display to life. Or use diffuse lighting in the area to create a soft glow at night.
Step 10: Adjust and Admire
Step back and take in your gallery wall. Don't be afraid to make adjustments. (You can always fill in those holes!)
All done? Time to put your feet up!
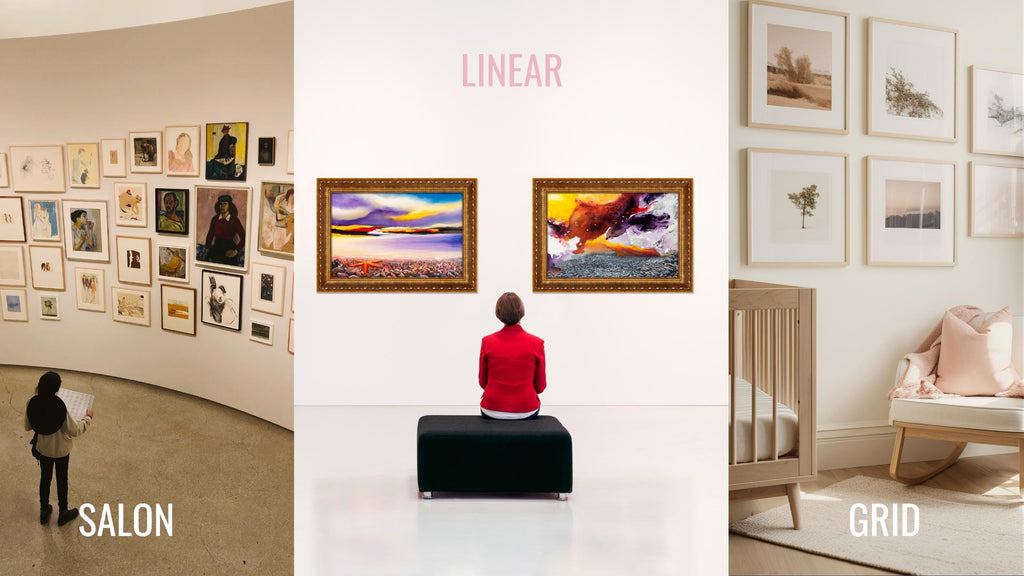
Common Layout Patterns
There are several layout patterns to consider:
Grid: Best for pieces of the same size and offers a clean, formal look.
Salon: An eclectic, floor-to-ceiling collection that's ideal for diverse art styles and sizes.
Linear: Perfect for a clean horizontal or vertical display of art.
Remember, an art gallery wall is a living project.
As you collect new pieces or your tastes change, feel free to add, remove, or rearrange your artwork. A gallery wall doesn't have to stay the same forever. It can even be fun to make changes to your art each season. It's certainly cheaper than buying new furniture when you're getting bored with your home décor.
Finally, remember to have fun and enjoy the process!

Check Out June Hunter's Prints
Check out June Hunter’s collection of crow, raven, garden bird and blue botanical prints which will add a vibrant touch of nature to your home.
Read More:
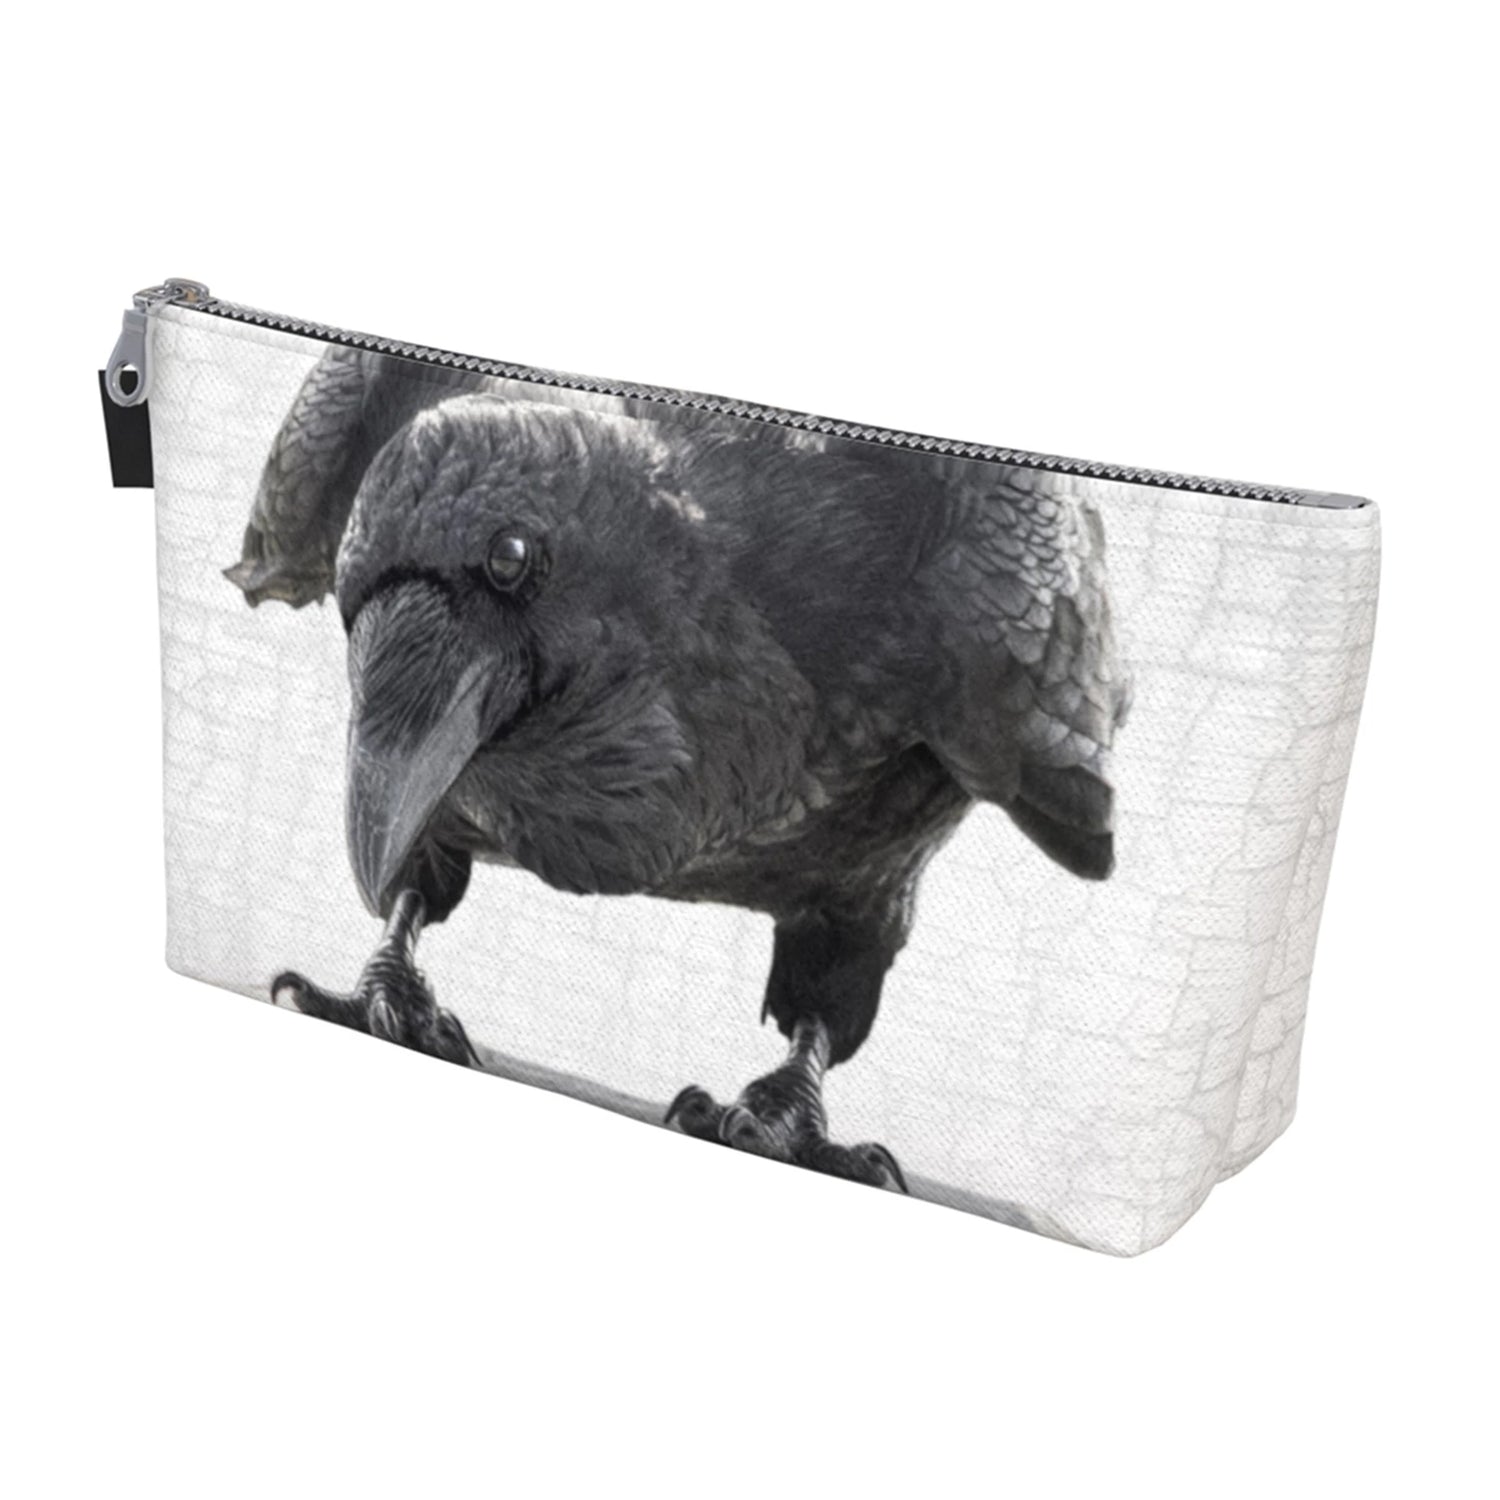
Explore June Hunter's Gift Shop
This article was written by Colette Nichol and reviewed by photographer and nature enthusiast June Hunter. Our aim with these short articles is to bring interesting bird facts and nature-inspired home décor info to more online readers while also highlighting June Hunter's photography and designs. To read June Hunter's popular blog the Urban Nature Enthusiast, where she shares stories about crows and ravens, please click HERE.